5 Scale Model Lighting Kits: Accurate Color
By Aisha López • 19th Feb
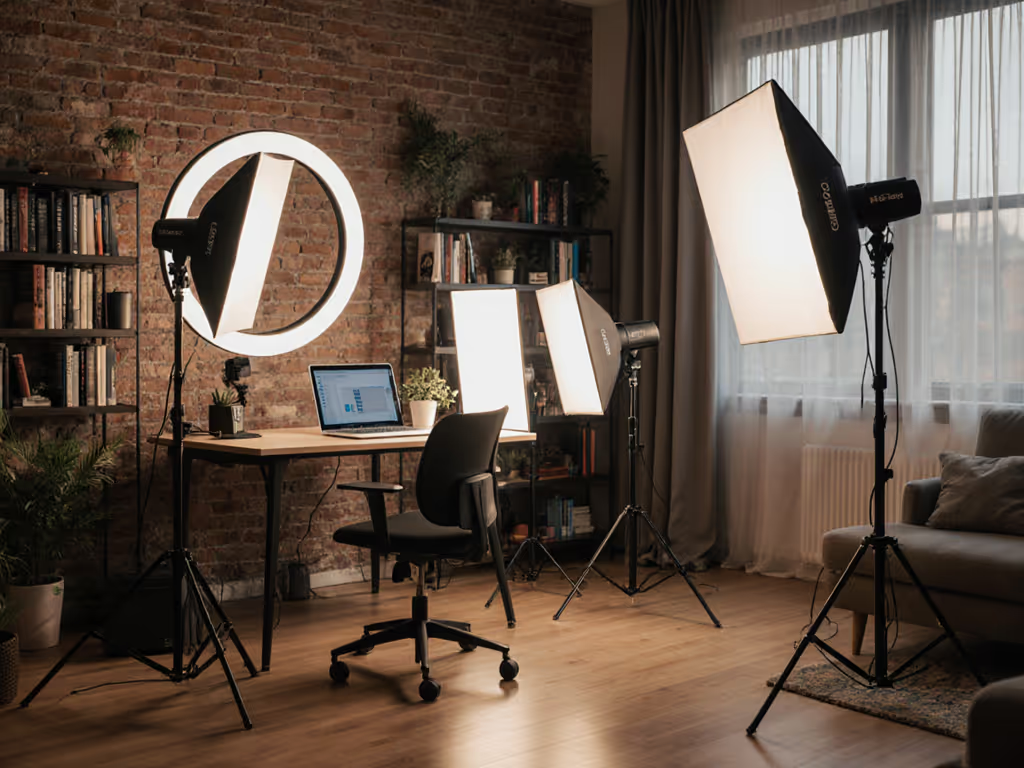
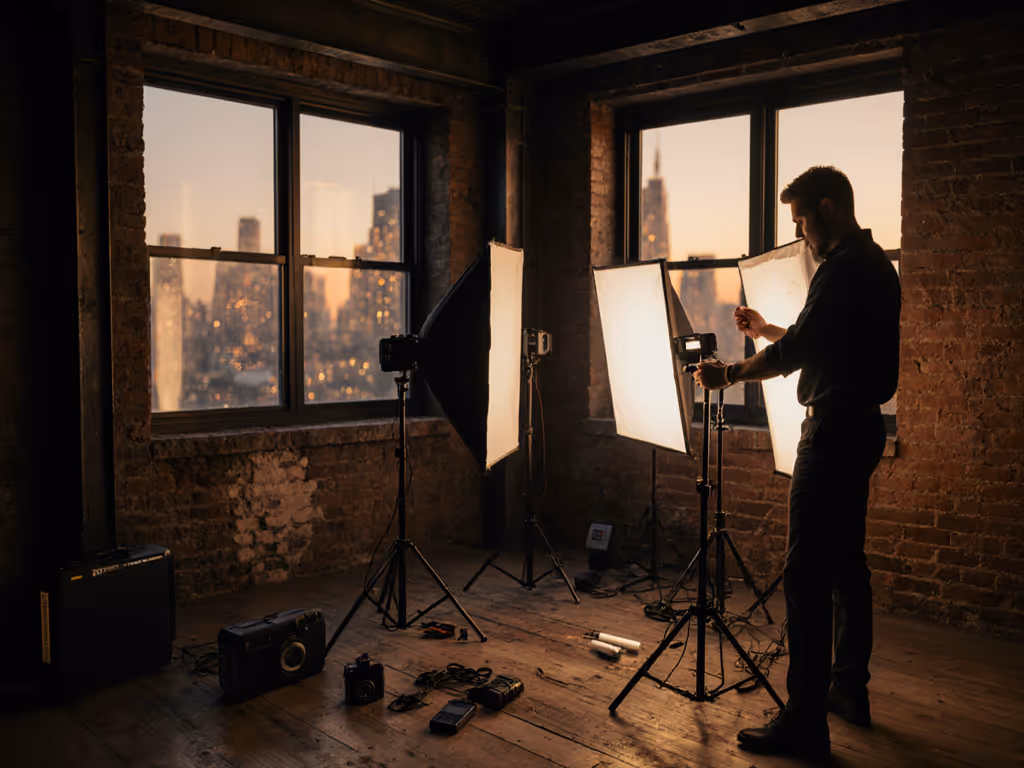
Scale model photography demands a different mindset than full-size work. Your scale model lighting kits need to deliver consistent color accuracy across tight spaces, limited power budgets, and modest depth-of-field constraints. Unlike studio setups, diorama illumination systems must account for miniature proportions where a 15cm fill card becomes your key light modifier and a 15A circuit breaker is your hard ceiling.
This guide breaks down five modular small subject lighting solutions that respect the realities of apartment shoots, client pop-ups, and travel gigs. For budget-focused kits, see our under-$500 studio kits. Each recipe prioritizes color science, watt efficiency, and portability, because small kit, big control; every watt has a job.
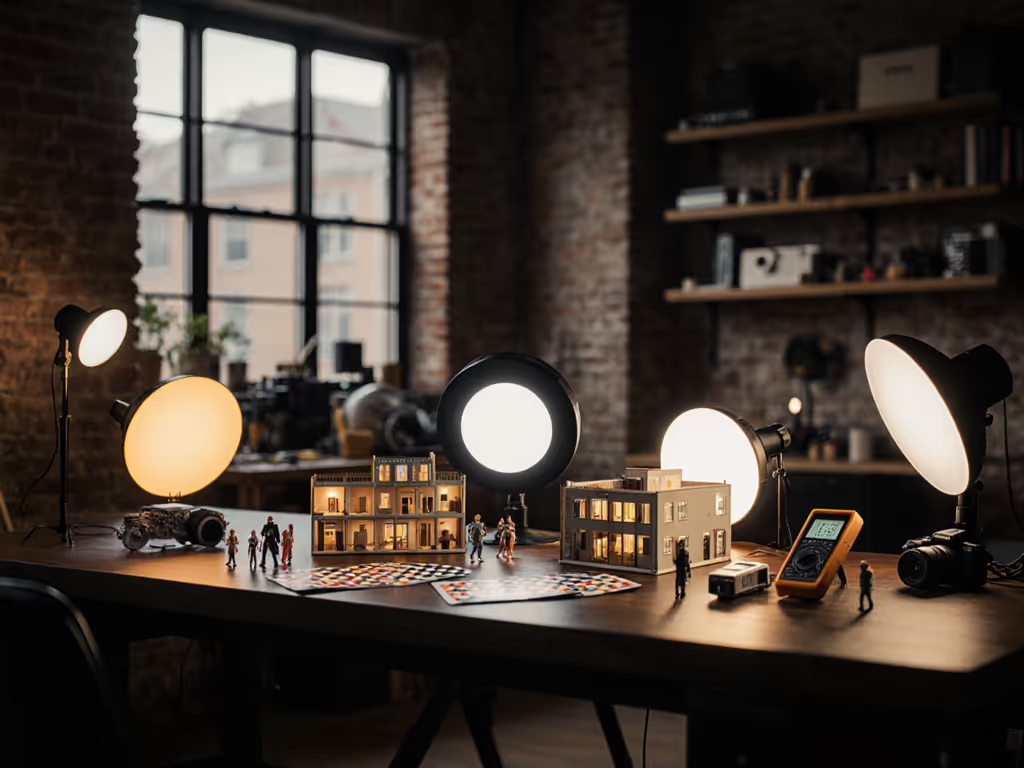
1. The Micro Daylight Match: 300W Bi-Color Continuous LED Core
For tabletop product and architectural models, a single compact scale-appropriate lighting anchor solves half your problems.
Kit composition:
- One 300W bi-color LED panel (2700-6500K range, 95+ CRI)
- Lightweight 1.5m stand or desk mount
- Bounce reflector (120cm silver/white) or foam core cutout
- Diffusion frame or LED silk (optional but recommended)
Why this works: A 300W unit running at 50% power draws ~1.5A and holds 5600K (daylight) with zero flicker at any shutter speed or frame rate. Bi-color drift is minimal; you'll see perhaps 80-120K swing across the dimming range, well within grading tolerance. Mounted 1.2-1.5 meters away from a 10×10cm model, you achieve 8,000-12,000 lux with natural rolloff. The silent fan and cool operating temp mean long interview takes without audio contamination or heat damage to painted details.
Color spec snapshot:
- Output: 300W (LED)
- Lux at 1m: ~27,000 lux (standard reflector)
- CRI: 95+
- Power draw: 300W at full, ~150W at 50%
- Footprint: 35×25cm panel, ~2kg with stand
Pair this with a bounce reflector on the opposite side (set back 60cm) and you've neutralized shadows without adding another fixture. In a two-city e-comm sprint I managed recently, this exact pairing (one light, one bounce) handled 40+ product setups across jewelry, miniatures, and architectural models without a single white balance adjustment between locations.
Constraint translation: If your circuit is shared, run this at 40-60% power and use faster film stock or aperture. A 2-stop reduction in light requires either opening one stop or pushing ISO 400 → 1600, both manageable on modern sensors.
2. The Practical Hybrid: Continuous + Speedlight Rim Stack
Dioramas benefit from layered light sources that mimic depth and environment. If you're weighing approaches, read our continuous vs strobe comparison for product work. This kit combines a continuous key with a small battery-powered flash for edge and accent.
Kit composition:
- One 300W bi-color LED (as above) for main illumination
- One 100Ws portable flash unit (TTL capable, magnetic S-mount modifiers)
- Two lightweight aluminum stands or clamps
- Small diffuser disk and octobox (28–35cm) for the flash
- Wireless trigger or hotshoe sync cable
Why this works: Your LED handles skin-tone and product color grading. The flash adds a controllable rim or accent that's flicker-free and independent of dimming artifacts. At 1/200s flash sync, you can push the LED dim and rely on ambient fill, then flash a small prop or model face at 1/16 power for 50-100Ws of pop. Cross-brand compatibility matters here: a Godox or Neewer flash accepts standard Bowens-mount octoboxes, so you're not locked into one ecosystem.
Color spec snapshot:
- Continuous: 300W LED, 5600K ±150K
- Flash: 100Ws at 5600K (confirm spec; many flicker 200-300K across recycle)
- Flash recycle: ~1.5-2 sec at full power
- Flash bursts per charge: 350-450 depending on power/model
- Total kit weight: ~4kg with stands and modifiers
Dimmers on the LED let you feather the key down to 10-15% power, dropping your overall circuit load to ~50W continuous + 100W flash peaks. This approach packs once, shoots anywhere, and lets you swap the flash for a second LED if your model demands two-source fill without shadows.
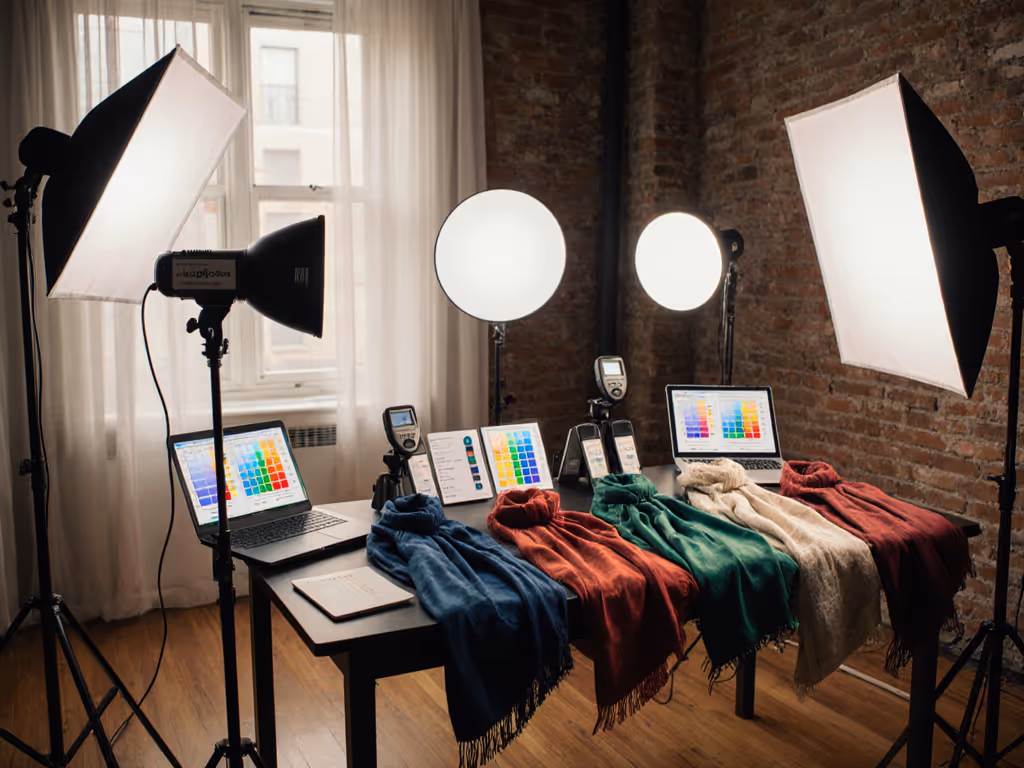
3. The Colortone Control Stack: Tri-Color Gels + Dim-Friendly LED
For dioramas with mixed ambient (tungsten practicals, daylight windows, RGB props), a single LED plus strategic gels gives you surgical white-balance authority.
Kit composition:
- One 300W bi-color LED (core light)
- Full gel pack: CTB (cooling), CTO (warming), plus quarter and half densities
- Gel frames or magnetic clips fitting your LED
- 4×4 foam core or black flags for spill control
- Small 5600K reference card or color checker (Gretagmacbeth or equivalent)
Why this works: A diorama with tungsten practicals (3200K) and daylight windows (6500K) will poison your white balance if both hit the model simultaneously. Instead of fighting in post, gel your LED to 4100K, gel a practical down one half CTB (shifting it from 3200K to ~4100K), and use black flags to keep window spill off the subject. You now have a consistent 4100K environment instead of a three-color war. For tricky glossy subjects, see controlling specular highlights to manage glass and acrylic reflections in minis.
Gels cost $5-20 per sheet; cost per shot is trivial. The constraint? Gels reduce transmission by 10-40% depending on density, so at full CTB you lose ~30% output (dropping 300W effective to ~210W). Run your LED at 65% instead of 50%, and you're still under 200W draw. Safe on a shared 15A circuit.
Color spec snapshot:
- LED core: 300W, dimmable 2700-6500K
- Gel stack: CTB (3200K → 5600K), CTO (5600K → 3200K), densities 1/4-1/2
- Reference white point: 4100K (negotiated between sources)
- Power draw: 200-250W at operating dimmer position
- Spill control: black flags on left/right, 30-45cm from model
This method forces discipline: measure your ambient with a color meter or phone app (Spectra app, ~$5), set your reference white, and dial in gels before rolling tape. Every watt has a job, and every kelvin is accounted for.
4. The Battery Minimalist: Dual Pocket Flash + Reflector Bounce
For shoot-anywhere portability (hotels, client offices, outdoors), battery flashes eliminate power cord hunting and deliver color stability that continuous LEDs struggle to match at low power.
Kit composition:
- Two 100Ws portable flash units (both 5600K spec'd, TTL/manual capable)
- Two compact stands or light stands with ballhead clamps
- Twin octoboxes (28–35cm) or softboxes
- Wireless trigger (2.4GHz, ~$30)
- Large reflector (silver side for key bounce, white for fill bounce)
- Backup AA battery set (4-cell per unit × 2 flashes = 8 AAs)
Why this works: Two 100Ws units in 28cm octoboxes, positioned 1m from a 15cm model at 45° key and 120° fill, will render color with near-zero green spike and consistent CRI ≥95 (all flashes are rated, and drift is <100K across brands). No dimming artifacts, no PWM banding. Battery life is 300-400 full-power bursts per charge, enough for 2-3 hour shoots. Recycle time at 1/2 power is ~1 sec, fast enough for product turnarounds.
Cross-brand pairing (mixing a Godox and Neewer unit, for instance) is trivial because both accept standard S-mount or Bowens modifiers. If one flash fails mid-shoot, swap in a backup or rent a replacement without rebalancing your entire kit.
Color spec snapshot:
- Per flash: 100Ws, 5600K ±100K
- Effective lux at 1m (28cm octobox): ~8,000-10,000 lux per unit
- Combined output: 200Ws (treated as one soft source when boxed)
- Recycle: 0.8-1.2 sec at 1/2 power
- Power independence: AA batteries (8 total for dual setup)
- Footprint: Two 35cm softboxes + stands, ~3.5kg total
The downside: flash doesn't preview; you're working from experience and test shots. For seasoned shooters, this is a feature, not a bug. You develop a mental map of distance-to-lux and depth-of-field, and you pack once, shoot anywhere without hunting outlets.
5. The Hybrid Backup: One LED + One Flash Emergency Kit
For reliability on critical jobs (client deliverables, time-locked events), pair one continuous light with one flash as a safety redundancy.
Kit composition:
- One 300W bi-color LED (primary, key light)
- One 100Ws flash unit (backup and pop, mounted on stand or hotshoe)
- Combined stand assembly or desktop rig clamps
- Bounce reflector (1.2m) and small octobox for flash
- Backup battery pack for LED (5000mAh USB-C, if unit supports it)
- Gel pack (minimal: one CTB, one CTO quarter)
Why this works: If your LED power-cycles or thermal-throttles mid-shoot, you can pivot entirely to flash without losing the session. Conversely, if your flash batteries die, the LED carries the day. This is the exact strategy I leaned on when an older client office had a faulty breaker and phantom brownouts. I ran the LED at 40% power, clipped the flash to a mini-stand, and took the fill from the bounce card alone. Color remained stable, shadows were soft, and the client never knew the rig was on life support.
Cost is modest if you already own a 300W LED; adding a 100Ws flash is $200-400 depending on brand and features. The redundancy buys peace of mind.
Color spec snapshot:
- LED: 300W, 5600K ±150K, dimmable to 10%
- Flash: 100Ws, 5600K ±100K
- Combined power draw: ~200W LED + 100W flash peaks = 300W momentary
- Reliability margin: LED fails → flash solo; flash batteries die → LED solo
- Total kit weight: ~4.5kg
Decision Framework: Which Kit Fits Your Constraints?
Use this checklist to pick your starting point:
Choose Kit #1 (Micro Daylight) if:
- You shoot mostly tabletop product or architectural models
- You're on a tight budget (<$600) and want a single light solution
- Your space is under 3 meters wide; you need long throw distance rarely
- Power access is reliable and you don't mind a cord
Choose Kit #2 (Hybrid Continuous + Flash) if:
- You shoot dioramas with layered depth or portraits alongside miniatures
- You want creative control over rim light and accent without adding a second large fixture
- You move between locations weekly and need color consistency across brand-mixed camera bodies
Choose Kit #3 (Gel + Dimming) if:
- Your sets have mixed ambient (windows, practicals, RGB lights)
- You're willing to measure white balance on set and dial gels before rolling
- You value surgical white balance control over convenience
- Budget: ~$700 (LED + gel pack + flags)
Choose Kit #4 (Dual Pocket Flash) if:
- You travel internationally or shoot entirely on battery (hotels, outdoors, no outlets)
- Color accuracy trumps convenience; you can live with no modeling light preview
- You have 2+ hours per session and recycle time isn't a bottleneck
- Budget: $400-600 (two flashes + stands + octoboxes)
Choose Kit #5 (Hybrid Backup) if:
- You manage critical client shoots (e-comm launches, brand content, video) and can't afford downtime
- You're already LED-equipped and want a flash safety net
- Power reliability on location is unpredictable
- Budget: $700-900 (LED + flash + redundancy buffer)
The Modular Multiplier: Cross-Kit Mixing
The real advantage of these recipes is modularity. If you start with Kit #1 (one LED) and add a 100Ws flash, you've upgraded to Kit #2 logic without buying a new core. If you own Kit #4 (dual flashes) and grab a 300W LED for weekend interiors, you now field Kit #5 (hybrid backup). Each addition is $200-400, not a full re-kit.
When you move locations, you're not recalibrating from scratch. Your LED holds 5600K within 150K from home to client office to hotel ballroom. Your flash stays at 5600K flat. Gels, stands, and modifiers are cross-brand (Bowens S-mount is the de facto standard). You pack once, shoot anywhere, because small kit, big control.
Final Verdict: Build Constraint-Aware, Scale Iteratively
Start small. Buy one 300W bi-color LED and master distance, power, and color on tabletop subjects. For extreme close-ups, explore portable macro lighting to maintain true color at tight working distances. Record your setups: distance to subject, dimmer position, aperture, ISO, and white balance. You'll build a decision tree in three weeks.
Add redundancy next. A 100Ws flash and small octobox costs under $300 and transforms your options for accent and backup. It's the move that converts a single-light rig into a true kit.
Layer gel control last. Once you've shot mixed-ambient scenes and felt the pain of tungsten spill, invest in gels and black flags. You'll use them on half your sessions and never regret the $50 spend.
Track everything. Meter white balance. Log distances. Note dimmer settings. Consistency compounds; after 20 sessions, you'll have repeatable recipes that translate across locations. That's the edge that separates pros from guesswork.
The five kits above aren't rigid prescriptions; they're frameworks. Pick one that matches your current space and power budget, then iterate. Every light you add should solve a real constraint (flicker, color drift, power draw, portability), not create new ones.
Because at the end of the day, the best kit is the one you'll actually use. And the one you'll use is the one that fits your reality: your apartment ceiling, your rental car trunk, your 15A circuit, and your deadline tomorrow at noon.
Related Articles