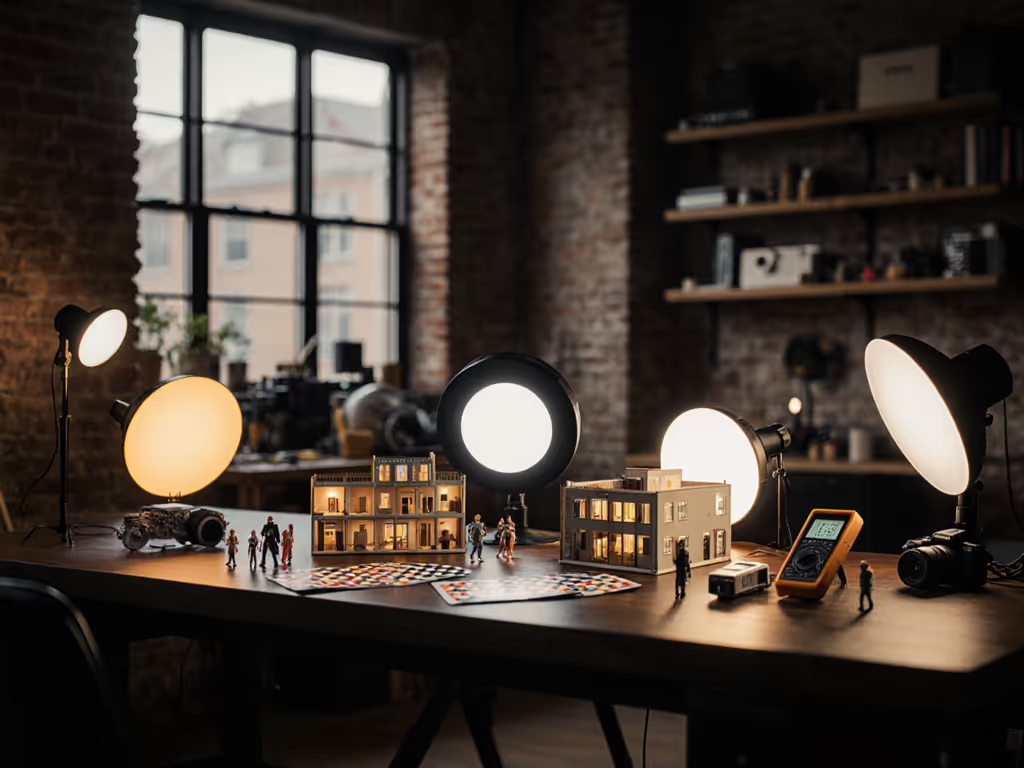
5 Video Lighting Kits for Live Shopping Broadcasts
By Aisha López • 31st Mar
When you're selling live, your product doesn't just need good light: it needs truthful light. Video lighting kits designed for real-time e-commerce broadcasting must do something most gear reviews ignore: they must work in the actual rooms where you film, reproduce color accurately across multiple camera sensors, and stay within the power and noise budgets of a typical rental space. Real-time e-commerce lighting is not a scaled-down studio problem. It's a constraint problem. And constraint problems have elegant solutions. If you're weighing flash versus constant light, see our continuous vs strobe comparison for product-focused workflows.
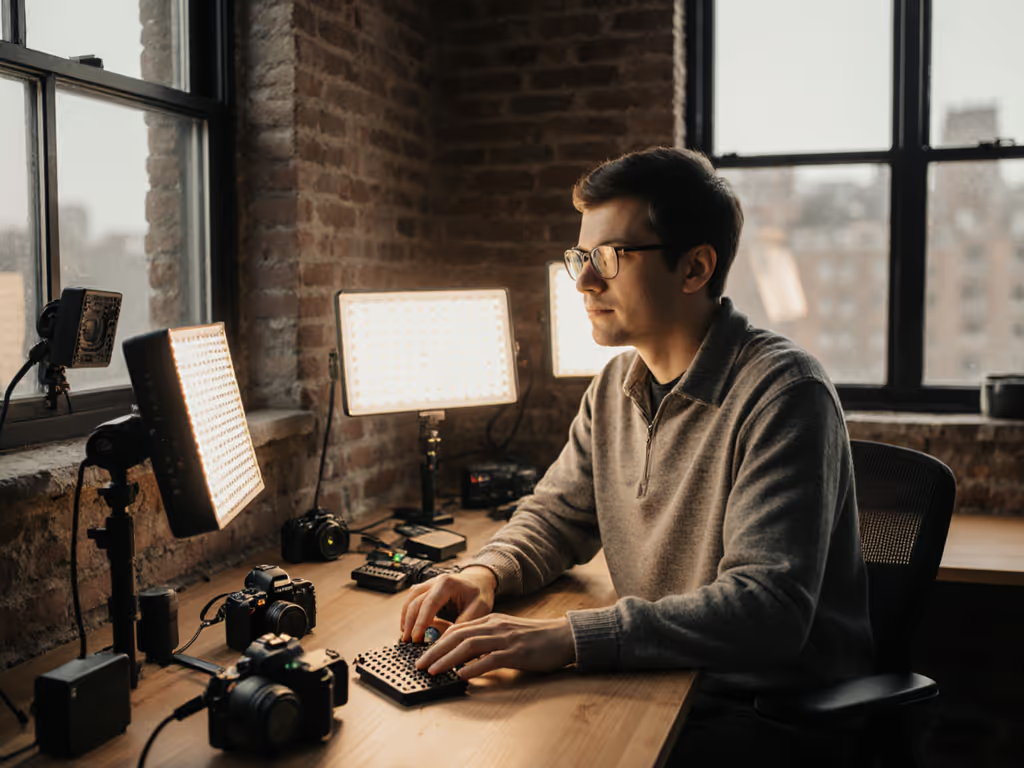
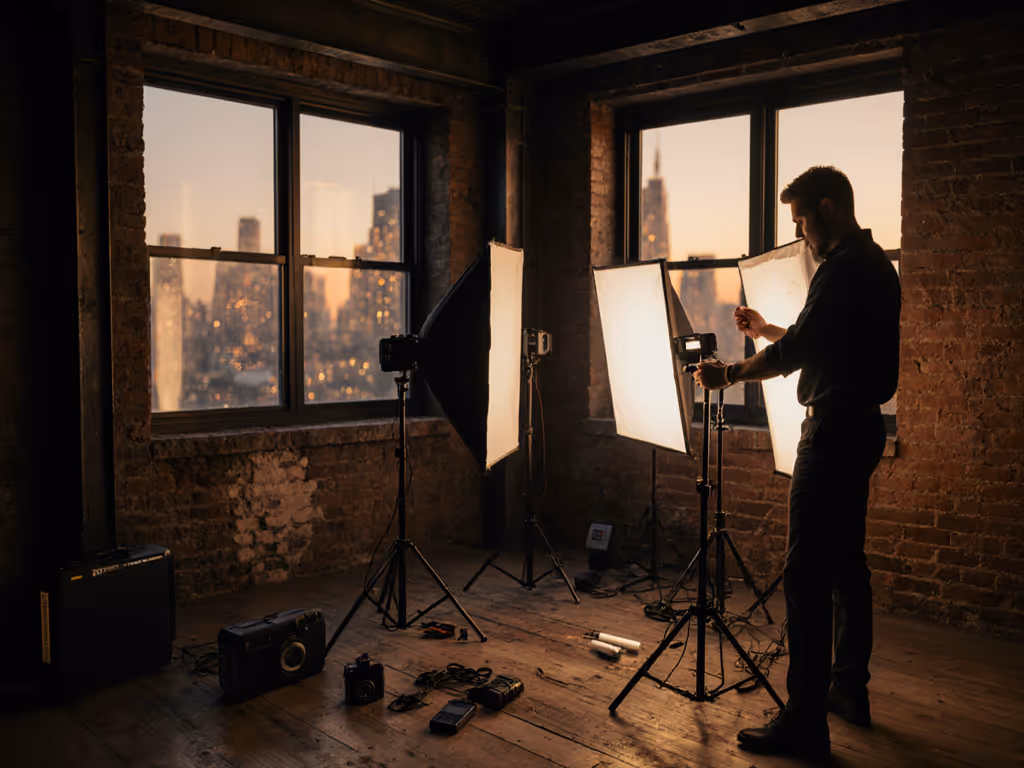
I've helped small e-commerce teams and freelance product videographers rebuild their lighting recipes after moving locations, upgrading cameras, or running into breaker limits. The pattern is always the same: someone bought a heavy, powerful 3-light kit designed for studio floors, then discovered a 9-foot ceiling, a 15-amp circuit, and a client who can't tolerate fan noise during voice-over recordings. The kit sat in a closet. What they needed was modular thinking, a framework for choosing streaming lights and modifiers that solve 80% of broadcast problems with 20% of the weight.
This article breaks down five lighting kits suited to live shopping broadcasts, evaluated against real constraints: power draw (in watts), brightness output (in lux at key distances), noise profile (in decibels), setup time, and color science maturity. Each recommendation includes a practical use-case checklist and troubleshooting notes so you can replicate results across locations.
1. Budget-Friendly 2-Light LED Panel Starter Kit ($200-$250)
Best for: New sellers, single-product demonstrations, apartment-based shoots
The Setup
A Neewer 660 LED Video Light Kit or comparable dual-panel system sits at the price-performance sweet spot for e-commerce newcomers. Two 660-watt-equivalent bi-color LED panels (3200K-5600K) with barn doors, lightweight tripod stands, and a carry bag. Each panel draws 45-55 watts, totaling under 110 watts, well within standard US 15A/120V circuits without risk of tripping breakers during the shoot.
Key Metrics
- Power draw: ~110W combined
- Output: 1,800-2,200 lux at 6 feet (main light), 700-900 lux fill (secondary)
- Color range: Bi-color, 3200K-5600K
- Noise: <25 dB (silent fan, barely perceptible in interviews)
- Setup time: 8-10 minutes
Why This Works for Live Shopping
Two panels let you key one side of a product while gently filling shadows on the other. Bi-color temperature control means you can match the color cast of your venue's practicals (overhead tungsten, window light) without color correction filters. Barn doors give you spill control in tight spaces (critical when you're broadcasting from a bedroom or small office and can't afford light bouncing into unwanted areas).
Limitation: Output plateaus around 2,200 lux. If you're shooting glossy luxury items (watches, cosmetics) and need snappier specular highlights or faster shutter speeds, you'll need fill reflectors or larger modifiers.
Troubleshooting playbook: If skin looks green or magenta, check your white balance card at the same light angle and distance as your product. If the product color drifts between shots, verify that the panel's CCT hasn't drifted (some cheaper models shift at low dimmer settings). Lock in a target (e.g., 4500K) and don't adjust mid-broadcast. If you want sub-$500 options prioritized for accurate product color, see our under-$500 color-accurate kits.
Small kit, big control; every watt has a job.
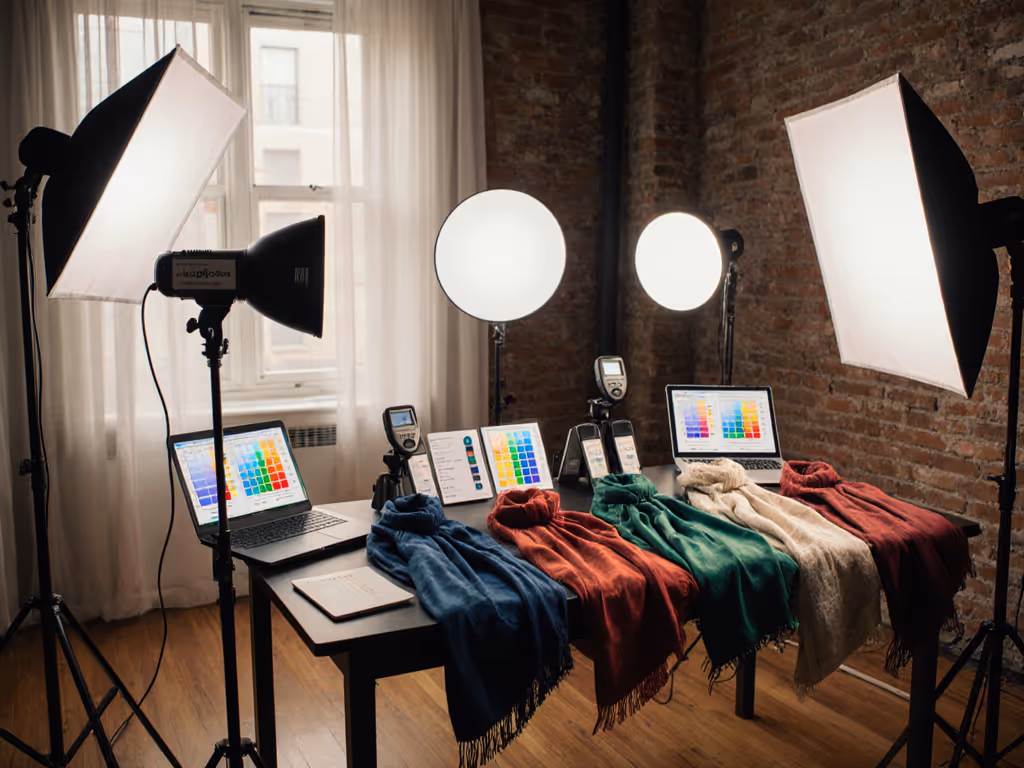
2. Dual RGB Panel Kit for Color-Critical Product Work ($350-$400)
Best for: Fashion, cosmetics, home décor, and multi-brand product sellers
The Setup
Step up to an Elgato Key Light Air Dual Setup or Dracast RGB system. Two ultra-thin aluminum LED panels with integrated RGB control, USB-C power, desktop tripods, and diffusion. Each panel is under 2 lbs, fits in a carry-on, and can swing from daylight-balanced key light to subtle color-wash fill or product accent light in seconds.
Key Metrics
- Power draw: 80-100W combined (via USB-C or AC)
- Output: 2,100-2,800 lux at 5 feet (daylight mode), variable with RGB
- Color range: Full RGB + 3200K-5600K tunable white
- Noise: <20 dB (no fan; passive thermal)
- Setup time: 6-8 minutes
Why This Works for Live Shopping
RGB panels solve a subtle but serious e-commerce problem: product color match across camera brands and white balance presets. A lipstick that reads coral on a Sony might lean orange on a Canon without careful color grading. RGB panels let you dial in a precise white balance target (e.g., 4800K, 100% saturation) and anchor your color decision before you press record. No guessing. No grade-dependent fixes. For marketplace consistency tips, read brand-consistent eCommerce lighting.
The thinness and USB-C power mean you can tape one panel to a small shelf, bounce another off a white card as fill, and stay within a single 5-amp circuit. I rebuilt a two-city e-comm sprint once; the rental quote for location gear had ballooned, and the second venue had an ancient breaker panel with shared outlets. I swapped in three compact RGB panels, two batteries, and one collapsible bounce modifier. We matched the look across both shoots, cut noise to zero, and finished with a single outlet to spare.
Limitation: RGB lights are excellent for precise white balance but can feel clinical if over-relied upon for fill. Use one as key, one as fill or accent; resist the temptation to color-grade live (it reads as gimmicky).
Troubleshooting playbook: If color shifts between takes, verify your white balance target hasn't drifted (take a reference shot of a gray card under your panel before each broadcast segment). If fill light looks dim after you adjust RGB, remember that RGB mode often sacrifices output for color; switch to tunable white if you need max brightness.
3. 3-Light Softbox Kit for Studio-Quality Skin Tone Rendering ($200-$280)
Best for: Beauty, jewelry, and people-centric product broadcasts
The Setup
A traditional softbox lighting kit with three LED heads, stands, and fabric diffusers (such as the Torjim or NearStream options). This is the workhorse for any live shopping broadcast where the presenter is as important as the product. Three 45-60W bi-color panels, each with 1.5×2 ft or 2×3 ft softboxes, plus tripod stands rated for the weight.
Key Metrics
- Power draw: 135-180W combined
- Output: 2,500-3,200 lux at 4 feet (key light), 1,200-1,500 lux fill, 400-600 lux back/separation
- Color range: Bi-color, 3200K-5600K per panel
- Noise: 20-28 dB (audible fan; acceptable for product demo, risky for interview voice-over)
- Setup time: 12-15 minutes
Why This Works for Live Shopping
Softboxes scatter light across a wider area than bare panels, wrapping light around your face and product. This flatters skin tone, reduces harsh shadows, and creates a forgiving, on-brand look (critical when your presenter is the brand). The three-light formula (key, fill, back) gives you dimensional control: you can separate the subject from the background, manage how much shadow definition appears on the product, and adapt to different camera angles without rebuilding from scratch.
Limitation: Softboxes are bulkier and heavier than panels. A 2×3 ft softbox doesn't fit in a standard carry-on; you'll need checked luggage or a roller bag. The fan noise can be problematic during quiet voice-over or interview segments unless you reduce the key light to 30-40% power (which dims output noticeably).
Troubleshooting playbook: Softboxes scatter spill; if you're in a tiny room, position the back light to bounce into a corner, not your camera lens. If the presenter looks too flat, increase the key light angle from 45° to 60° and reduce fill, you'll gain more definition. If the product looks pale under softbox light, add a small panel as a subtle accent light, angled to catch texture or shine without creating new shadows.
4. Compact High-Output COB Light for Specular-Heavy Products ($300-$500)
Best for: Luxury jewelry, tech unboxings, and high-sheen cosmetics
The Setup
A single high-output LED fixture, such as the Godox SL-60W or equivalent COB (chip-on-board) panel, paired with a small reflector, diffusion frame, and a sturdy stand. COBs concentrate light in a tight beam, producing intense lux at close distances. A single 60W COB can deliver 4,500+ lux at 3 feet, giving you crisp specular highlights and fast shutter speeds without multiple fixtures.
Key Metrics
- Power draw: 60-80W (single fixture)
- Output: 4,200-5,000 lux at 3 feet, 2,800-3,200 lux at 5 feet
- Color: 5600K daylight (some bi-color variants available)
- Noise: 28-35 dB (active cooling; perceptible but manageable with fill light ambience or music)
- Setup time: 5-7 minutes (single light, minimal modifiers)
Why This Works for Live Shopping
Luxury product broadcasts demand visual drama. A glossy watch face or a perfectly cut gemstone needs crisp, defined highlights to read as premium. A single COB at the right angle and distance (typically 3-4 feet, 45° from the product axis) throws enough lux to make the product sing (no diffusion required). You can then add a soft fill panel or bounce card to manage shadow depth, keeping your total power draw low and your setup simple.
Limitation: COBs are directional; light falls off steeply beyond 5 feet. Not ideal if you need to light a presenter and a product simultaneously at full brightness. Also, the daylight color (5600K) can make warm-toned products (gold jewelry, bronze cosmetics) read cold unless you add color correction or reframe your white balance.
Troubleshooting playbook: If the specular shine is too harsh or one-dimensional, add a diffusion frame 1-2 feet in front of the COB, or bounce the light off a large white card instead of using it direct. If color looks washed (common in daylight-only fixtures), add a small tungsten accent light (even a practical desk lamp) angled so its warm tone brushes the product's edge, this adds dimensionality and warmth without blown-out highlights.
5. Portable Battery-Powered LED Kit for True Mobility ($250-$400)
Best for: Pop-up shops, hotel rooms, and on-location brand activations
The Setup
A Lume Cube Studio Panel or similar battery-native system (compact LED panels, typically 8-10 inches square, with built-in rechargeable lithium batteries, USB-C charging, and optional AC power). Two or three panels can run for 4-6 hours on a single charge. Designed for videographers who move constantly and can't rely on outlet access or need silent, flicker-free operation during long recording sessions.
Key Metrics
- Power draw: 10-15W per panel (battery mode), 20-30W (AC mode, faster charge)
- Output: 800-1,200 lux per panel at 3 feet (modest but usable for close-range product work)
- Color: 3200K-6500K tunable, often with accurate CRI (>95)
- Noise: <18 dB (silent, no fan)
- Runtime: 4-6 hours per charge at 50% brightness
- Setup time: 3-5 minutes
Why This Works for Live Shopping
Pop-up shops and hotel room shoots are a reality for many e-commerce creators. Outlet access is unreliable; extension cords create trip hazards; venue rules may forbid any fixture heavier than 10 lbs on walls. Battery-powered kits eliminate these friction points. Pair one panel with a small reflector for key light, one as fill, and you have a complete two-light setup that weighs under 5 lbs total, fits in a small backpack, and requires zero outlet negotiation.
The high CRI rating (95+) ensures skin tones and product colors remain accurate across different venues. Silent operation is a bonus during long broadcast days or when you're layering your own voice-over without an expensive isolation booth.
Limitation: Output is lower than AC-powered kits. You won't achieve the 3,000+ lux needed for fast shutter speeds (1/250th at ISO 100, f/2) or aggressive specular highlights on shiny products. This kit shines (literally) for mid-range jewelry, apparel, home goods, and people-centric broadcasts, not for high-sheen cosmetics or reflective tech.
Troubleshooting playbook: If the panel dims after 2-3 hours, you've likely hit the battery's charge threshold in cool ambient conditions (lithium performance drops below 50°F). Warm the battery with your hands or a pocket warmer before the next segment. If the light feels flat without fill, increase the key light to 75-80% power and position it 24-30 inches from your product (the closer distance compensates for lower lux output).
Choosing Your Kit: A Decision Framework
The right camera video lighting setup for live shopping isn't the most powerful or feature-rich. It's the one that solves your specific constraints without generating new problems.
Use this checklist:
- Space constraint: Is your venue under 10 feet ceiling? Under 200 square feet? Choose slim panels or battery kits; avoid three-light softbox rigs.
- Power budget: Measure your breaker capacity. A 15A/120V circuit safely supports 1,200-1,500W; subtract 20% for overhead appliances. Most LED kits stay well below this, but verify.
- Noise tolerance: Interview-heavy broadcasts? Go silent (battery kits, passive-cooled RGB panels). Product-only demos? Fan noise is acceptable if output is higher.
- Color work: Skin tones the priority? Softboxes or tunable RGB. Product only? COB or directional panels save cost and space.
- Portability: Backpack, carry-on, or checked luggage? Choose accordingly. A 2×3 ft softbox doesn't fit a carry-on.
- Setup time: Live broadcast, tight schedule? Battery kits and COBs win (3-5 minutes). Studio-style work? Invest the 12-15 minutes for softboxes.
Common Pitfalls and Solutions
Mixed Color Temperature
Venue practicals (ceiling fixtures, windows, desk lamps) are often 2700K-3000K (tungsten). Your key light might be 5600K (daylight). The result: color shift across the frame, magenta in shadows, green in highlights.
Solution: Measure the ambient color temperature with a simple app or color meter. Set your key light to match (e.g., if practicals are 3200K, set your panel to 3200K). Use fill light to brighten shadows without introducing new colors. Expose for the product first; let the presenter's face fall into a slight shadow if needed. Need gear tuned for this scenario? Check our tested bi-color video lights for mixed ambient picks.
Flicker or Banding
Cheap LED panels use PWM (pulse-width modulation) dimming, which flickers at certain shutter angles. Slow-motion or high frame rate work can reveal this as bands or strobing.
Solution: Choose panels with high-frequency, constant-current dimming. Match shutter speed or angle to your local power frequency, avoid very low dimmer settings, and prefer DC power or higher brightness settings when possible for flicker-free results.
Related Articles