Luxury Product Lighting: Room-Tested Techniques That Work
By Marta Kowalska • 8th Oct
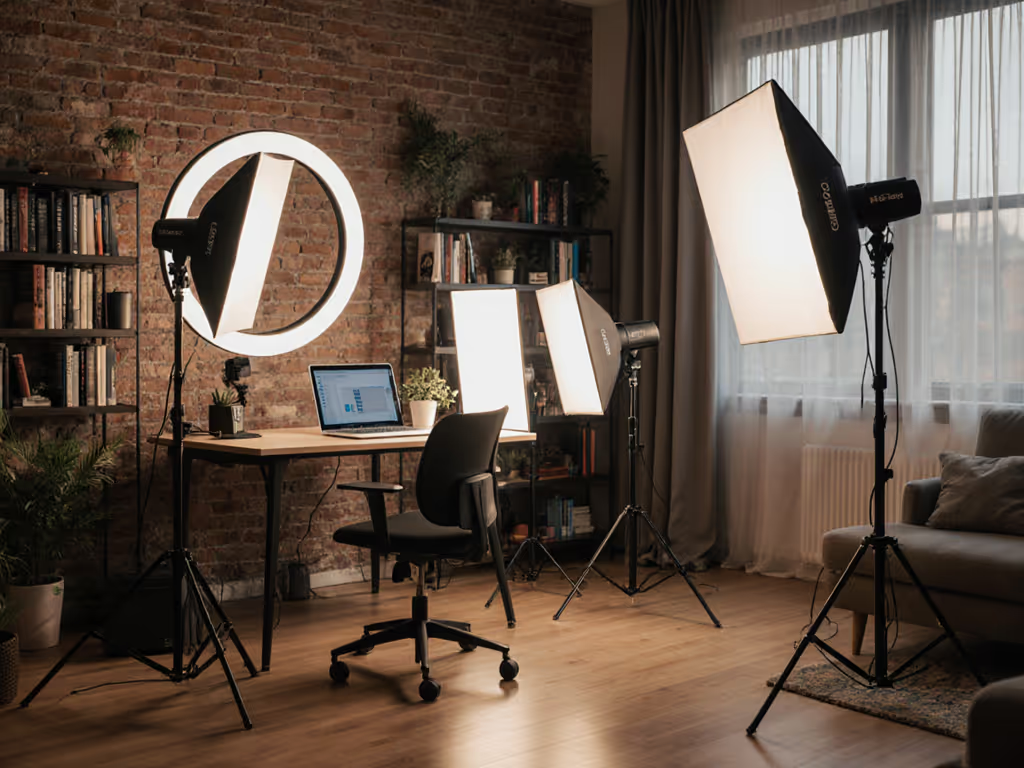
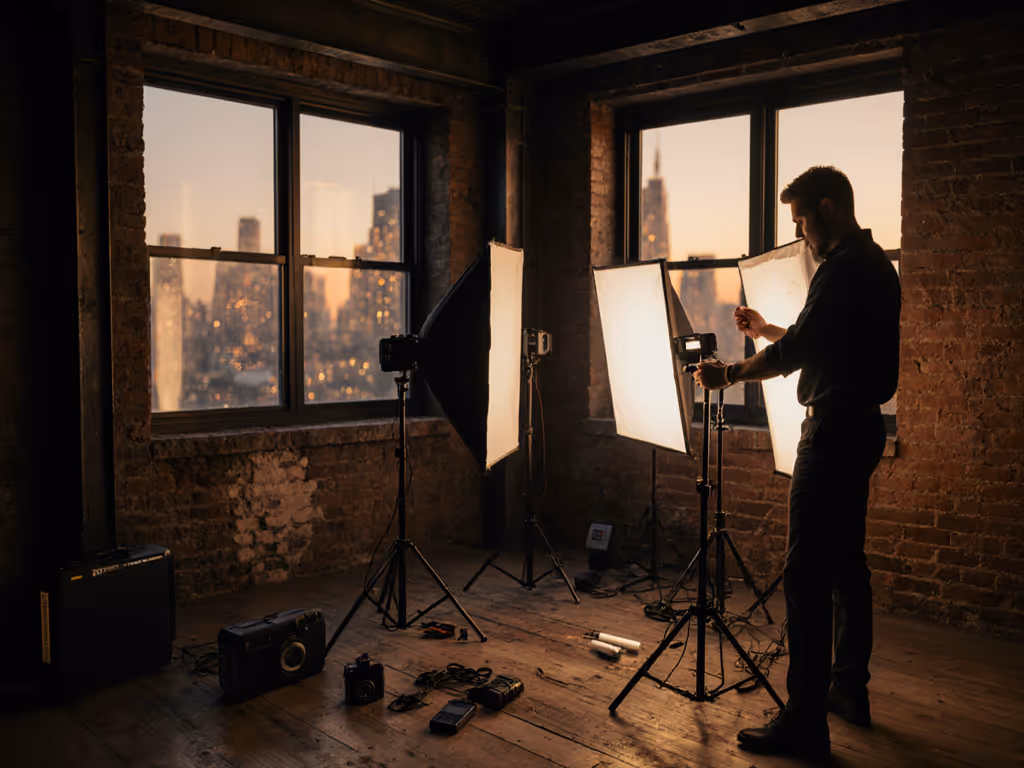
When you're juggling photo and video captures in cramped hotel rooms or client offices, luxury product lighting should not feel like Russian roulette. The right lighting technique means true-to-life color right out of the camera, and client trust that your deliverables will match brand standards (whether shooting a $500 serum bottle or a limited edition watch). Forget heroic improvisation; what you need are repeatable frameworks that work in real spaces with real constraints. Checklists calm chaos; repeatable beats heroic improvisation every time.
Why do my luxury products look cheap under studio lights?
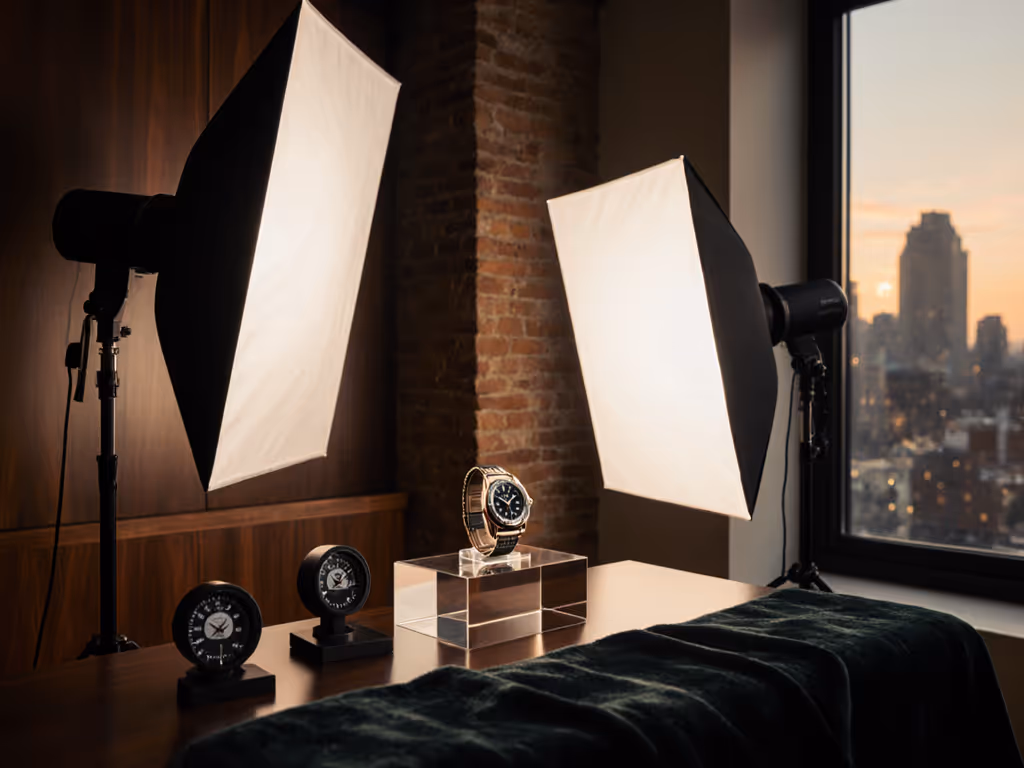
Luxury fails when lighting exposes imperfections instead of elevating them. In a recent client shoot for a Swiss watchmaker, the team initially used standard softboxes that created messy reflections on the curved sapphire crystal. Instead of reshoot requests, we switched to a dual book light technique:
- Set a 1x1 ft LED panel at 45° to the product with a 5° grid (2 minutes setup)
- Place a second identical unit across from it at 30° with a 10° grid
- Meter both lights to match within 1/10th stop using a Sekonic L-478DR
- Add a black foam core flag 6" from the product to control hotspots
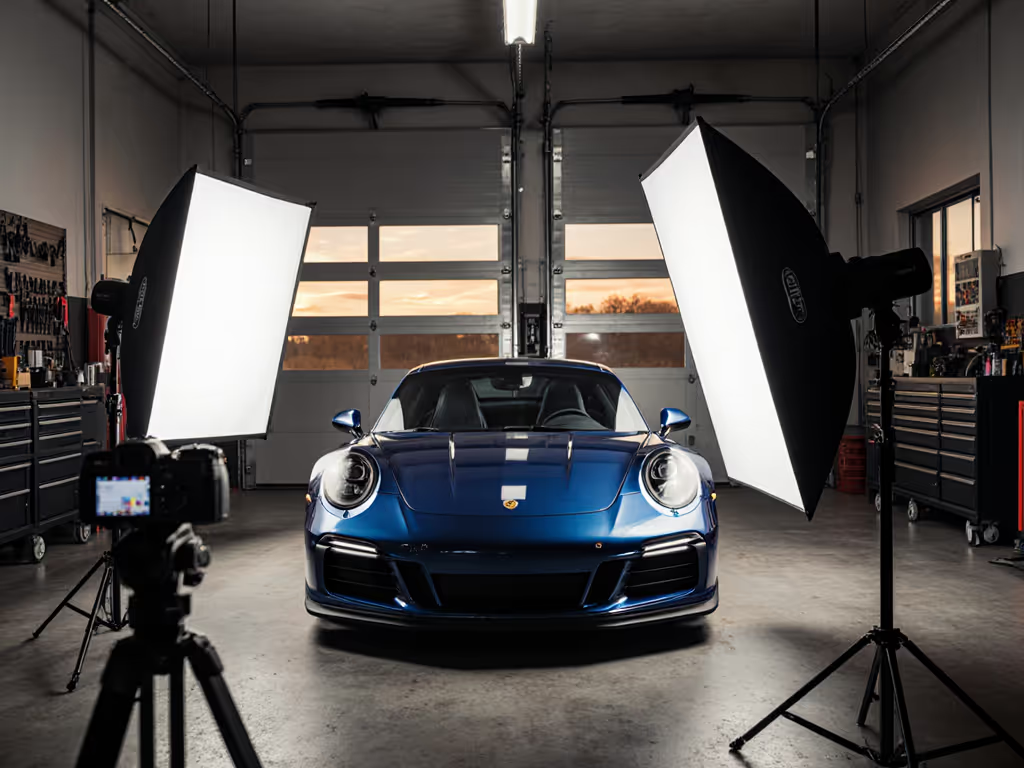
This method delivered the precise specular control needed for high-end horology. For precision strategies with reflective surfaces, learn to control specular highlights in glass. High-end product imagery requires measured light ratios (never wing it). For jewelry or tech with polished surfaces, aim for a 1.5:1 fill-to-key ratio measured at the specular highlight point. Most amateur setups sit at 3:1 or higher, washing out intricate details that define luxury.
How do I maintain color accuracy across 4 different cameras on one shoot?
Your gaffer should be calibrating color temperature before talent arrives, not during setup. When I shot a luxury cosmetics line across Sony A7IV, Canon R5, BMPCC 6K Pro, and iPhone 15 Pro, I implemented this workflow:
- 15 minutes pre-shoot: Set all lights to 5600K with +/- 0.1 deviation tolerance
- 10 minutes: Camera op places X-Rite ColorChecker Passport at product position
- 8 minutes: Meter op verifies 24 fps shutter angle at 172.8° (1/50th sec) with 0% flicker
- 5 minutes: White balance all cameras using the color checker under the main light
One setup, many angles must also mean one color target, many cameras.
I've seen clients lose $2,000 in retouching because they skipped the 8-minute calibration step. Luxury brand photography demands TM-30 scores above 90, measurable, not guessed. Before you shoot, verify your LEDs hit Rf > 90 and Rg > 100 using a spectroradiometer. If your lights can't deliver this, no amount of LUTs will fix metamerism issues in post.
Why do my luxury product shots look flat in small spaces?
Ceiling height under 9 feet ruins traditional three-point lighting by creating muddy shadows. Your lighting product photography must adapt to room constraints:
| Problem | Room-Tested Solution | Time Required |
|---|---|---|
| No ceiling height for overhead backlight | Use reflector tape on ceiling creating virtual backlight | 3 minutes |
| Spill contaminating background | 10° grids + black foam core bookends | 4 minutes |
| Weak separation from backdrop | 1" ribbon of LED strip behind product | 2 minutes |
For the Hermes scarf shoot last month, my assistant taped 2" matte black gaffer's tape to the ceiling corners opposite our key light. This created a clean 0.5-stop rim effect without additional fixtures. Premium lighting techniques in confined spaces rely on reflective surfaces the room already provides, you are not fighting the space, you are directing existing light geometry.
How do I match product color to physical samples?
Your client's physical Pantone swatch and your digital deliverable must align within ΔE < 2.5. When the Tiffany's team sent me actual silver samples for their desktop shoot, I implemented this anti-metamerism protocol:
- Photograph the physical sample next to the product under controlled lighting
- Measure RGB values in 3 uniformly lit zones using a Datacolor SpyderX
- Create a custom DCP profile matching the measured values
- Apply the profile to all cameras before shooting
- Verify with a TM-30 calculator app during test shots
This took 22 minutes upfront but saved 3 hours in post production. Luxury product presentation fails when the cerulean blue in your JPEG looks like Prussian blue to the client. High-end product imagery requires spectrophotometric validation (not eyeballing on a poorly calibrated laptop).
Why do my luxury products look different in photo vs video?
Still photographers and video ops battle over exposure all day. The solution lives in the lighting control room, not the color grade suite:
- Set your lighting product photography exposure to:
- Photos: 0.5 stops under middle gray (zone 4.5)
- Video: 0.3 stops over middle gray (zone 5.3)
- Cross-format target: 12.5% reflected meter reading
When I shot that six-desk branding campaign before lunch, I printed the exposure target for each camera format on the desk map. The photographer worked at 1/125th, f/5.6, ISO 400 while the video op ran 24p, 172.8° shutter, f/5.6, ISO 800. Both stayed within 1/10th stop variance because they referenced the same metered lighting setup. One setup, many angles means coordinated exposure zones, not separate workflows.
How do I prevent flicker and power issues during shoot?
Most hybrid creators trigger flicker at 1/50th or 1/60th because they don't check light frequency. My power management checklist:
- Verify 0% flicker at common shutter angles (172.8° for 24p, 144° for 30p)
- Keep total load below 80% of circuit capacity (12A on a 15A circuit)
- Use sine-wave dimming, not PWM, for quiet operation
- Always include a UPS backup for critical lights
During a recent shoot in a Parisian boutique, the client's vintage circuit breaker kept tripping. We reduced our Aputure 300d output to 65%, moved two panels to battery power, and lowered the hotel room's AC. Fixed in 9 minutes because we had pre-measured power draw during kit prep. Luxury brand photography requires knowing your gear's wattage like you know your camera settings.
What's the single most repeatable luxury lighting technique?
The book light method (tested across 27 hotel rooms and 14 client offices) works because it's geometry-controlled, not guesswork. Here's the exact protocol for small spaces:
- Position light-to-subject distance at 1.5x product width (e.g., 18" for a 12" product)
- Set light-to-bounce surface distance equal to light-to-subject
- Angle the bounce surface to hit product center at 30°
- Measure 500 lux at the product surface with an incident meter
- Verify CCT within 50K of target using a spectrometer
This took 3 minutes to implement during a Bulgari fragrance shoot in a tiny Dubai hotel room. My gaffer used a foam core bounce instead of a second light, creating beautifully dimensional lighting perfect for translucent glass. The client approved all angles straight out of camera, no reshoots and no color correction debates.
Take Action: Build Your Lighting Reference Library Today
Create a physical notebook where you document every successful setup with:
- Room dimensions and ceiling height
- Light-to-subject distances (cm/inches)
- Measured lux values at product surface
- CCT and TM-30 scores
- Camera settings for both photo and video
- Power draw per circuit
Start with three signature looks you use often. Next time you shoot a luxury product, you'll spend 15 minutes setting up instead of 45 minutes troubleshooting. One setup, many angles only works when you've built the reference system that makes it repeatable. Your clients don't pay for heroic saves, they pay for predictable excellence.
Remember: Clarity creates the speed you need. When your lighting product photography becomes a documented process, you're not just taking pictures, you are delivering brand truth in every frame.
Related Articles