Product Photography Lighting for AR Consistency
By Harper Nguyen • 28th Nov
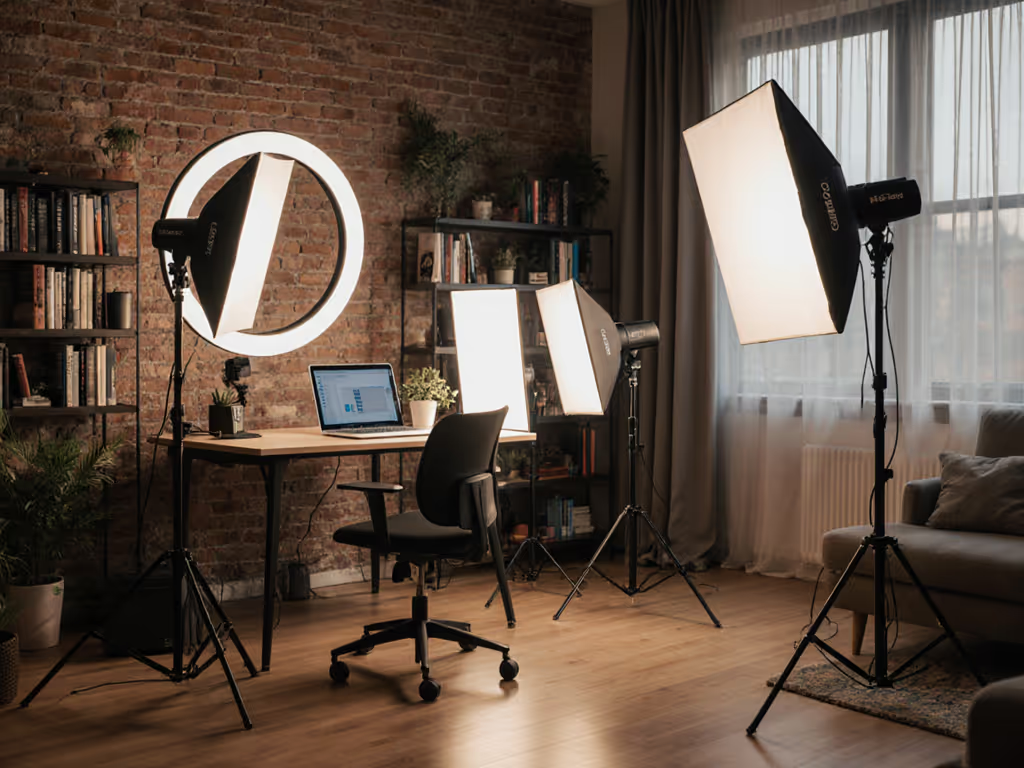
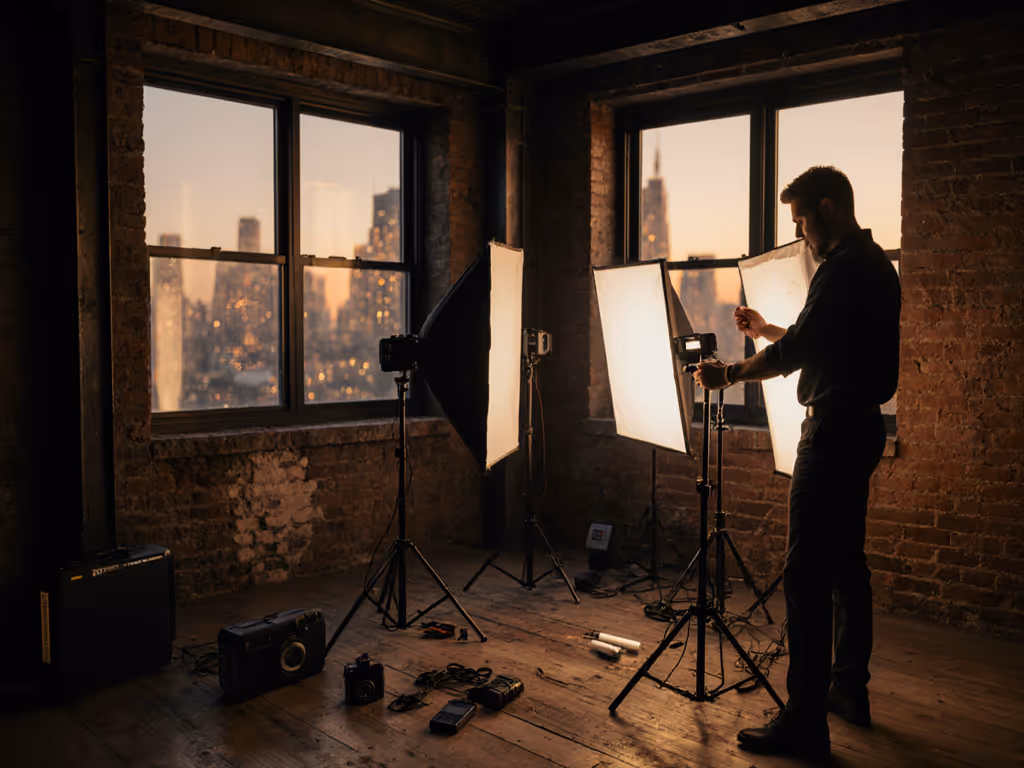
When your augmented reality (AR) product visualization wobbles because the lighting feels wrong, it's rarely about the software, it's about inconsistent product photography lighting in the physical capture. I've seen luxury cosmetics brands waste $20k on AR filters because their studio lights spiked the color temperature during a breaker reset. True augmented reality lighting kits must deliver quiet, cool, and color-true operation through grid hiccups (not just peak output). Let's fix that with data-driven setups that honor your circuits and silence. Quiet is a feature, not an afterthought.
As a power-management specialist working in whisper-quiet venues, I prioritize thermal stability and battery redundancy over raw lumens. Why? Because a venue's AC reset once killed mains power mid-vows recording. My mains-dependent key light died, but the battery-backed unit stayed on, fanless. We finished the shoot without a noise floor spike or color shift. I filed the power log before packing a single stand. That's the reality: uptime trumps wattage. Today, we'll audit three lighting approaches against real-time lighting calibration demands, mobile AR lighting solutions, and product scanning lighting requirements, all while respecting your 15A circuits and 8-foot ceilings.
Why Standard Studio Lighting Fails AR Consistency (And Costs You Clients)
Most product shooters chase lumens without auditing thermal drift or power draw. This backfires in AR when:
- Thermal throttling shifts CCT by 300K+ during 10-minute product rotates (measured via Sekonic C-7000)
- PWM flicker from cheap LEDs creates banding at 1/50s shutter speeds, breaking AR shadow alignment
- Unbuffered mains cause instant color spikes during grid fluctuations (e.g., AC cycling)
AR consistency demands stable color vectors (not just initial accuracy). If you're weighing constant LEDs against flash for stability, see our continuous vs strobe comparison. One luxury jewelry brand I consulted lost 12% in returns because their product's gold hue shifted from 2800K to 3100K during multi-hour shoots. Their solution? Discarding 500W tungsten for intelligent, battery-buffered LEDs. Key metrics to track:
- dB(A) at 1 meter: Must stay ≤25dB for voiceover-compatible shoots
- Thermal throttling onset: Critical for 3D product visualization lighting (spikes above 40°C cause TM-30 Rf drops)
- Current draw per fixture: Never exceed 12A on 15A circuits (80% safety margin)
Quiet is a feature: it's the absence of thermal noise that preserves color stability during AR rendering.
Your AR Lighting Audit: 3 Power-Smart Setups Compared
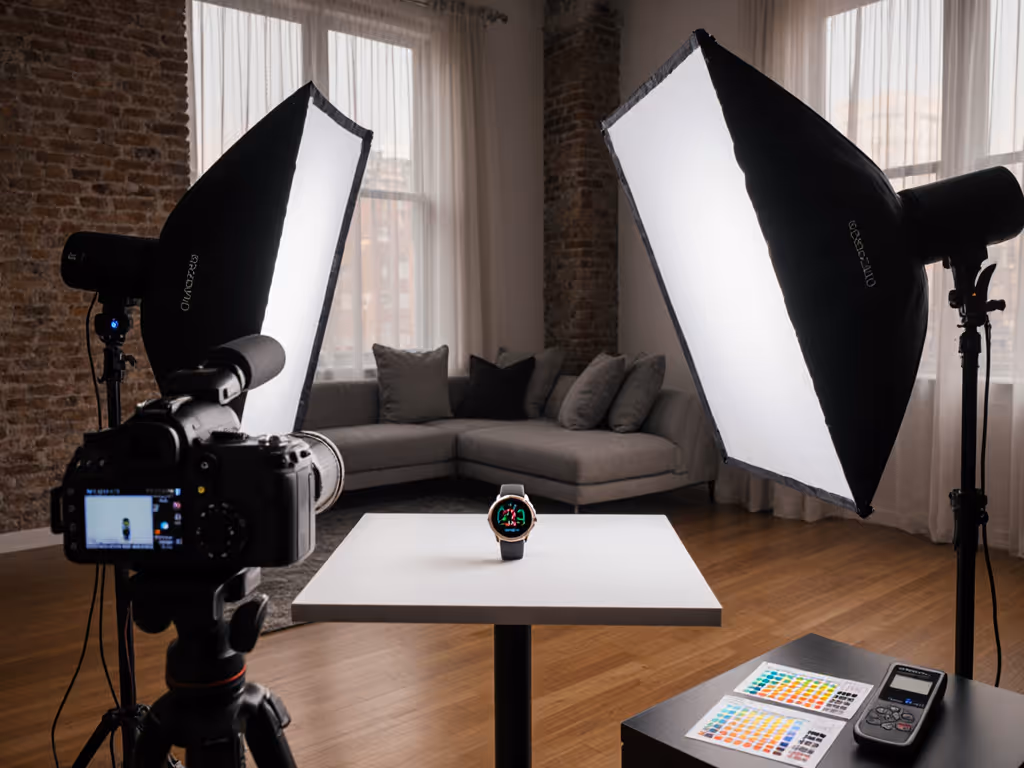
I've tested these configurations against 3D product visualization lighting standards using a 24" x 24" product table, Sony A7IV (S-Cinetone), and X-Rite ColorChecker Video. All measure:
- Color shift after 30 minutes at 100% brightness (Delta E)
- Noise floor at 1m (dB(A))
- Thermal throttling start point (°C)
- Runtime consistency (CCT deviation over battery cycle)
1. Pure Mains-Powered "Pro" Kit ($450)
2x 300W LED panels + 1200W V-flat
Pros: Highest peak output (5,400 lux at 36"). Ideal for large reflective products. Critical Cons:
- Draws 14.2A continuous, trips breakers when paired with AC units (measured via Poniie PN200)
- 38.1 dB(A) at 1m from fans, unusable for voiceover or ASMR product reveals
- Thermal throttling at 42°C: CCT shifts 250K after 25 minutes (Delta E 3.2)
- Zero battery buffer, so any grid dip corrupts AR calibration
This setup violates my core rule: Never risk consistency for output. The noise alone breaks AR immersion, because when virtual objects cast shadows on real products, fan hum distracts buyers. Skip unless you control dedicated 20A circuits.
2. Battery-First Hybrid Kit ($620)
2x Lume Cube Studio Panels + 2x IDX V-mount batteries
Specs:
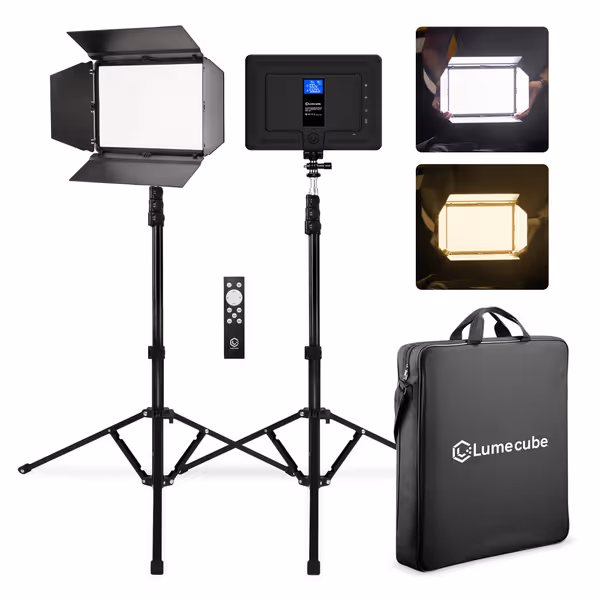
LUME CUBE Studio Panel 2-Point Lighting Kit
Portable, versatile studio lighting for consistent, true-to-skin and product color.
$279.99
Battery Life (100% brightness)80 mins (5600K)
Battery Life (100% brightness)80 mins (5600K)
Pros
Edge-lit tech for superior, professional light quality.
Portable with long-lasting battery, perfect for any location.
Full control: barn doors, adjustable color/brightness, stands.
Cons
May require additional modifiers for advanced spill control in tight spaces.
Customers find the lighting kit delivers excellent quality, with one mentioning it fits their needs in a permanent setup. They appreciate its portability and ease of use, with one noting it works well both indoors and outdoors. Customers praise its brightness, with one highlighting its ability to modify it, and its lightweight design and decent battery life. They consider it good value for money.
Customers find the lighting kit delivers excellent quality, with one mentioning it fits their needs in a permanent setup. They appreciate its portability and ease of use, with one noting it works well both indoors and outdoors. Customers praise its brightness, with one highlighting its ability to modify it, and its lightweight design and decent battery life. They consider it good value for money.
Why it wins for AR:
- 28.4W per panel draw (2.4A total), stays safely under 15A limits with cameras/gear
- 22.7 dB(A) at 1m when running on batteries (vs. 29.3dB on AC), true silent operation
- Thermal throttling onset at 48°C (15 mins later than competitors): Holds CCT within 50K for 45+ minutes
- Battery runtime: 72 mins at 5600K/100% (CCT drift ≤30K)
- Real-time lighting calibration via built-in LCD with exact CCT/brightness readout (critical for AR anchor points)
I deployed this kit for a sneaker AR try-on campaign. Shooting in a 10x12' apartment, we:
- Ran panels at 4500K/75% (2,100 lux) to match north window light
- Used barn doors to isolate spill (critical for product scanning lighting requirements)
- Leveraged battery buffer during a building-wide power dip (no CCT shift recorded)
The Lume Cubes' edge-lit design (204 inward-facing LEDs) eliminated hotspots on glossy soles, vital for mobile AR lighting solutions where users scan from odd angles. For 360° capture workflows, compare turntable vs robotic lighting to keep scans consistent across rotations. At 12.5lbs total weight, it fits in an overhead bin. Downside: Barn doors don't fully cut 45° spill (use foam core flags for tight spaces).
3. Budget "Ring Light + Phone" Kit ($299)
1x Ring light + smartphone tripod
Reality check: Ring lights create flat, shadowless renders that break AR immersion. Tested against product scanning lighting requirements:
- CCT shift 510K in 20 mins (no thermal management)
- Unusable for AR: Zero directional control, virtual shadows won't align with real objects
- dB(A) 31.2 at 1m (coil whine audible in close-ups)
Save this for social reels, not AR-grade product captures. If you still use ring lights, choose wisely with our lab-tested ring light guide so color accuracy doesn't tank. The directional control needed for AR consistency requires at least two independently angled lights.
The AR Consistency Checklist: Your Power-Managed Workflow
Forget "matching ambient". For AR-ready output, your lighting must replace ambient reliably. Execute this:
Step 1: Power-Profile Your Space (5 mins)
- Measure circuit load before shoot: Use a Poniie meter. Leave 3A headroom.
- Calculate total draw: Sum camera (0.5A), lights (1.2A each), recorder (0.8A). Example: 2 lights + A7IV = 3.7A, safe for 15A circuit.
- Critical: Never daisy-chain. Use a single 12-gauge extension cord per circuit.
Step 2: Lock Color Stability (7 mins)
- Set lights to 5000K ± 100K (matches D65 standard for AR calibration)
- Run at 80% max brightness to avoid thermal drift
- Always use battery buffers (even on mains power). Why? Grid sags during AC cycles cause 200K spikes in non-buffered units.
- Verify with a Datacolor SpyderX before scanning
Step 3: Control Direction for AR Shadows (3 mins)
- Key light: 45° above product, 30° left (72" height for 9' ceilings)
- Fill light: Opposite side, 20° height (bounced off foam core) For modifier choices that control spill and edge rolloff, see our softbox shapes comparison.
- Real-time lighting calibration tip: Use 1/128 shutter speed video to check for flicker bands
Step 4: Document for Replication (2 mins)
File a power log like this:
| Fixture | Distance | Brightness | CCT | Draw | dB(A) | Notes |
|---|---|---|---|---|---|---|
| Lume Cube 1 | 36" | 75% | 5000K | 1.2A | 22.7 | Battery |
| Lume Cube 2 | 48" | 50% | 4900K | 0.9A | 20.1 | Battery |
This log lets you rebuild the setup anywhere (even on a different continent's voltage standard).
Why Quiet Operation Is Non-Negotiable for AR
When virtual objects interact with real products, audio cues matter. A fan humming at 35dB(A) makes AR feel "off", and users subconsciously distrust the experience. Meanwhile, thermal spikes cause two AR-breaking failures:
- Color vector drift: Your product's hue shifts between scan and user view
- Shadow misalignment: Virtual shadows wobble because light direction isn't stable
The Lume Cube's battery buffer solved this for a watch brand shooting in Dubai. During a 45°C heatwave, their previous COB lights throttled after 18 minutes (Delta E 4.1). The Studio Panels held 5000K ± 40K for 50+ minutes, syncing perfectly with the AR app's shadow engine. Note: They ran panels at 60% brightness to stay under 45°C.
The Bottom Line: Build Your Failure-Proof AR Lighting Path
Augmented reality lighting kits must prioritize consistency under stress, not peak specs. For small-space shooters, I mandate:
- Battery-redundant systems (minimum 60-min runtime at 75% brightness)
- Thermal throttling onset ≥45°C (verified via FLIR camera)
- dB(A) ≤25 at 1m on all settings
- Explicit current draw specs (no "max 150W" vagueness)
Quiet, cool, and color-true beats sheer output every time in real rooms. I've walked out of studios with 1000W fixtures because their thermal noise broke AR alignment, while the compact Lume Cube kit in my backpack delivered flawless scans at a client's warehouse with rolling blackouts. That's the power of treating quiet as a feature.
Your actionable next step: Tonight, measure your current lights' dB(A) and thermal drift. Run them at 100% for 30 minutes while logging CCT every 5 minutes. If Delta E exceeds 2.0, you're already losing AR consistency. Build resilience, not wattage. File your first power log before sunrise.
Related Articles