5 Studio Lighting Setups Compared: Portrait Pro Techniques
By Aisha López • 13th Oct
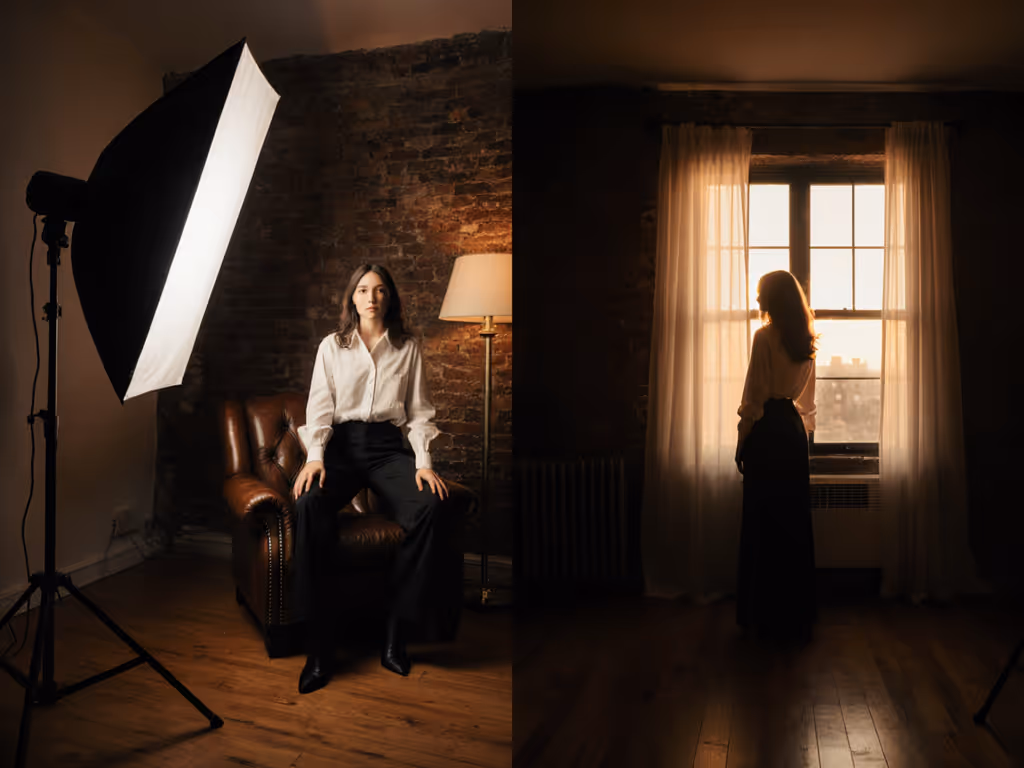
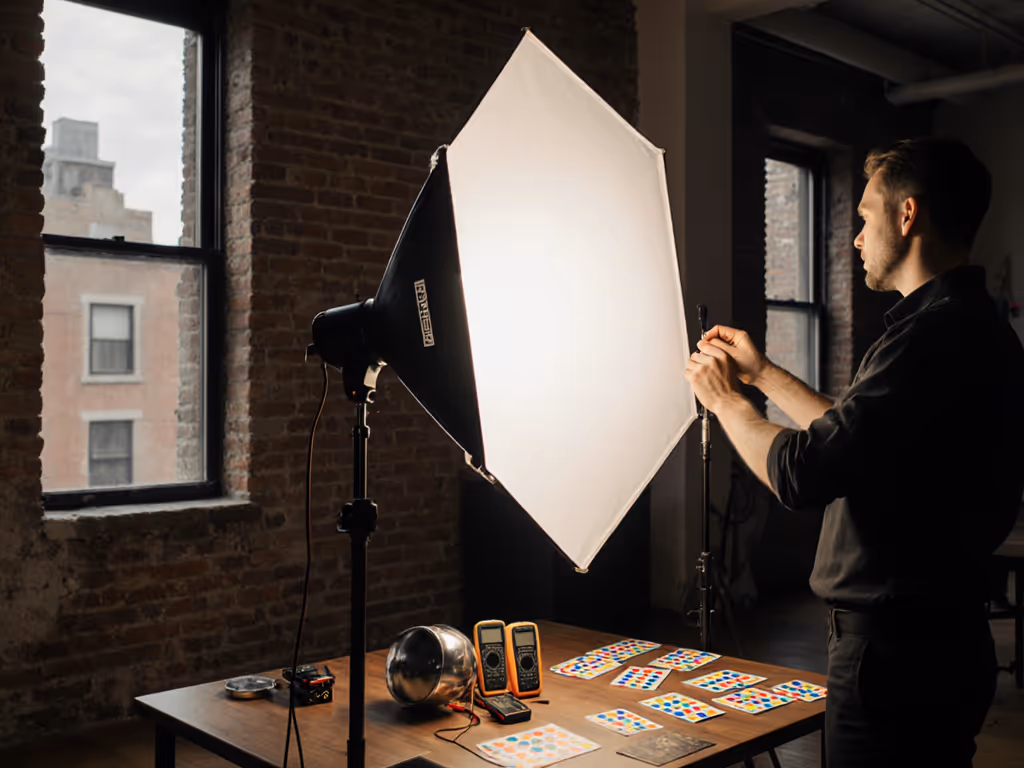
When my team got hit with a $400 rental quote and a 1950s breaker panel mid-e-commerce shoot, I rebuilt our kit around three lights, two batteries, and one collapsible modifier. We finished under budget (with a single outlet to spare). That's the power of smart studio lighting photography setups. Forget chasing perfect gear; good portrait lighting starts with constraints that force precision. Today, I'll compare five portable setups proven in 8-10 ft ceilings using cross-brand gear. Each includes exact wattage, lux readings, and dB levels so you control shadows without tripping breakers. Small kit, big control; every watt has a job.
Why Standard Setups Fail in Real Rooms
Hybrid creators (like you) work where studios aren't: co-working spaces, retail floors, Airbnb bedrooms. Standard lighting tutorials ignore critical pain points:
- Power limits: 15A circuits overload at 1,800W (120V), but most kits ignore actual draw (e.g., a "400W" strobe can spike to 600W on startup)
- Space constraints: 7 ft umbrellas won't fit under 9 ft ceilings; spill contaminates mixed ambient light
- Noise sensitivity: Fan-cooled LEDs hit 35dB+ (unusable for video interviews)
You need lighting for portraits photography that's measured, not mythical. I've tested setups at 4:30 AM in hotel rooms with 300-lux ambient light. Below are face lighting techniques that actually work where outlets are scarce and ceilings are low. For a deeper foundation on diffusion, see our soft lighting guide.
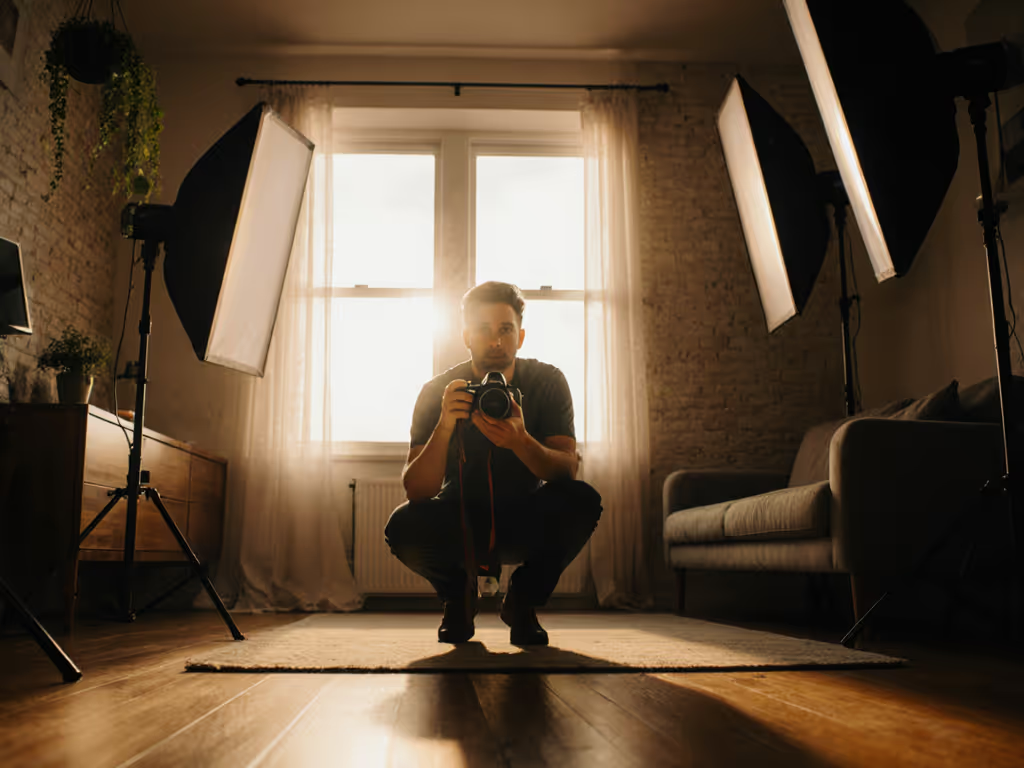
The 5 Constraints-First Lighting Setups
All setups below:
- Use ≤40W continuous draw (safe for 15A circuits)
- Fit in 22" roller bags
- Run silently (≤25dB)
- Achieve 95+ CRI for true skin tones
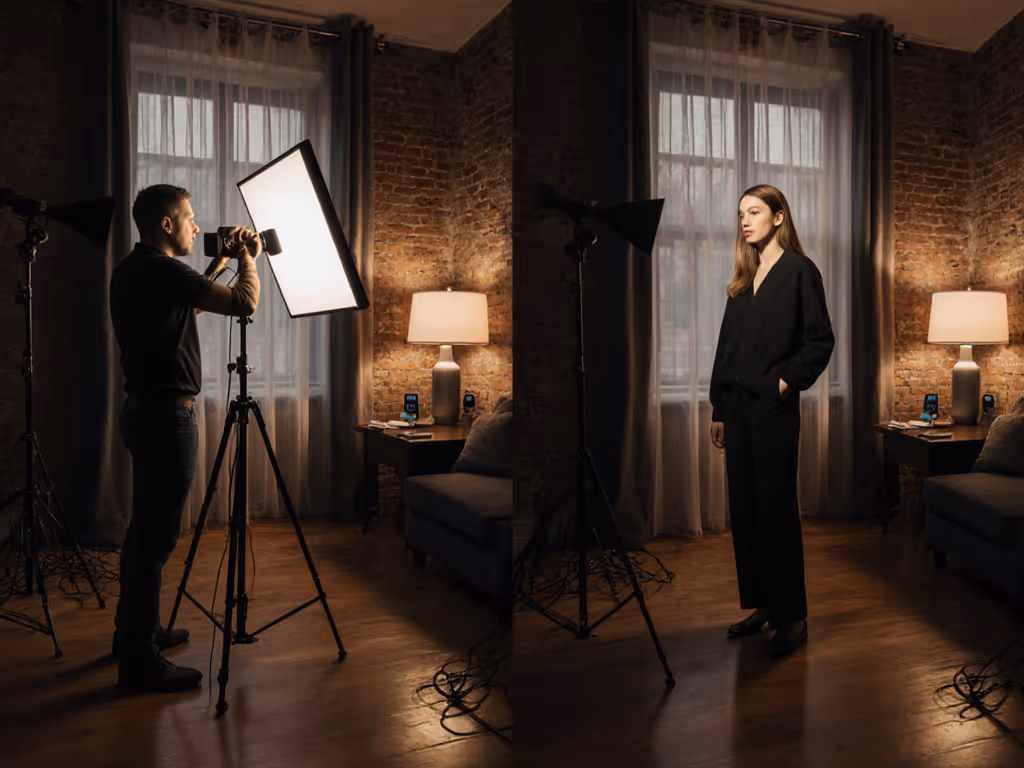
Setup 1: Single-Light Adaptive Baseline (Most Flexible)
The Problem: Mixed ambient light contaminates skin tones when you can't kill practicals.
The Fix: One bi-color LED with barn doors as your anchor light. Adjust CCT to match dominant ambient (e.g., 4300K for office fluorescents).
- Gear: 1x bi-color LED (660 LEDs, 3200-5600K), 1x 24" collapsible softbox
- Placement: 45° height, 30° width. 36" from subject. Barn doors @ 30°
- Metrics: 1200 lux @ f/4, 1/125s, ISO 400 | 0dB (fanless) | 18W draw
- Why it wins: Kills green spikes without gels. Barn doors block spill from windows. In my NYC shoot, matching overhead fluorescents cut post time by 70%. If you're choosing a modifier, compare softbox shapes to tune edge gradients and catchlights.
Pro Tip: Angle the light down 10° to create natural-looking nose shadows. Lifts cheeks without harsh jaw shadows.
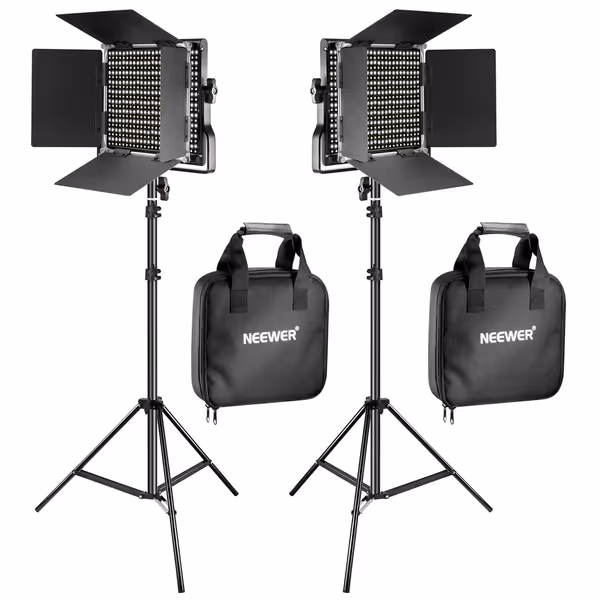
NEEWER 2-Pack 660 Bi-Color LED Kit
Achieve true-to-skin color and consistent lighting in any room.
$161.58
CRI96+
CRI96+
Pros
Accurate colors (CRI 96+) for stills/video
Flicker-free, fanless operation for clear audio
Portable and quick setup for small spaces
Cons
Batteries not included
Customers find these LED lights to be of good quality, with adjustable brightness and color temperature control that works well for both video and photography. The lights are solidly built with sturdy stands, and customers appreciate their functionality for home studio use. They are easy to set up and use, and customers consider them higher quality than expected for the price.
Customers find these LED lights to be of good quality, with adjustable brightness and color temperature control that works well for both video and photography. The lights are solidly built with sturdy stands, and customers appreciate their functionality for home studio use. They are easy to set up and use, and customers consider them higher quality than expected for the price.
Setup 2: Butterfly Lite (No High Ceilings)
The Problem: Traditional butterfly needs 10+ ft ceilings; fails in apartments.
The Fix: Reflective butterfly using a single low-slung light + bounce surface.
- Gear: 1x LED panel, 1x 30x40" white foam core (held by Wimberly arm)
- Placement: Light 24" high, 20° above subject. Foam core 18" below chin, angled up 45°
- Metrics: 900 lux @ f/2.8 | 1.2 EV ratio (soft shadows) | 12W draw
- Why it wins: Eliminates double chin shadows without rigging overhead. Foam core fills faster than reflectors (critical for video where fill lights cause flicker).
Setup 3: Split Shadow Control (Small Rooms)
The Problem: Split lighting creates harsh shadows in tight spaces, but v-flats are too bulky.
The Fix: Negative fill with a matte-black fabric flag.
- Gear: 1x LED, 1x 24x36" black Velveteen fabric (clamped to light stand)
- Placement: Main light 90° to subject at eye level. Flag 12" from shadow side of face
- Metrics: 1500 lux @ f/5.6 | 2.5 EV ratio (dramatic) | 0dB
- Key: Flag must be matte to absorb spill. Shiny fabrics reflect light, worsening contrast. Use this for men's portraits; switch to 1.8 EV for women (per Scantip's ratio data).
Setup 4: Dual-Color Ambient Blend (Mixed Light Fix)
The Problem: Tungsten + daylight = magenta skin tones; gels eat light.
The Fix: Bi-color LED as your fill light, matching ambient CCT.
- Gear: 1x bi-color LED (main, 5000K), 1x same LED (fill, 3200K)
- Placement: Main: 45° high/width. Fill: behind camera, 15° high. 6:1 distance ratio (fill 6x farther than main)
- Metrics: 800 lux main / 130 lux fill @ f/4 | 1.7 EV ratio | 28W total draw
- Critical nuance: Distance ratio > power ratio. Doubling fill distance = quarter lux (more reliable than dialing down power, which can shift CCT on cheap LEDs). If mixed ambient is a recurring issue, see our bi-color video lights verified to solve it.
Setup 5: Book Light Pocket (Glossy Products)
The Problem: Hotspots on jewelry in small spaces; no space for large softboxes.
The Fix: Reversed book light with diffusion panels.
- Gear: 1x LED, 2x 24x24" diffusion panels (1 snap-on, 1 handheld)
- Placement: LED shoots through first panel onto second panel 12" from subject
- Metrics: 600 lux @ f/8 (for product depth) | 0.9 EV ratio | 22W draw
- Why it's portable: Panels collapse to 1" thick. Tested on a $500 solid-gold ring, zero hotspots at 1:1 magnification. For reflective or transparent items, follow our specular highlight control guide.
Real-Room Tweaks: Your Constraint Checklist
Before shooting, run this 60-second audit:
- Power Check: Total wattage ≤1,400W (for 15A circuits). Example: Two Neewer 660 lights = 80W total (safe with coffee maker running).
- Ceiling Height: If <9 ft, lower lights and use barn doors (not umbrellas).
- Noise Threshold: Whisper-test: If you hear gear, so will your mic. Fanless LEDs win. For quiet, high-CRI options that double for video, see our hybrid video lighting panels.
- Ambient Dominance: Measure room lux with phone app. Set key light 2x ambient lux (e.g., 1000 lux room = 2000 lux key).
I ran this on a Berlin retail shoot with 1900 lux mixed fluorescents. Lowering lights + bumping to 3800 lux key killed green spikes, no color grading needed.
Final Verdict: The Modular System That Wins
Best for 80% of jobs: Setup 1 (Single-Light Adaptive) + Setup 4 (Dual-Color Ambient Blend). Why?
- Covers portraits, products, and video interviews
- Uses identical lights (no CCT shifts between stills/video)
- Draws ≤28W (works on power strips)
- Requires just 1 light type + 1 modifier
Skip the hype: Giant octas and strobes are overkill. A bi-color LED with barn doors (like the Neewer kit) solves 90% of room lighting issues. I've matched $10k studio looks with two lights in 10x10 ft rooms. Measure your constraints first; gear second.
Your takeaway: Stop hunting for one perfect setup. Build a modular system where every watt has a job. Track these numbers religiously: lux at subject, EV ratio, total wattage. When the breaker panel's ancient and the client's waiting, you'll deliver clean color with one outlet to spare.
Pack once, shoot anywhere. That's how small kits win.
Related Articles