Dramatic Product Lighting: Precision Texture Techniques
By Chidi Okoye • 3rd Oct
When continuous lights photography shapes your approach to dramatic product lighting, spectral accuracy becomes non-negotiable. Most off-the-shelf LED panels promise "perfect" color rendering while harboring spectral gaps that warp textures and shift hues. Understanding these physics unlocks predictable high-contrast results. This isn't about artistic whim, it is about measurable conditions that deliver repeatable texture lighting techniques across locations. Skin tones remain the north star; everything else negotiates around them.
Understanding the Physics Behind Dramatic Lighting
Q: What makes dramatic lighting different from standard product photography lighting?
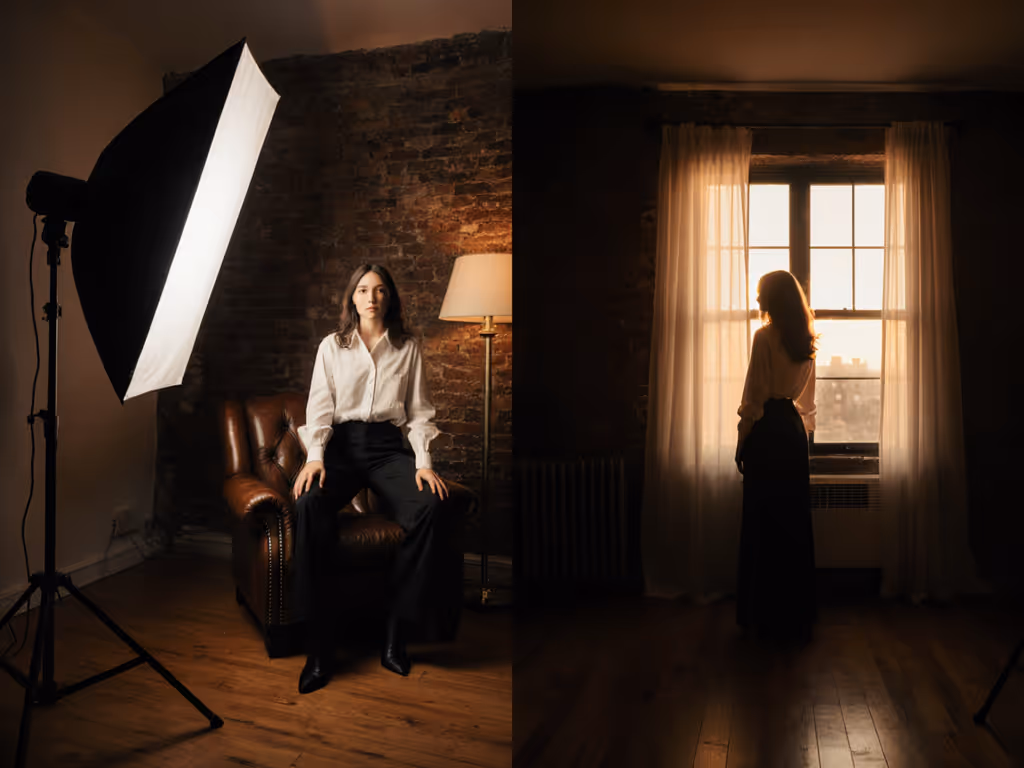
Dramatic lighting intentionally creates controlled shadows that enhance texture through strategic contrast ratios. Unlike flat, diffused setups that minimize shadows, dramatic lighting leverages specific angles (typically 30-60 degrees off-axis) to sculpt surfaces. The key differentiator is precision: measured light fall-off, quantified contrast ratios, and spectral validation, not subjective "looks".
Spectral Power Distribution (SPD) is the starting metric. Two lights with identical CCT (Correlated Color Temperature) and CRI (Color Rendering Index) can render textures differently due to SPD variations. A light with gaps near 620nm (as I once diagnosed in a boutique shoot) turns emerald fabric gray while leaving skin tones compromised. Always measure SPD before committing to a dramatic lighting scheme.
match by spectrum, not rumor
Q: How can I achieve controlled shadows that enhance texture without obscuring product details?
Controlled shadows require calculating three variables:
- Light-to-subject distance (inverse square law determines fall-off)
- Fill light intensity (measured in lux differential from key)
- Source size relative to subject (determines shadow edge softness)
For pronounced texture on matte surfaces (fabrics, ceramics), use a small source (e.g., 10x10" LED panel) at 45°, 1.5x subject height away, creating a 4:1 contrast ratio. For glossy surfaces (cosmetics, electronics), increase distance to 2.5x height with a grid to maintain sharp highlights while controlling hotspots. Measure shadow regions with a spot meter. Texture disappears when shadows fall below 1/10th the key intensity.
Technical Execution for Small Spaces
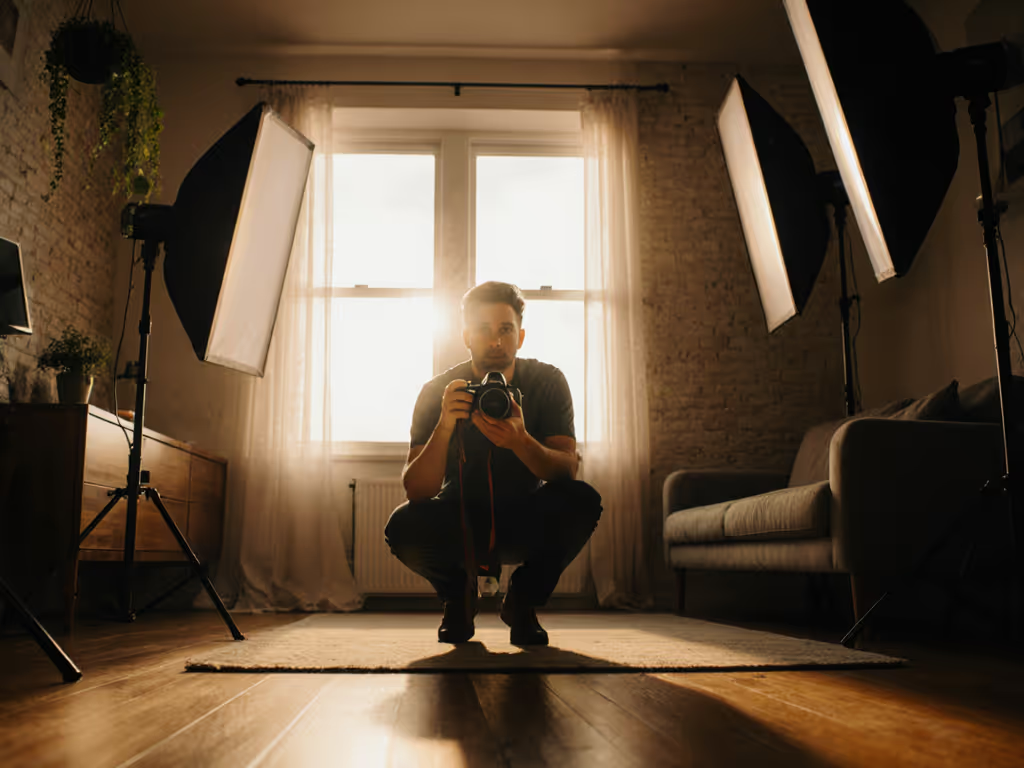
Q: Why does continuous lights photography provide advantages for texture work compared to flash?
Three measurable advantages matter for texture-focused work:
- Real-time shadow assessment: Adjust source position while observing texture rendering without test shots
- Stable thermal output: LEDs maintain consistent CCT as they warm (unlike tungsten), critical for metric color measurements
- Flicker-free operation at 180° shutter angle: Essential for video where flash sync limitations disrupt workflow
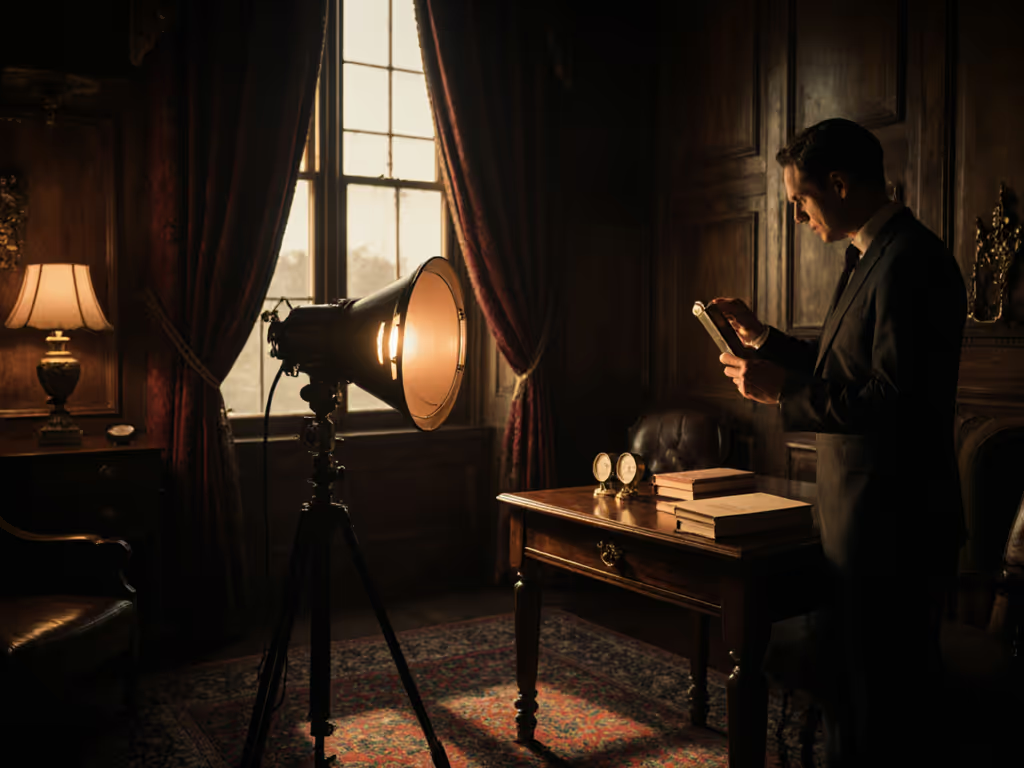
In cramped spaces, continuous lights allow precise spill control through physical manipulation. Position a single 300W LED panel with barndoor at 45° to the subject, then use black foam core at 135° as negative fill. This creates dramatic separation while maintaining spectral integrity (unachievable with momentary flash that requires multiple test bursts to dial in). For a deeper dive, read our continuous vs strobe lighting guide for pros, cons, and best use cases.
Q: How do I prevent color shifts in my dramatic lighting setups, especially with mixed sources?
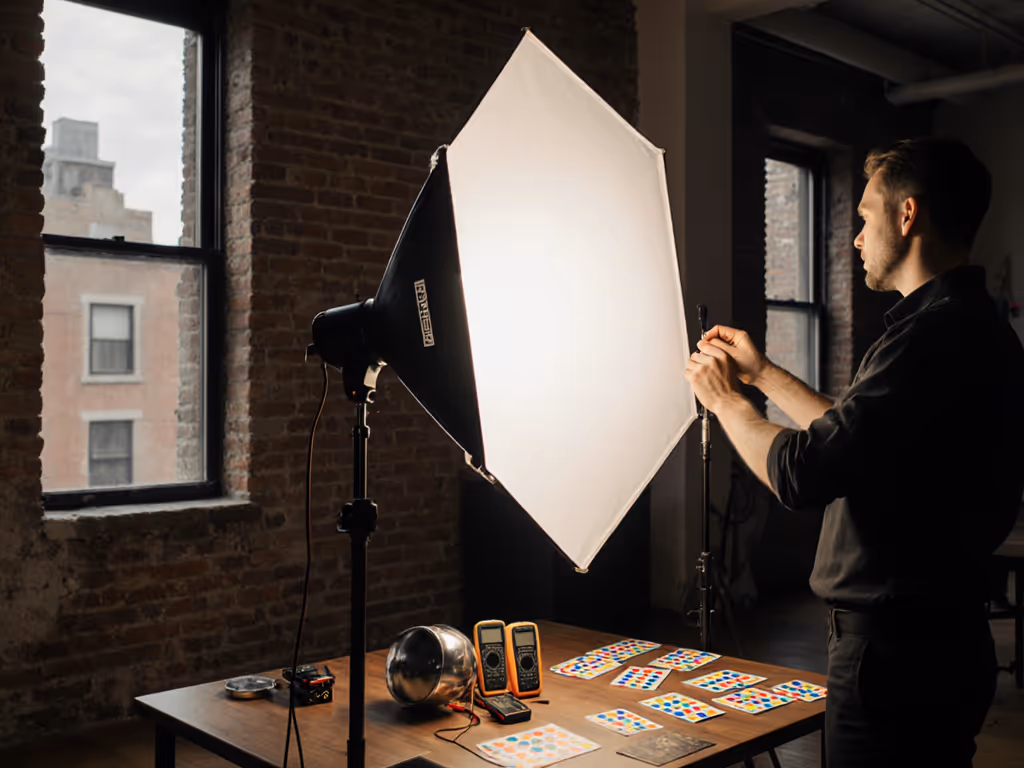
Color shifts in multi-source setups stem from SPD incompatibility, not just white balance errors. Follow this protocol:
- Measure TM-30 Rf/Rg values of all sources (aim for Rf>90, Rg>95 for texture accuracy)
- Neutralize ambient with gels based on measured SPD gaps (e.g., minus green for fluorescent spill)
- Create a custom camera profile using a measured gray card under the final lighting
That boutique incident I referenced earlier? We avoided hours of grading by measuring SPD first, then selecting a source with minimal metameric failure at 620nm. This approach ensures product lighting photography maintains fidelity while embracing dramatic contrast.
Practical Application Framework
Q: What's the relationship between light source size/distance and texture visibility?
Texture rendering follows predictable physics:
| Surface Type | Optimal Source Size | Ideal Distance | Contrast Ratio |
|---|---|---|---|
| Matte (textiles) | Small (10-20") | 1.5-2x height | 4:1 |
| Semi-gloss (plastics) | Medium (24-36") | 2-3x height | 3:1 |
| High-gloss (metals) | Large + grid (48"+) | 3-4x height | 2:1 |
Smaller sources create sharper shadows that accentuate micro-textures but require precise distance control. At 1.5x subject height, a 12" source produces 30% steeper shadow gradients than a 24" source. Measure texture contrast with a densitometer. True texture visibility requires at least 0.3 density units between highlight and shadow.
Q: How can I maintain accurate skin tones if people appear alongside products in my shots?
When models interact with products, skin becomes the validation metric. Implement this workflow:
- Set base exposure to ITU-R BT.2020 18% gray (12.5% IRE in Log)
- Prioritize R9 (saturated red) values in lights (minimum R9>50 for healthy skin tones)
- Verify skin midtones hit Lab* (55, 15, 15) post-capture
High-contrast setups demand stronger spectral continuity. In mixed lighting scenarios common in small spaces, I've found 95+ CRI LEDs with Rf>92 maintain skin integrity even when deliberately pushing high contrast photography for product texture. Measure skin patches with a spectrophotometer when possible. Deviations beyond ΔE<2 require SPD adjustment, not just white balance correction.
Conclusion
Mastering dramatic product lighting requires treating light as measurable data rather than artistic abstraction. When you build setups based on spectral validation and quantified contrast ratios, you eliminate guesswork in small spaces. The most reliable dramatic effect comes not from chasing "mood," but from understanding how SPDs interact with surface optics at specific geometries.
For those working mobile with compact kits, focus on lights with validated Rf/Rg scores rather than maximum output. Document your setups with SPD measurements, not just exposure settings: they are the true recipe for replication across locations. Set aside time to build custom camera profiles for your go-to lighting configurations; this reduces post-production to minor contrast adjustments rather than color reconstruction.
Further Exploration: Download the IES TM-30-20 worksheet to calculate Rf/Rg values from SPD measurements. Practice identifying spectral gaps using a calibrated spectrometer, and start with your existing lights to create a "problem spectrum" reference library for field troubleshooting.
Related Articles