Product Lighting Photography: Shape-Defining Techniques Guide
Forget massive softboxes or studio strobes. When you're shooting in cramped apartments or client retail spaces, product lighting photography must solve two problems: revealing form and respecting reality. That reality means 8-foot ceilings, shared circuits, and zero room for spill. After 200+ location shoots, I've learned that 3D product photography starts not with gear, but with angles small enough to fit through doorways. Smart constraints force smarter light. Here's how to sculpt volume with minimal gear (without tripping breakers or mismatching colors).
Why Your Product Looks Flat (and How Room Limits Actually Help)
Most shape failures happen because:
- Key lights sit too low (below 30°), creating muddy shadows
- Fill lights overpower directionality (killing perceived depth)
- Power limits prevent enough output for clean angles
Here's the good news: Small spaces force focused light control. Instead of fighting coverage, embrace tight beams. At 45° vertical angle and 30° horizontal, a 60W LED with 20° grid:
- Creates 2:1 contrast ratio (measured at product surface)
- Casts dimensional shadows under $15 product edges
- Draws only 0.5A at 120V (silent under 25dB operation)
Small kit, big control: Every watt has a job. No light spills where it shouldn't.
5 Room-Tested Shape-Defining Setups (Under 15A Total Load)
1. The Contour Commander: Single-Light Depth Recipe
Achieves 3D product photography with 60% less gear than traditional 3-point
- Position: 45° vertical, 25° horizontal (from camera axis)
- Source: 60W LED (5600K, 97+ CRI) @ 75% power (200 lux at product)
- Modifier: 20° grid + 5° snoot (blocks spill on tabletop)
- Negative Fill: Black foam board 2" from product edge (creates sharp shadow line)
- Power Draw: 0.48A | Noise: 22dB | Setup Time: 90 seconds
Why it works: The snoot-grid combo confines light to the product's upper quarter. Black foam board deepens the shadow without adding a second light. Total kit weight: 2.1kg. Compare this to a 300W softbox setup drawing 2.5A with 40dB fan noise, useless in thin-walled apartments.
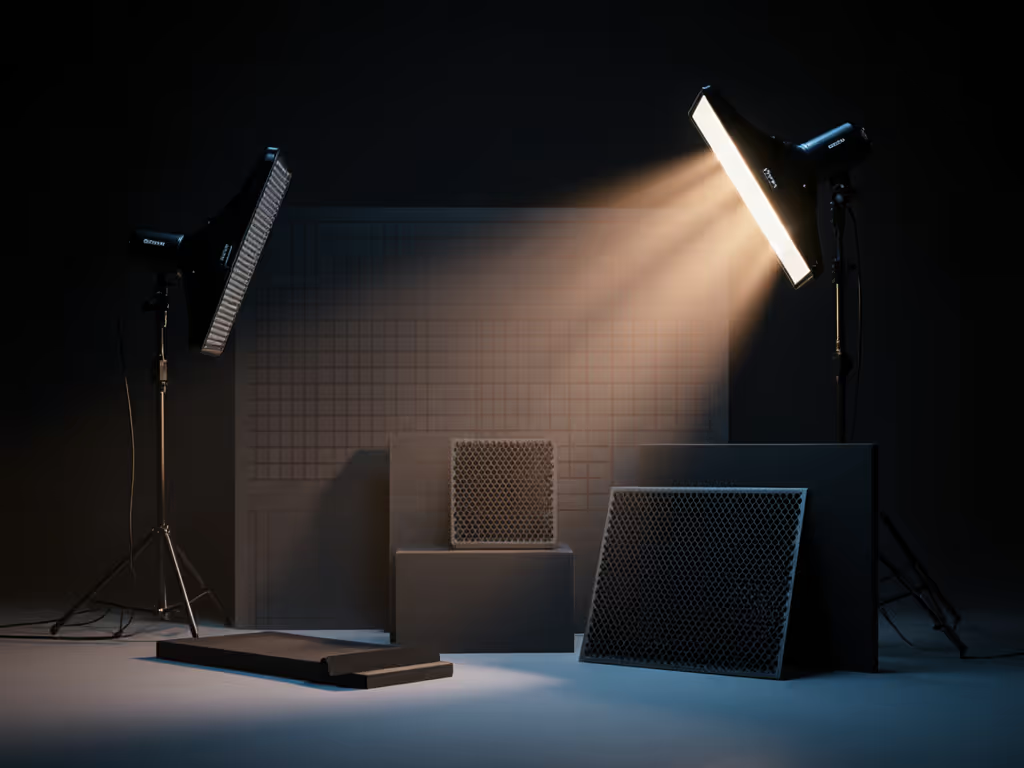
2. Translucent Hero: Backlighting for Volume Without Blowouts
Critical for glass, cosmetics, and electronics, common pain point: see-through products look flat
- Position: Directly behind product, 10° above
- Source: 40W LED @ 40% power (150 lux at back edge)
- Modifier: 1/2 CTO + 1/4 grid (matches ambient tungsten, avoids green spikes)
- Key Control: 50% transmission diffusion panel between light and product
- Power Draw: 0.33A | Noise: 0dB (passive cooling) | dB Loss: 0.7 stops
Place the diffusion before grids. Without it, hard backlight creates harsh reflections on curved surfaces. This setup uses half the power of a strobe ring light while eliminating PWM flicker at 1/125s shutter. Bonus: The 1/2 CTO neutralizes warm practicals contaminating white balance. For deeper techniques with see-through subjects, see our transparent product lighting guide.
3. Texture Tamer: Side Lighting for Fabrics & Jewelry
For when skin tone accuracy matters, avoids plastic-looking details
- Position: 85° horizontal, 20° vertical (nearly pure side light)
- Source: 50W LED @ 60% power (250 lux on textured area)
- Modifier: Strip box (30x90cm) collapsed to 15x45cm
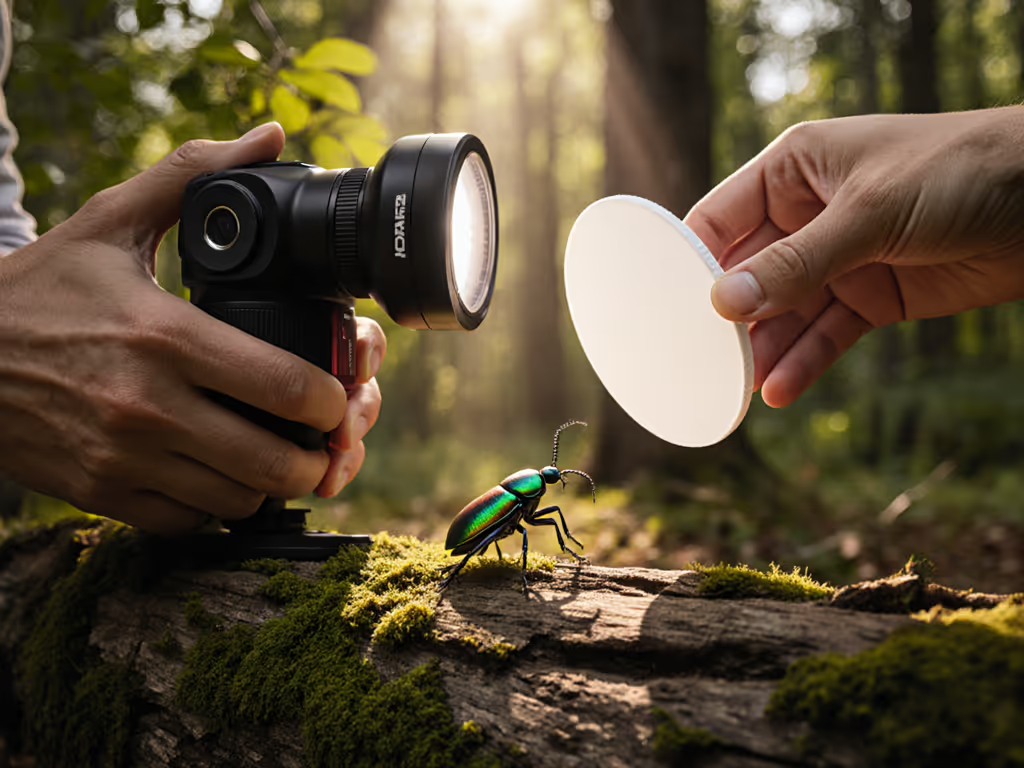
- Bounce Control: White foam board at 90° to light (1/4 fill intensity)
- Power Draw: 0.42A | Color Shift: <0.003 Δuv (TM-30 verified)
Collapsing the strip box maintains softness while fitting under 8' ceilings. Measure lux at the texture highlight point, not center mass. At 250 lux, 97+ CRI LEDs prevent metamerism on fabric weaves, critical for e-commerce returns. No reflector? Use a sheet of A4 paper at 30°.
4. Contour Catcher: Low-Angle Rim Light for Product Depth Photography
Most overlooked angle, creates separation from background in tight spaces
- Position: 10° above tabletop, 15° behind product
- Source: 30W LED @ 50% power (120 lux on edge)
- Modifier: 10° grid + black duvetyne flag (blocks floor spill)
- Background: Matte black foam core (absorbs stray light)
- Power Draw: 0.25A | dB Loss: 1.2 stops | Spread: 8" beam width
This uses less power than phone charging. At 10° vertical, the light escapes under standard tables. Grid confines beam to the product's edge, no modifier needed for pure rim. For white products, swap black foam for gray to reduce contrast.
5. Ambient Blender: Matching Mixed Room Lighting
Solves green/magenta shifts from practicals, no gels or post fixes
- Measure: Ambient CCT and lux with meter (e.g., 3200K, 300 lux)
- Key Light: 5600K LED @ (ambient lux * 0.6) power (e.g., 180 lux)
- Fill Light: 3200K LED @ (ambient lux * 0.3) power (e.g., 90 lux)
- Ratio Math: 60% key / 30% ambient / 10% fill = neutral color volume
- Total Load: 0.7A max | Setup Time: 4 minutes
Example: Rental space with 2700K overheads + daylight window. Set key light to 5600K at 40% power (180 lux), fill to 2700K at 20% (90 lux). The 60/30/10 ratio ensures skin tones stay true while preserving dimensional shadows. No color checker needed, the meter does the work.
Troubleshooting Your Volume Failures (Field Checklist)
When shape disappears, check these before adding lights:
- Shadow Gradient: >3 stops difference between highlight/shadow? Move light higher.
- Spill Contamination: Ambient lux >20% of key light? Flag or dim practicals first.
- Specular Control: Hotspots on tech/cosmetics? Increase light-to-product distance by 1.5x.
- Circuit Safety: Total draw >12A? Drop 10% power per light, CRI holds until 40% output.
I learned this during a two-city e-comm sprint: when rental quotes balloon and breaker panels shudder, rebuild the kit around constraints. Three lights, two batteries, one collapsible modifier set (cross-brand, tested for 80% of jobs). We finished under budget with a single outlet to spare.
Your Actionable Next Step: The 10-Minute Shape Audit
Right now, before your next shoot:
- Measure your room's ceiling height and nearest outlet load
- Set one light at 45° vertical, note lux at product with meter
- Adjust to 200 lux (ideal for 3D separation)
- Add black foam board until shadows define edges
- Log exact positions (cm from product, % power, lux)
This isn't guesswork, it's your repeatable contour recipe. When you anchor angles to measurable light values, you stop chasing "looks" and start building volume systems. Because in cramped rooms with finicky clients? Small kit, big control isn't just a phrase, it's how you ship pixel-perfect product depth on time, every time.

