3D Scanning Lighting Comparison: Photo to Point Cloud
By Marta Kowalska • 27th Mar
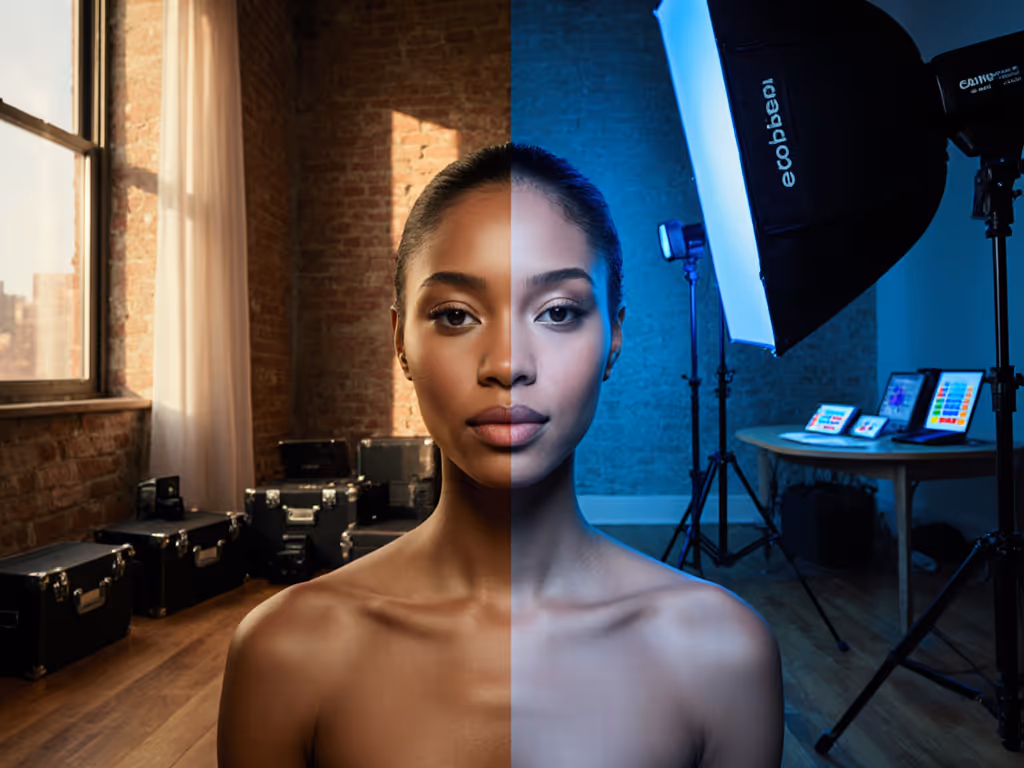
3D scanning lighting comparison and photogrammetry lighting solutions operate on fundamentally different principles, and understanding where they diverge is crucial if you're building 3D models in real rooms without specialized infrastructure. Photogrammetry depends entirely on the photographs you capture, which means it lives or dies by your lighting, while structured light scanning projects its own illumination, making it far less sensitive to ambient conditions. This distinction reshapes not just your technical setup, but your entire workflow, budget, and stress level on set. If you're new to building broad, uniform sources, start with our soft lighting guide.
Why Lighting Matters Differently for Photo-Based and Light-Projected Workflows
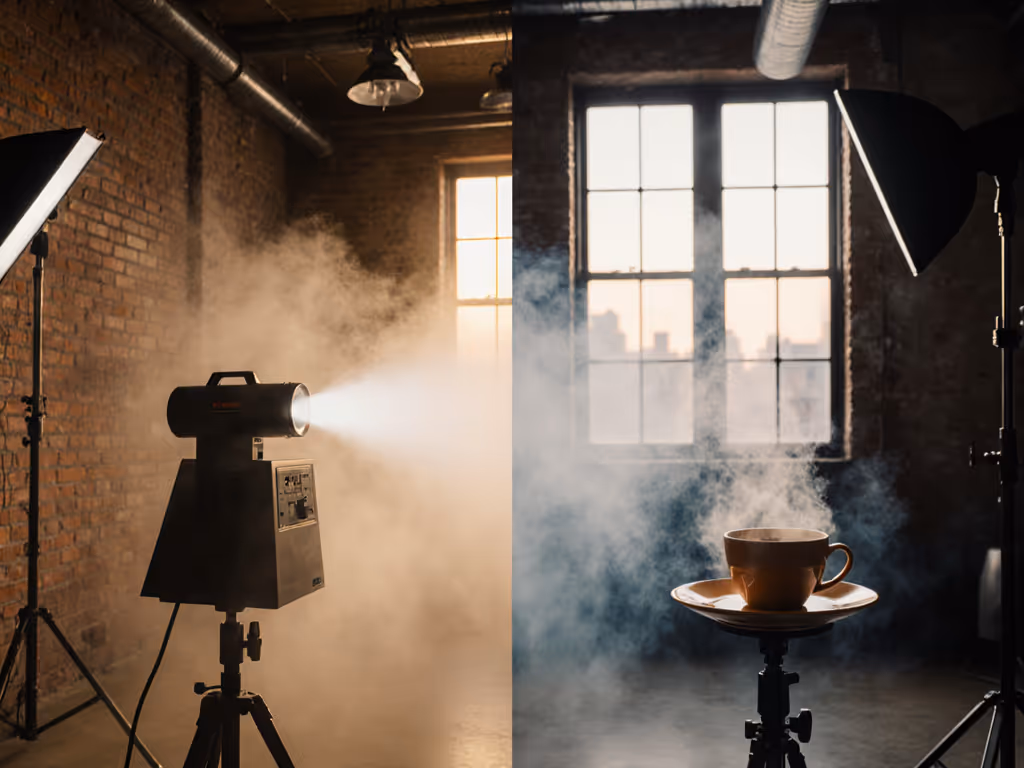
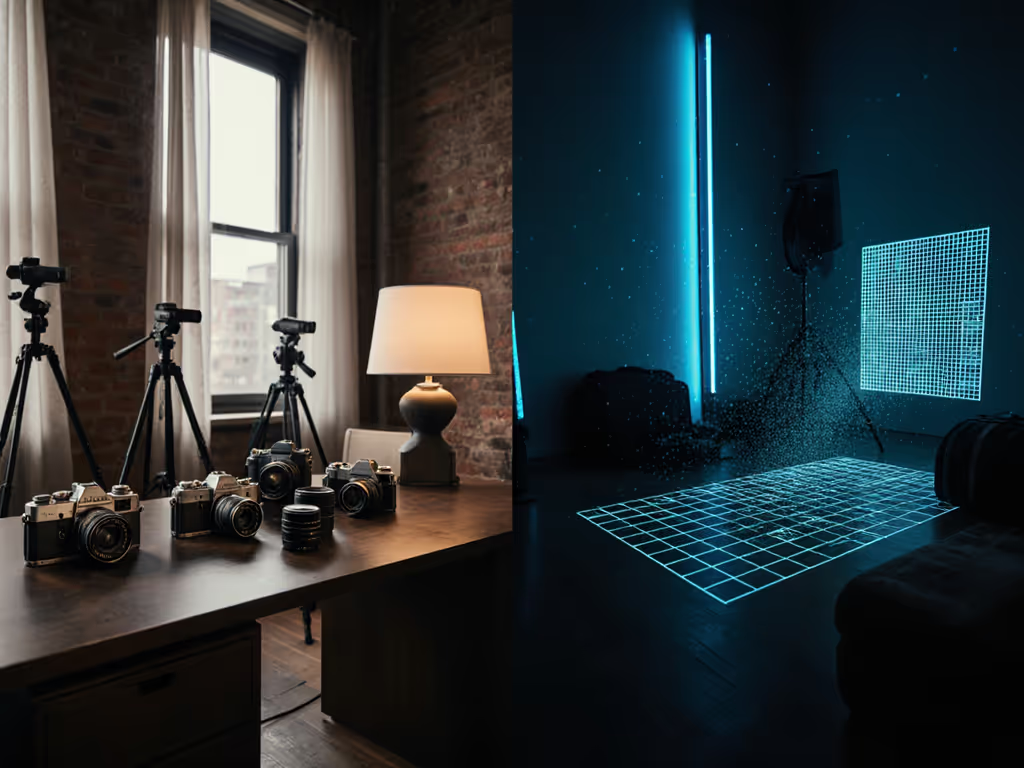
Let's start with the core difference. Photogrammetry reconstructs 3D geometry from overlapping photographs. Your camera captures light reflected from the subject. When that light is uneven, shadowed, or contaminated by harsh practicals, your photos carry those flaws into the model. Structured light scanning, by contrast, projects patterns (white, blue, or infrared grids) onto the object and measures how those patterns deform as they bounce back. The scanner carries its own light source, which means ambient room conditions are far less critical to success. If your environment mixes window light with practicals, see our natural vs artificial lighting workflow for strategies to control or complement ambient spill.
The practical implication: if you're shooting photogrammetry in your apartment with mixed tungsten practicals, daylight from a north window, and your LED key light, you'll spend hours in post correcting color shifts and exposure inconsistencies across frames. A structured light scanner in the same room ignores the window and the table lamp entirely. It reads only the light it projected and received.
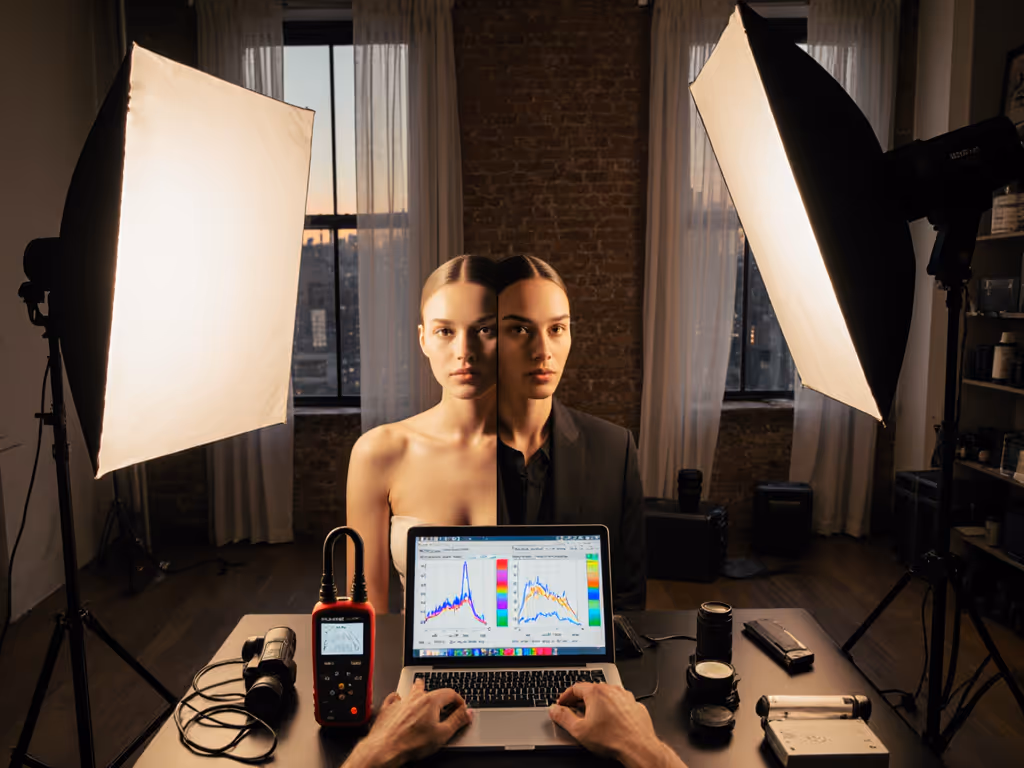
The Photogrammetry Lighting Reality: Why Evenly Lit Scenes Matter
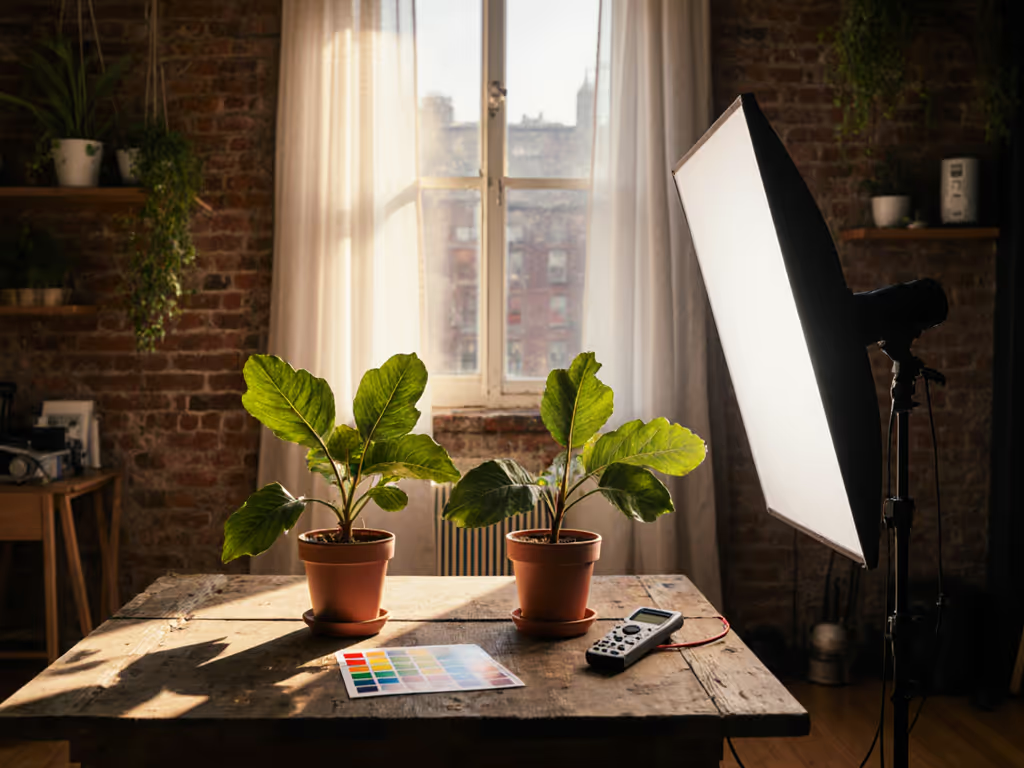
Photogrammetry's reliance on photograph quality cannot be overstated. Uneven lighting across your subject (particularly shadows cast by your own lights or ambient room features) forces you to spend days adjusting the brightness of many shots afterward. This is especially common when shooting in open-air or near windows on sunny days: the sunlit side appears brighter than the shadowed side, and your camera or software cannot easily reconcile that gap. To minimize these disparities, choose diffusion-first setups and review our softbox shape comparison to build wider, more even sources.
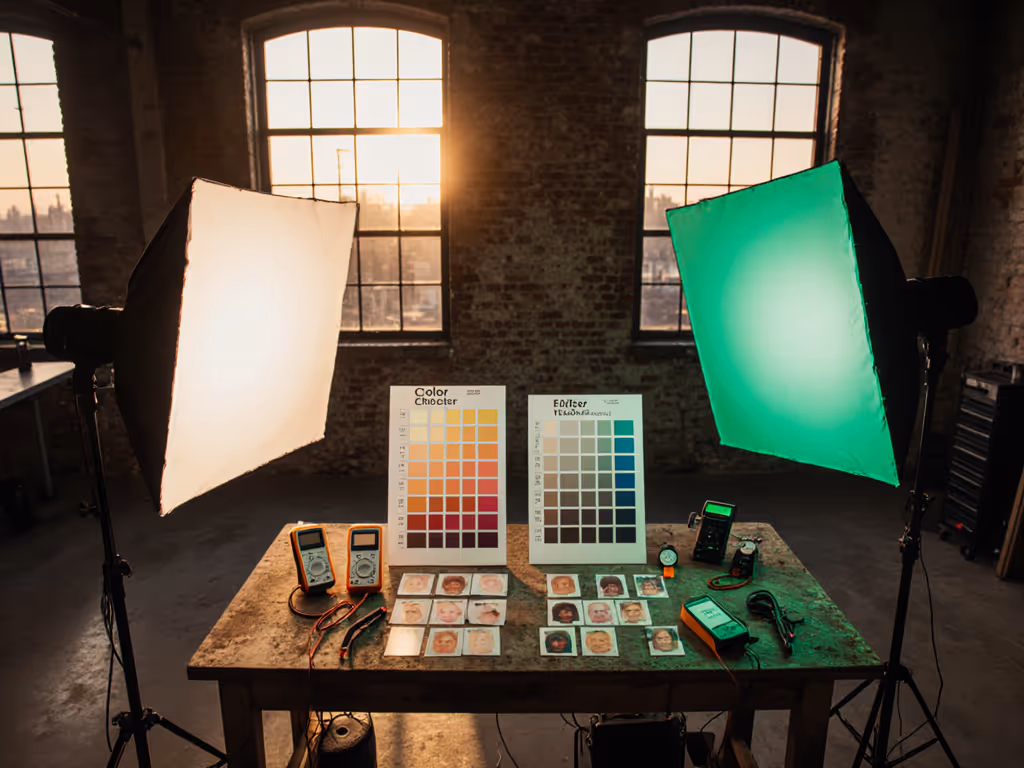
When photogrammetry lighting is poor, several cascading problems occur:
- High-contrast areas force your camera to expose for either highlights or shadows, losing detail in the other
- Color accuracy suffers because white balance varies between bright and dark zones
- Featureless surfaces become harder to track, causing reconstruction errors and alignment drift
- Inconsistent texture resolution across the model makes the final asset look stitched and unreliable
In your small space, this translates to a hard rule: you need super even lighting for your subject. For consistent capture across dozens of frames, pick a system with stable output; our continuous vs strobe guide explains which option keeps color and exposure most uniform for sequence work. Not optional.
Related Articles