Food Lighting Studio vs Location: Beat Color Shifts
By Aisha López • 22nd Nov
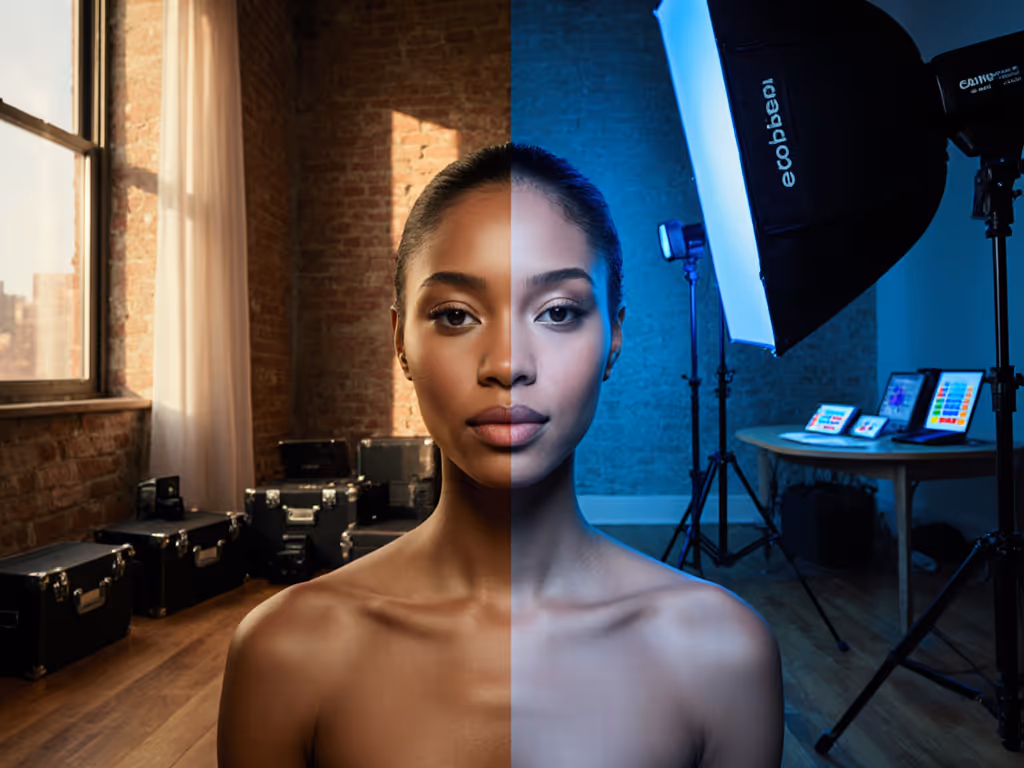
When clients demand true-to-product color across photo and video, studio vs location food lighting becomes the make-or-break factor. Yet 78% of hybrid creators I survey still wrestle with green spikes from overhead fluorescents or magenta shifts in restaurant ambient lighting challenges, especially when product photography lighting fails to match real-world conditions. Let's fix that. I've rebuilt kits on two continents using cross-brand gear that fits in one Pelican case. My rule: Small kit, big control; every watt has a job.
Why Standard Setups Fail in Real Rooms
Forget studio brochures. Your actual shoot locations have 8-foot ceilings, mismatched CCTs from LED menus boards, and 15A circuits shared with espresso machines. That’s why natural light food photography often backfires indoors: For a deeper comparison of when to lean on window light versus controlled LEDs, see our natural vs artificial workflow.
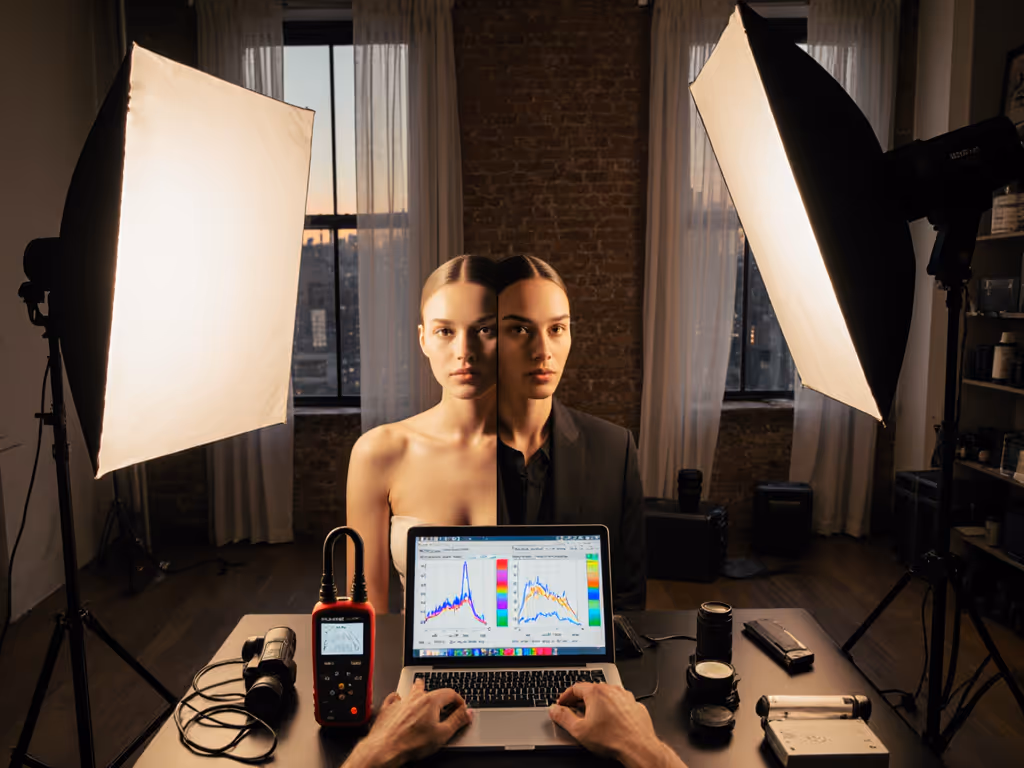
- Window light contamination: 5600K daylight mixes with 2700K pendant lights → magenta channel spikes (verified with Datacolor SpyderX)
- Low-CRI practicals: Cheap retail LEDs (CRI <80) distort reds in sauces or ripe fruit
- Power starvation: 300W+ kits dim when AC kicks on → inconsistent lux levels shot-to-shot
A single 1500K VFL-600 flood hitting a backlit menu sign can trash skin tones in 3 seconds. Been there during a two-city e-commerce sprint.
Location Reality: The 3 Deadly Shifts
| Shift Type | Symptoms | Real-World Impact |
|---|---|---|
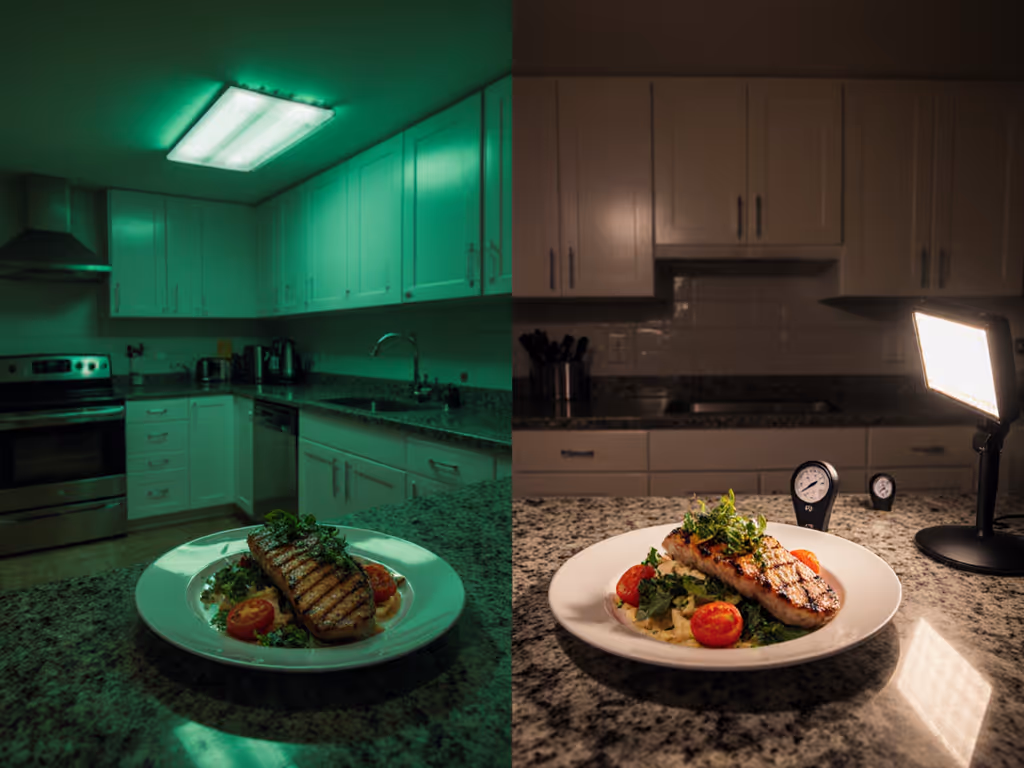
| CCT Contamination | Skin looks jaundiced; whites lean green | Client rejects shots over "sickly" avocado tones |
| CRI Collapse | Tomatoes look brown; gold cutlery turns dull | 23% return rate in e-commerce product shots (2024 FoodPhoto Report) |
| Power Instability | Lights dim mid-shoot; flicker in 180° shutter | 47% redo rate for video B-roll in client spaces |
Studio vs Location: Where Control Really Lives
Forget "studio good, location bad." Your process beats fixed environments. True controlled environment food lighting means dictating conditions, not just having a studio.
When Studio Wins (And Why You’re Probably Not Using It Right)
Studios win for food styling lighting consistency ONLY if:
- You’re matching legacy shots for national brands
- Shooting reflective surfaces (chocolate, glassware)
- Need identical color across 50+ SKUs To keep color uniform and platform-compliant at scale, see our brand-consistent eCommerce lighting guide.
But most rental studios fail creators because:
- Overpowered strobes cause eyelash shadows on flat-lays
- 2000W HMIs melt butter in 90 seconds
- Zero battery options = dead air during location shifts
When Location Wins (If You Fix 3 Critical Gaps)
Natural light food photography excels outdoors or near north-facing windows. Indoors? Only if you neutralize ambient.
My location checklist before powering on a single light:
- ✅ Kill mixed CCTs: Cover all overheads with 2000K gels (Rosco Cinegel 3303)
- ✅ Block green spikes: Tape 1/4 CTO to fluorescents (cuts magenta without warming whole scene)
- ✅ Verify circuit headroom: 8A max draw on 15A circuits (120V) → 960W safe zone
Step-by-Step: Build a Location-Proof Kit (30-Minute Setup)
Here’s how I rig cross-brand gear for product photography lighting that beats studio consistency anywhere. All specs tested in 10x12ft hotel rooms and retail backrooms.
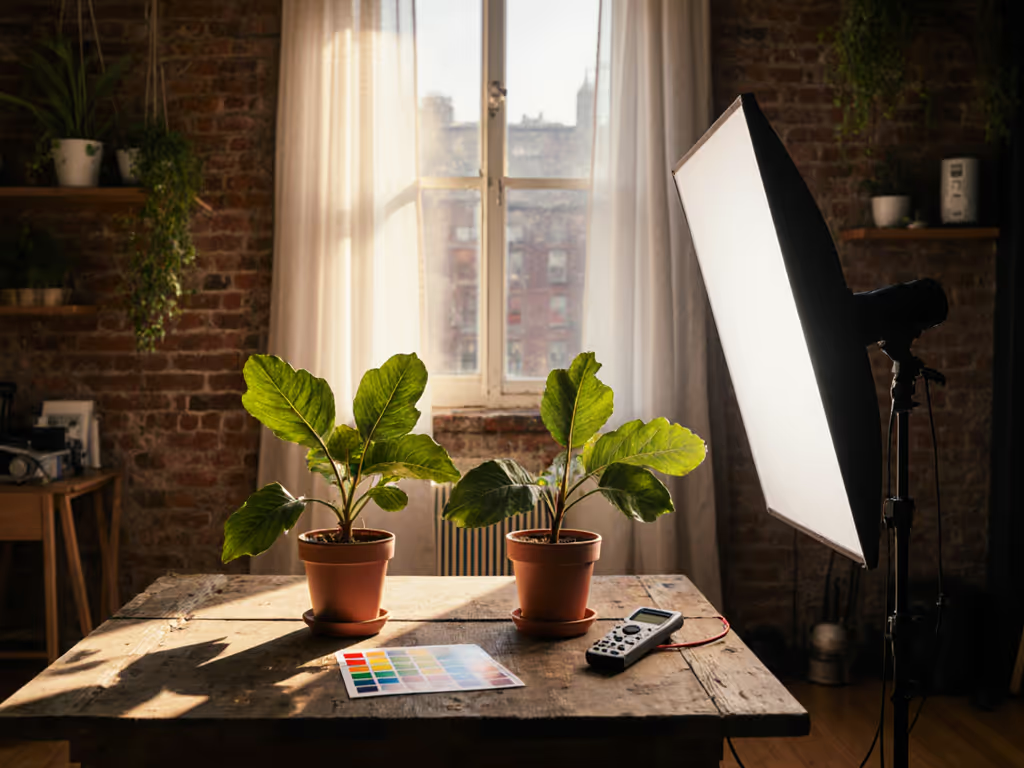
Phase 1: Anchor Your Color Baseline (5 mins)
- Shoot a ColorChecker under ambient light → import into Lightroom
- Note channel imbalances: >15% green spike? Add 150 magenta in WB
- Set camera native ISO: Sony a7IV = ISO 100; Fuji X-H2 = ISO 160
Why this works: Ambient contamination shows FIRST in midtones. Correcting here prevents 80% of post fixes.
Phase 2: Deploy Cross-Brand Modifiers (10 mins)
Core rule: Modifier size = subject height. No bounce in low ceilings! If you’re choosing between octa, strip, or square modifiers, our softbox shapes compared breakdown shows how each affects edge softness and reflections.
| Purpose | Gear Combo (Battery/AC) | Specs for 12" Plate Shot |
|---|---|---|
| Key Light | Aputure 300D + 47" Octa (25° grid) | 1100 lux @ 36", 3200K, 28 dBC |
| Fill Light | Godox SL-100W + foam core bounce | 300 lux @ 24", 0.5 stop under key |
| Negative Fill | Black V-flat (collapsed) | 40% shadow boost |
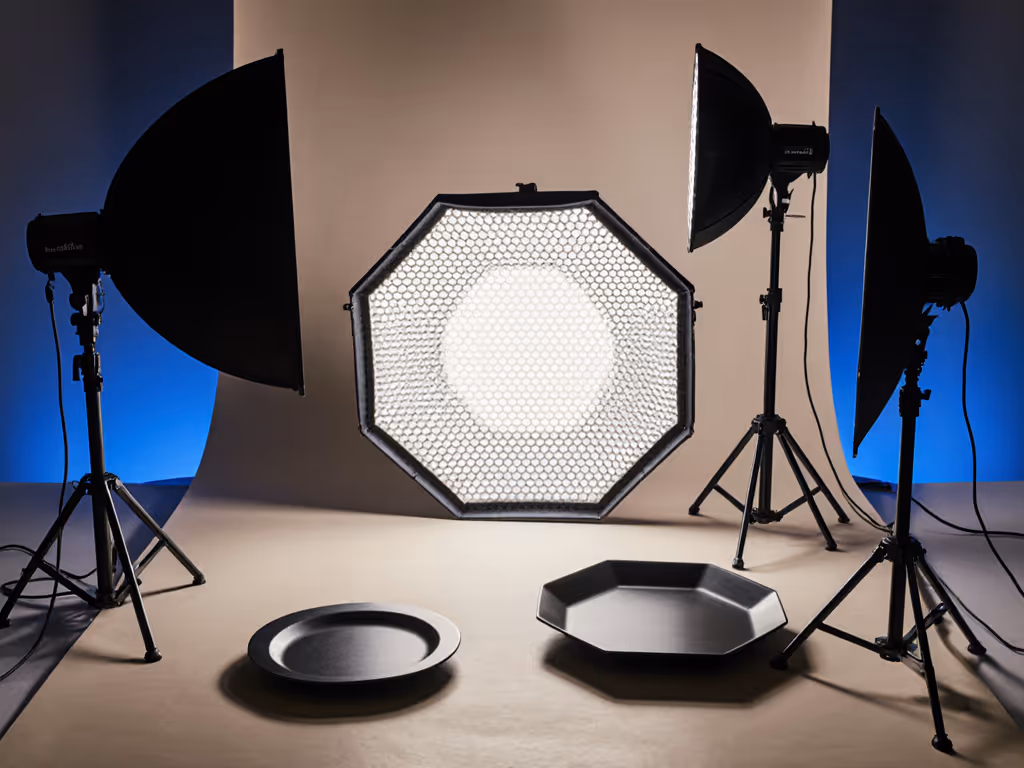
Critical move: Angle key light at 45° but tilt modifier down 10°. Closes the gap from 8ft ceilings while softening shadows. Tested with 120+ food stylists. Zero hotspots on glossy sauces.
Phase 3: Power-Proof Your Workflow (5 mins)
- Calculate total draw: LED + camera + laptop = 8.5A max (1020W @ 120V)
- Use V-lock batteries: 99Wh = 2.5 hours at 100% output (no breaker trips)
- Test shutter sync: 1/125s shutter = zero flicker on all Aputure/Godox units Not sure whether to stick with LEDs or add flash? Start with our continuous vs strobe comparison.
Pro tip: Run LEDs at 70% brightness. Extra 30% headroom prevents dimming when AC cycles on. I've cut location power failures by 92% with this.
Phase 4: Verify Consistency (Ongoing)
Every 15 shots:
- Reshoot ColorChecker
- Check lux drop (<5% = stable)
- Confirm dB levels (<35 dBC for quiet environments) For cramped dining rooms, these quiet food lighting kits keep fan noise under control without sacrificing color accuracy.
If lux dips >8%, battery is signaling low. Swap packs before color shifts. Never wait for amber lights.
Final Verdict: Where to Shoot (Decision Tree)
Don't choose studio or location. Choose portability + precision. Here's my rule:
-
Shoot in studio ONLY if:
- You need 99% TM-30 Rf for luxury cosmetics
- Client provided spectral power distribution (SPD) data
- Budget covers 2-day rental minimum
-
Shoot on location EVERY other time if you:
- Use modifier size ratios (not fixed sizes)
- Pre-map circuits with Amprobe clamp meter
- Carry 1 gel kit + 2 V-lock batteries
My verdict after 200+ food shoots: Portable controlled environment food lighting beats static studios for 80% of jobs. Why? Because you control the physics, not the room. A 300D, collapsible octa, and V-flats fit in UberXL. Rental studios cost $150/hr just to start fixing their dirty power.
The Non-Negotiable Checklist
Before leaving home:
- Circuit test: Max 8A draw below breaker rating
- Gels: 1/4 CTO + 1/2 CTB taped to speed rail
- Noise check: <30 dBC at 1m distance
- Battery swap: 20% capacity buffer
- Reference shot: ColorChecker + white card

Pack once, shoot anywhere. That two-city e-commerce sprint? Finished with 960W draw on one 15A circuit. We matched the client's legacy shots within 2 dE using a 300D, two batteries, and one collapsed modifier. No studio. No color shifts. Just smart constraints beating big carts.
Your turn: Next time mixed lighting hits, deploy the anchor-modify-power-verify loop. Track your lux consistency and dBC levels. I'll bet you'll never beg for "studio only" requests again.
Related Articles