Art Photography Lighting: Glare-Free Traditional vs Digital Capture
By Harper Nguyen • 7th Dec
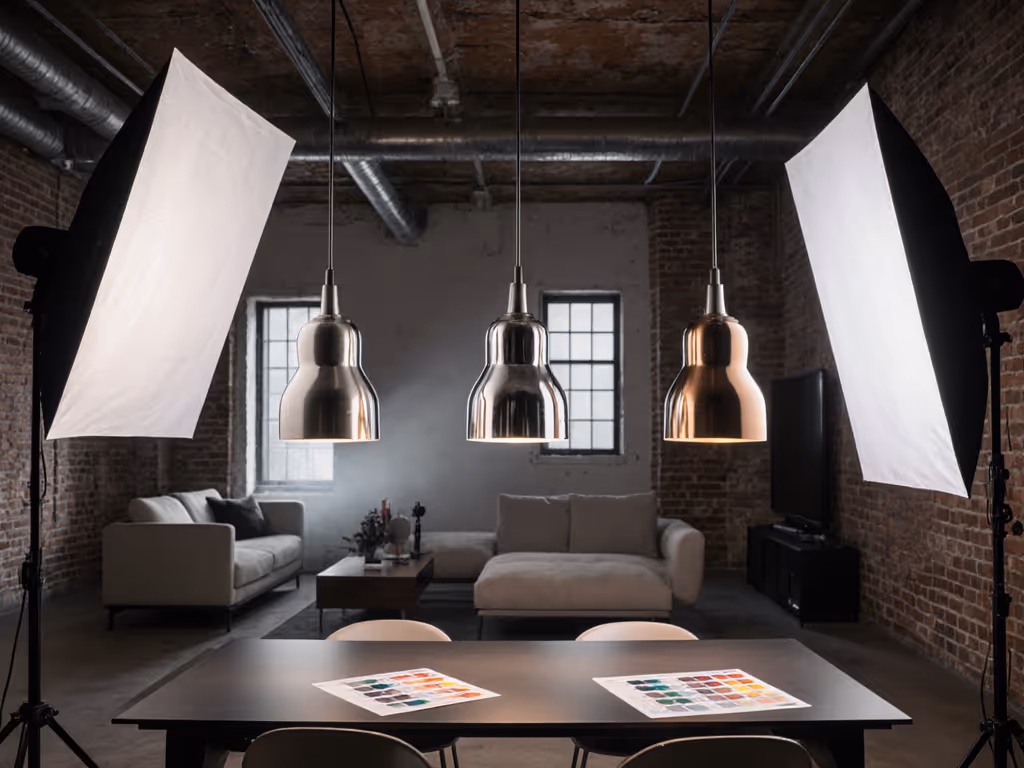
When capturing traditional art and digital installations, photography lighting demands more than just exposure, it requires precision without glare or color shift. If you're weighing capture media too, compare our film vs digital lighting latitude for exposure planning. The fundamental difference between traditional vs digital art capture boils down to one question: How much control do you need over your environment versus how much you must adapt to it? As someone who works in venues where silence and uptime matter, I've seen more art shoots fail from power surprises and thermal spikes than from weak composition. Quiet, cool, color-true without hunting for outlets or breakers remains my mantra. Let's build a system that works in your 8-foot ceiling apartment as reliably as it would in a gallery.
Step 1: Understanding Your Lighting Reality (Not the Ideal)
Forget the studio fantasies you see online. You're working in real rooms with mixed light sources, low ceilings, and fragile artwork that can't handle heat spikes. Traditional capture (think oil paintings, sculptures, or ink works) requires shadow control that won't alter pigments. Digital art installations need lighting that won't interfere with their own projected elements or sensors.
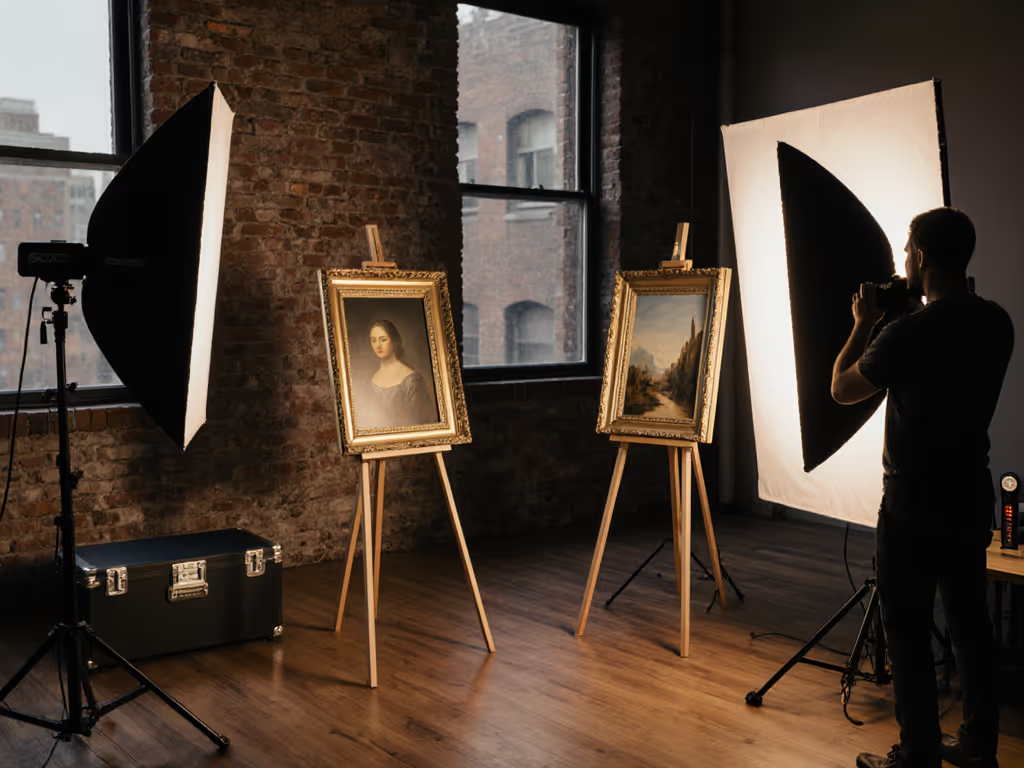
Why Traditional Art Lighting Is Trickier Than You Think
Oil paintings suffer from both direct glare and subsurface reflections. Traditional tungsten setups generate heat that can damage centuries-old varnishes. For heat- and UV-sensitive collections, see museum-grade UV-safe artifact lighting kits. I once watched a client nervously watch a 500W fresnel warm a $50,000 canvas, drawing 4.16A at 120V for 2 hours before it hit thermal equilibrium. That's nearly half a standard circuit's capacity just for one light. Instead, I'd recommend a 5600K LED panel with thermal throttling that triggers at 45°C, not the manufacturer's "safe" 60°C claim.
Digital Installations: Managing Interference Without Noise
Digital art installations already emit their own light patterns. Your supplemental lighting must be flicker-free at 180° shutter angles and run silently at 24fps. Not sure when to choose continuous over flash? Start with our continuous vs strobe guide for true-color, flicker-free results. I note dB(A) at one meter whenever testing new fixtures, and anything above 22 dB ruins ambient audio during video capture of interactive pieces. Avoid RGBWW fixtures that PWM dim below 30%; they create banding even at 1/125s shutter speeds.
Step 2: Budget Amps Before Angles
This is where most art photographers fail: they chase light placement before verifying power reality. Your circuit capacity dictates everything (budget amps before angles). In a typical North American residential space, you're working with 15A/120V (1,800W max). European spaces often have 10A/230V (2,300W). But remember: refrigerators, HVAC, and other appliances share that circuit.
Power Budgeting Checklist:
- Map all outlets to their breakers (use a $15 circuit finder)
- Subtract 20% for safety margin (NEC recommends 80% continuous load)
- Prioritize battery-powered key lights for critical moments
During a quiet vows recording at a historic gallery, the venue killed house power to reset AC. Our mains key died mid-sentence. The battery key I'd staged stayed on, fanless. We finished without a spike in noise floor or color shift. Always file the power log before packing a single stand.
Space-Specific Power Solutions:
For 10x10 ft rooms:
- Use single 75W LED COB (0.62A @ 120V) for key light
- Add 30W RGB panel (0.25A) for accent on digital installations
- Run both off L-series battery (V-mount) for breaker-proof operation
For larger gallery spaces:
- Split lights across two circuits (never daisy-chain)
- Use 120W LED with 0-10V dimming (1A @ 120V) on primary circuit
- Dedicate secondary circuit to video recorder and monitor
Remember: Quiet, cool, and consistent beats sheer output in real rooms. 100W of well-placed, stable light outperforms 500W of flickering, hot light every time.
Step 3: Glare Reduction Without Shadow Artifacts
Painting glare reduction requires precision geometry, not just diffusion. For a deeper dive on angles and specular control, see specular highlight control on reflective surfaces. The angle of incidence equals the angle of reflection, and in small rooms, you have limited space to manipulate this.
Painting Glare Reduction Protocol:
- Position camera perpendicular to artwork surface
- Place light at 30° off-axis (measured from camera-artwork line)
- Use 24x24" softbox with 15° grid (prevents direct reflection)
- Add polarizing filter to lens and light source (requires 2x power)
For sculpture shadow control, you need at least two lights at opposing 45° angles. But in an 8-foot ceiling? Impossible with standard modifiers. Instead, use:
- Two 60W LED panels at 20° elevation
- Barn doors to create hard-edged strips (prevents spill on background)
- Small negative fill cards (black foam core cut to 6x6")
This setup draws 0.83A total, giving you 3+ hours on a 98Wh battery. Choosing modifiers for small rooms? See our softbox shapes comparison to pick strip, square, or octa for clean edges and minimal spill. Crucially, it measures 19 dB(A) at one meter, silent enough for voiceover work.
Step 4: Achieving Color Consistency Across Mediums
Your biggest challenge? Matching color between stills and digital installations where ambient lighting changes constantly. Museum display photography fails when white balance shifts between frames.
Color Calibration Workflow:
- Measure ambient CCT with spectrometer (not phone app)
- Set all lights to match within ±100K
- Shoot GretagMacbeth chart under primary light
- Create custom DCP/LUT from chart shot
Stop guessing at color temperature. Modern LED panels with >95 CRI can shift CCT as they warm up due to thermal throttling. Check manufacturer specs for "stable CCT range"; many only maintain accuracy for 15 minutes before drifting.
Critical Color Checks:
- At 5-minute intervals: verify no green/magenta shift in neutral patches
- Every 30 minutes: check skin tones on live model or mannequin head
- Before critical shots: measure with handheld spectrometer
This disciplined approach prevents the "sickly skin" effect that ruins client trust. Better to shoot 10 perfect frames than 100 inconsistent ones requiring hours of post-production.
Step 5: Building Your Portable Art Capture System
Forget bulky kits. Your core system should fit in a single pelican case and set up in 5 minutes. Here's what I use for 90% of gallery work:
The 4-Piece Glare-Free Kit:
- 1x 100W LED COB (with 15° grid and barn doors)
- 1x 30W RGB panel (for accent on digital installations)
- 1x 24x24" softbox with speedlite mount
- 1x V-mount battery with D-Tap outputs
This system draws 1.1A total, giving you 4+ hours continuous operation. It measures 17.5 dB(A) at one meter, inaudible on Zoom H4n audio. The 100W light throttles at 40°C, not 50°C, so I keep it actively cooled with a silent 40mm fan.
Why This Works in Real Rooms:
- Total weight: 8.2 lbs (fits in overhead bin)
- No extension cords needed (battery-powered)
- Grids control spill in under 9ft ceilings
- Silent operation for video interviews
- Thermal management prevents color shift
I've used this exact rig for museum display photography from Paris to Tokyo, same results every time because the lighting ratios stay constant. No more "why doesn't this match yesterday's shots?" panic.
Conclusion: Your Next Step to Predictable Art Capture
Quiet, cool, and consistent lighting isn't about expensive gear, it's about disciplined power management and thermal control. Forget chasing maximum output; focus on reliability in your actual shooting environment.
Your Actionable Next Step:
Before your next art shoot, create a power map of your space. Use a circuit finder to label every outlet with its breaker number. Then calculate your available wattage after subtracting 20% safety margin. Stage one battery-powered light as your emergency backup. Budget amps before angles isn't just advice; it's your insurance policy against dead circuits and color shifts.
Document your lighting positions with measurements, not just images. When you can recreate your setup exactly in a new location, even with different ceiling heights and outlets, you'll finally achieve that brand-consistent visual signature clients demand. Quiet, cool, and consistent beats sheer output in real rooms. Every time.
Related Articles
True Color Skincare Lighting In Small Spaces
Achieve accurate color in tight spaces with a measured, repeatable workflow: map ambient color temperature, neutralize spill, lock a 5600K key, and use polarizers to control glare. Document meter readings and stand positions so stills and video match on set, saving hours in post.

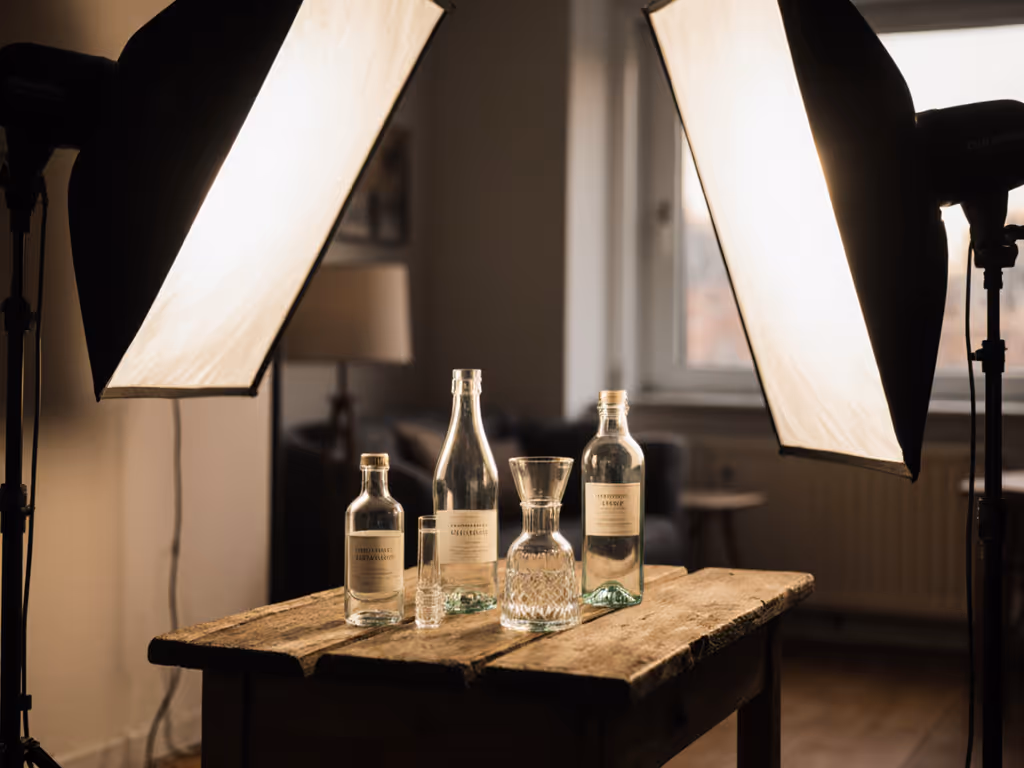
Transparent Product Lighting: Reflection Control System
Map reflection paths, keep lights outside them, and build soft highlights with diffused backlight and negative fill for clean, consistent glass and liquid shots. Sync stills and video, adapt to tight spaces, tune CRI/Kelvin for colored glass, and use a quick mirror check to cut time in post.
Control Specular Highlights In Glass Product Photography
Tame glass reflections with power-aware setups: map lux, budget amps, and shape light with diffusion, flags, and correctly oriented polarizers. Achieve repeatable results that preserve transparency, color accuracy, and label clarity in small studios without heavy post.