True Color Skincare Lighting In Small Spaces
By Marta Kowalska • 3rd Oct
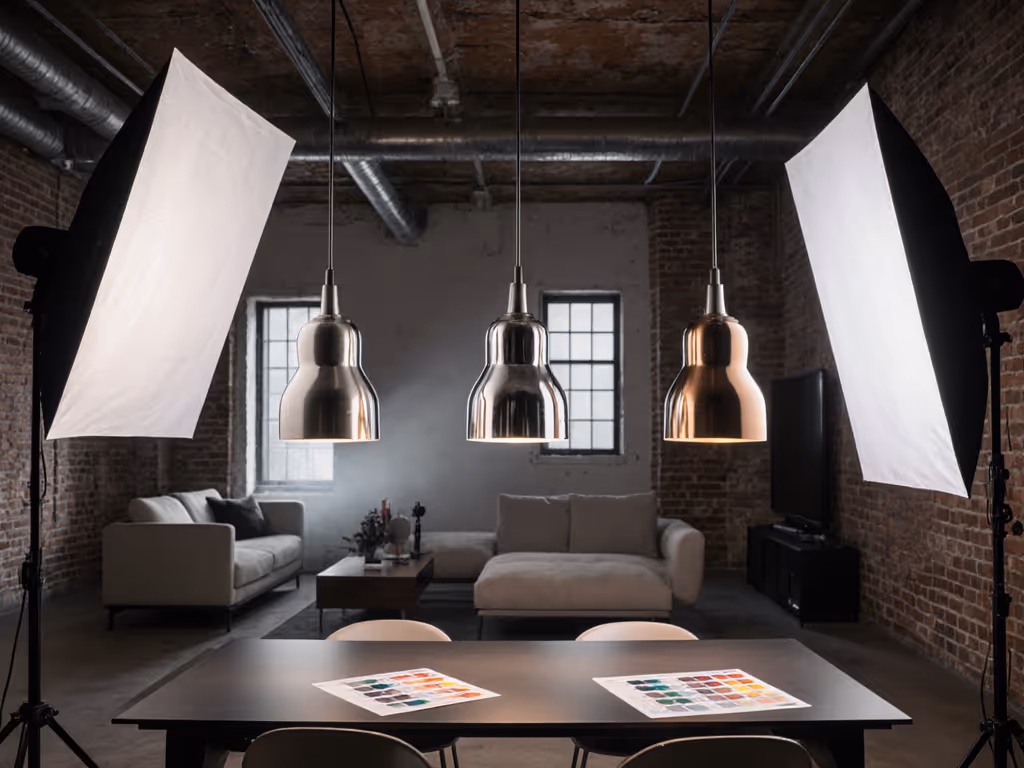
When lighting product photography happens in tight quarters, your skincare photography suffers first. Green spikes from overhead fluorescents. Product colors that shift between phone snaps and DSLR shots. That 'sickly glow' that makes hyaluronic acid serums look like antifreeze. I've seen crews waste hours trying to fix mismatched color in post, when the real solution lives in your meter readings and stand positions. Clarity beats speed; repeatability creates speed. That's why I'll show you how to build a color-locked small-space kit that works across cameras, clients, and cramped apartments, before the first frame.
Why Your Skincare Shots Fail in Small Spaces (And How to Fix It in 10 Minutes)
Q: What's the one mistake that ruins skincare color consistency in small rooms?
Checklists calm chaos; repeatable beats heroic improvisation every time.
Most creators chase 'pretty light' instead of measured light. Your $200 serum bottle reflects 5,600K window light while your LED panel pumps 3,200K spill onto the background. Result? Magenta casts on glass containers and sallow skin tones. Real rooms have compound lighting (daylight, tungsten bulbs, RGB smart lights), all fighting your key source.
Here's the fix:
- Gather your tools: incident meter, gray card, notebook (30 seconds)
- Map ambient CCT: meter every light source without your key lights (2 minutes)
- Neutralize spill: gaffer tape diffusion material over problem fixtures (1 minute per light)
- Lock your key light: position at 45° to product, 24" from subject, 5,600K preset (90 seconds)
This isn't about expensive gear, it's about known variables. Measure everything once, repeat anywhere. Your gaffer labels stand positions with masking tape; your operator documents meter readings every 15 minutes. One setup, many angles means your close-ups match hero shots without color grading roulette.
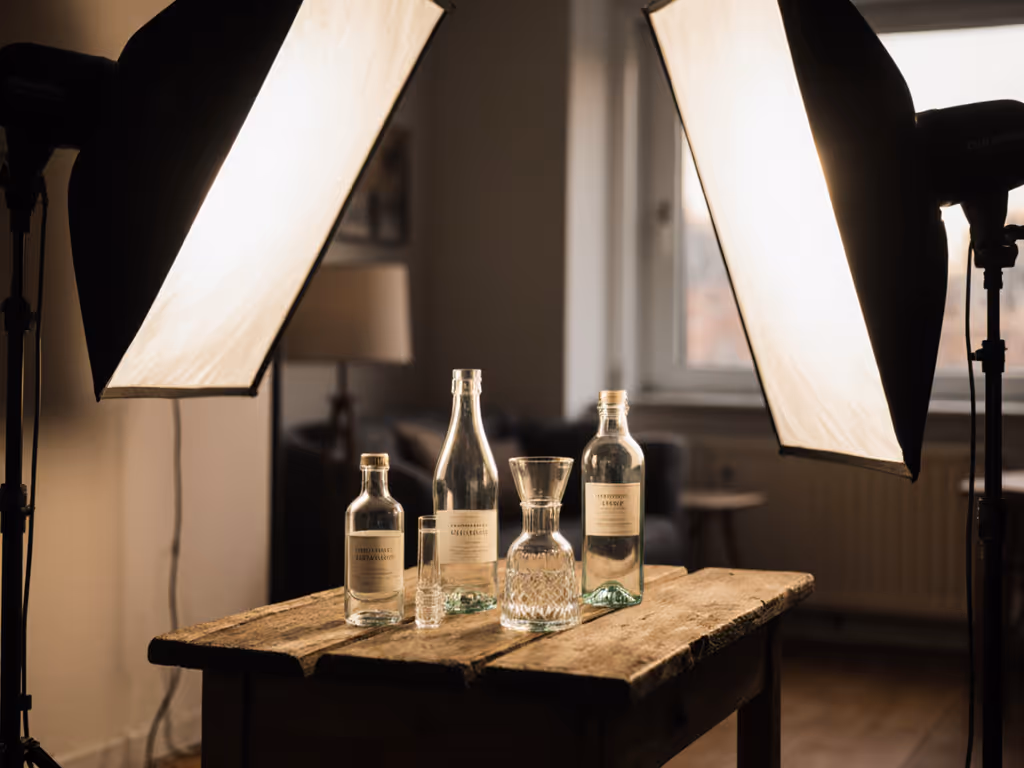
Liquid Product Lighting: Controlling Sheen Without Large Modifiers
Q: How do I handle glare on glossy serum bottles when I can't back up my lights?
Small spaces kill standard book lights. But crowding a 24x24" softbox too close creates hotspots. Instead, harness polarized light physics:
- Position your key light at 30° to the bottle (not 45°!)
- Attach a linear polarizer filter to your light source
- Mount a circular polarizer on your lens
- Rotate until product sheen reduces, not disappears (target 70% specularity)
For true liquid product lighting, time your setup:
- Day 1: Test with water in identical bottles (15 minutes)
- Day 2: Refine angles with actual product (10 minutes)
- Ongoing: Meter at 30-minute intervals as ambient light shifts
This works for makeup texture lighting too. Matte foundations need less polarized light than glossy lip oils. Document your rotation degrees per product type. Your talent stylist notes when preservatives cause separation, triggering a re-meter.
The Cross-Format Color Checklist (Stills + Video)
Q: How do I make my skincare photos match video without color grading nightmares?
Hybrid shoots fail when teams treat photo and video as separate processes. For fixture picks that keep skin tones accurate, see our hybrid video lighting panels. True product sheen photography requires unified parameters:
| Parameter | Photo Setting | Video Setting | Who Checks |
|---|---|---|---|
| White Balance | 5600K + 0 green | 5600K + 0 green | DoP |
| Exposure | f/8, ISO 200 | f/8, 1/50s, ISO 200 | Op |
| Polarizer Angle | 270° | 270° | Gaffer |
| Meter Reading | 5.6 @ 1/125s | 5.6 @ 1/50s | AC |
Execute this 8-minute workflow:
- Place gray card beside product (15 sec)
- Set camera wb using card (30 sec per camera)
- Meter key light at product surface (45 sec)
- Lock settings in camera profiles (1 min)
- Verify with waveform monitor (1 min)
- Document all values on set worksheet (2 min)
One client shot six skincare desks in 55 minutes because the gaffer had taped floor plans and the digital tech had printed kelvin/output specs per angle. No guessing. No re-shoots. That's cosmetic product photography where process prevents panic.
Your Action Plan: Build a Repeatable Small-Space Kit
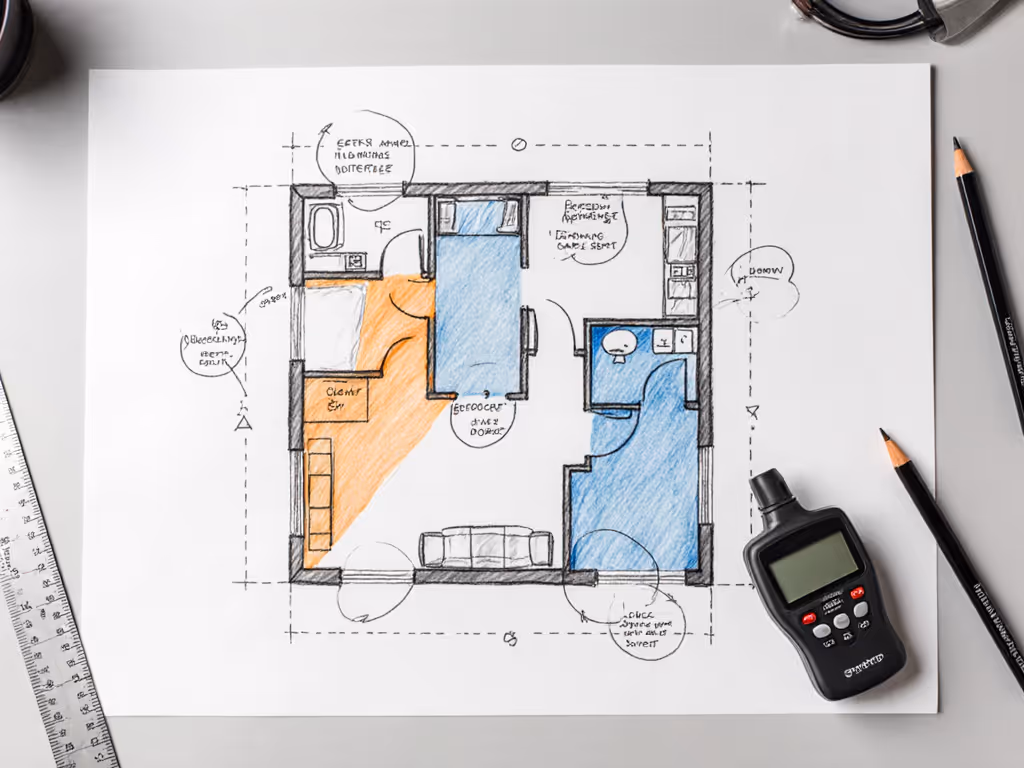
Stop improvising. Start documenting. Tomorrow's shoot, do this before touching lights:
- Sketch your room (3 mins): Mark windows, outlets, ceiling height
- Meter ambient light at 3 product positions (5 mins)
- Assign roles: gaffer controls spill, AC tracks meter drift, op locks settings
- Set max working distance: 18" for liquids, 24" for textures (prevents hotspots)
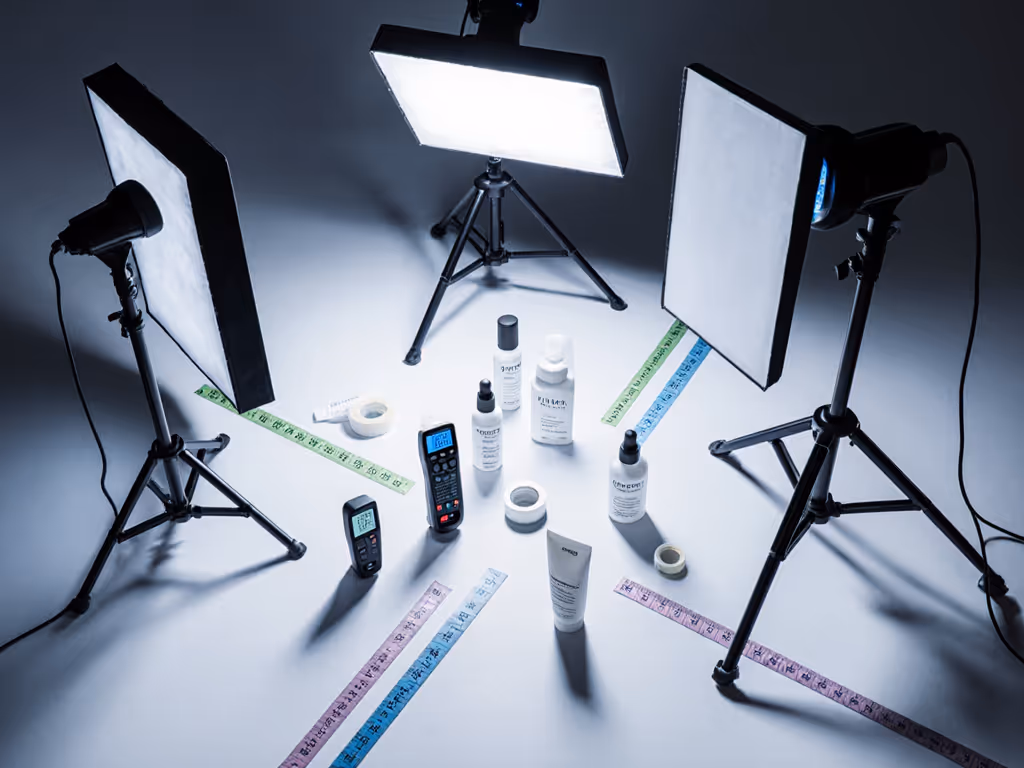
Bring just three tools:
- Incident light meter (non-negotiable for true color)
- 12x12" diffusion panel (doubles as negative fill)
- Polarizer combo (light + lens)
Final exposure isn't magic, it's math you can repeat. When your skincare photography locks color at the source, clients stop questioning retouching. They trust your process. One setup, many angles means your hero shot matches Instagram flat lay matches TikTok demo, because your meter readings never lie.
Your next step: Grab a notebook. At your next shoot, record only these three things: 1) Light-to-product distance, 2) Meter reading in footcandles, 3) Polarizer angle. In two shoots, you'll have a repeatable library for any small space. No more fixing color. You'll be spending saved hours on creative variations instead.
Related Articles

Transparent Product Lighting: Reflection Control System
Map reflection paths, keep lights outside them, and build soft highlights with diffused backlight and negative fill for clean, consistent glass and liquid shots. Sync stills and video, adapt to tight spaces, tune CRI/Kelvin for colored glass, and use a quick mirror check to cut time in post.
Control Specular Highlights In Glass Product Photography
Tame glass reflections with power-aware setups: map lux, budget amps, and shape light with diffusion, flags, and correctly oriented polarizers. Achieve repeatable results that preserve transparency, color accuracy, and label clarity in small studios without heavy post.