IR Photography Lighting: Step-By-Step Spectrum Guide
By Marta Kowalska • 13th Jan
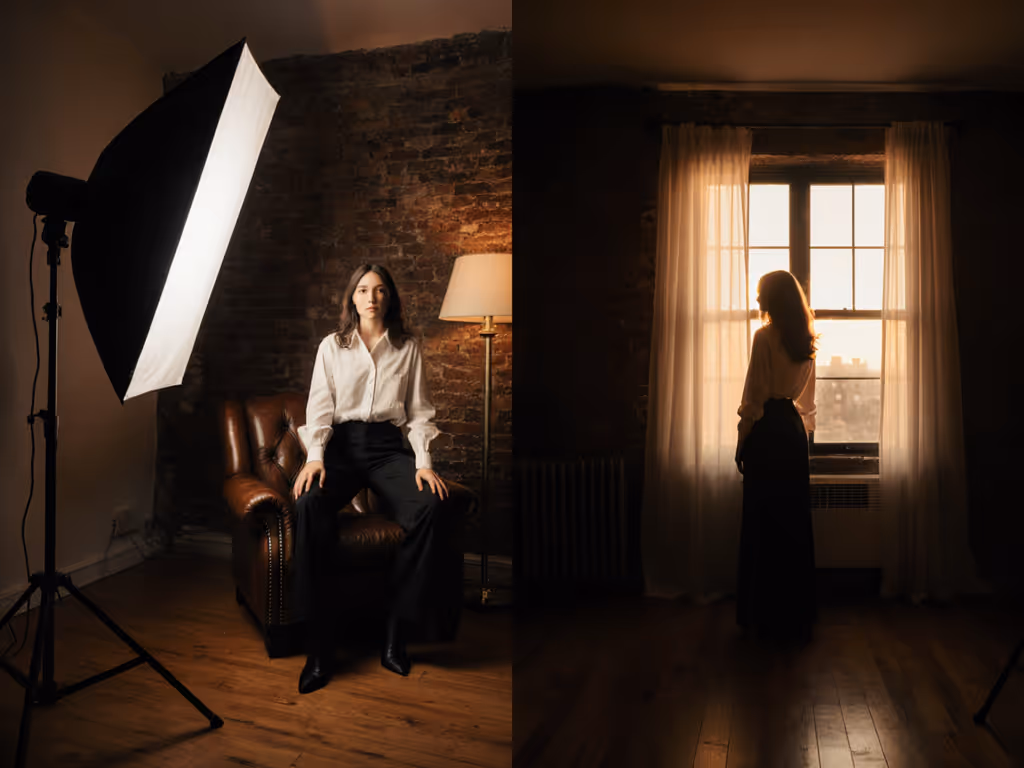
When most photographers think of photography lighting, they focus on the visible spectrum. But understanding IR spectrum lighting opens entirely new creative possibilities while solving common color contamination issues that plague hybrid creators. Infrared photography leverages invisible light between 700-1200 nanometers (light that behaves differently than visible wavelengths), especially regarding reflectivity, absorption, and atmospheric penetration. This guide delivers repeatable processes for harnessing IR lighting with your existing hybrid kit, whether you're shooting landscape infrared lighting or product stills. For product scenes, review our natural vs artificial workflow for consistent results. Forget "heroic improvisation." I'll show you how to lock color, then compose with predictable results.
Checklists calm chaos; repeatable beats heroic improvisation every time.
What Makes IR Spectrum Lighting Different from Visible Light?
IR lighting follows distinct physics principles that directly impact your setup process. Unlike visible light, infrared wavelengths penetrate atmospheric haze better and interact uniquely with materials. Foliage reflects IR strongly (creating that signature "white snow" effect), while water absorbs it (rendering dark). Skin appears smoother as IR penetrates superficial imperfections. Most importantly for hybrid creators: IR light bypasses common color contamination issues that plague mixed-lighting environments. For a foundational comparison of sources, see continuous vs strobe lighting.
Execute this process:
- Identify your primary light source (natural or artificial) (2 minutes)
- Confirm IR-active elements in your scene using your camera's live view (with appropriate filter) (1 minute)
- Meter at 720nm equivalent (gaffer adjusts exposure until histogram peaks at 70%) (2 minutes)
This systematic approach prevents the "green/magenta shifts" that plague creators working in mixed-light environments. When I worked with a branding client needing photo and video across six desks before lunch, I taped a mini floor plan labeling stand positions with specific Kelvin and output values. With a gray card and one-minute meter checks, our colors matched from frame one, no chaotic color correction in post.
What Are the Optimal Lighting Conditions for IR Photography?
For consistent results across your hybrid kit, IR conversion techniques matter less than understanding your lighting conditions. Bright, direct sunlight remains ideal, specifically between 10 AM and 2 PM when infrared radiation peaks. Cloud cover diffuses IR light unpredictably, creating flat results even when visible light appears dramatic. Summer provides maximum IR reflectance from chlorophyll-rich foliage, while winter scenes show subtler effects.
Follow this checklist:
- Outdoor shoots: Check solar radiation data (700+ W/m² optimal) (2 minutes)
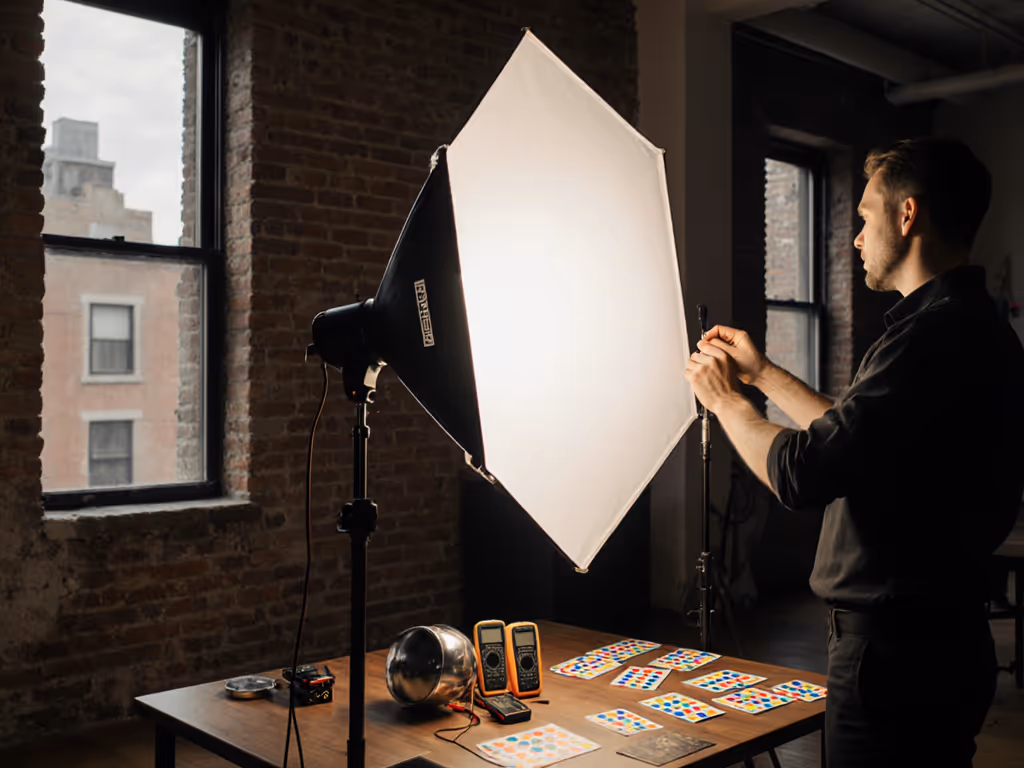
- Indoor shoots: Verify 10,000+ lumens from a continuous source (position at 45° to subject) (3 minutes)
- All environments: Confirm blue sky remains visible through your filter (indicates sufficient IR) (30 seconds)
Unlike visible light photography where "golden hour" rules, IR lighting rewards harsh midday sun. To master placement fundamentals that apply in any spectrum, study our lighting angles guide. This scientific approach eliminates "analysis paralysis" about when to shoot. Your gaffer should document exact solar altitude and ambient IR readings for future replication, this is how you achieve consistent landscape infrared lighting across locations.
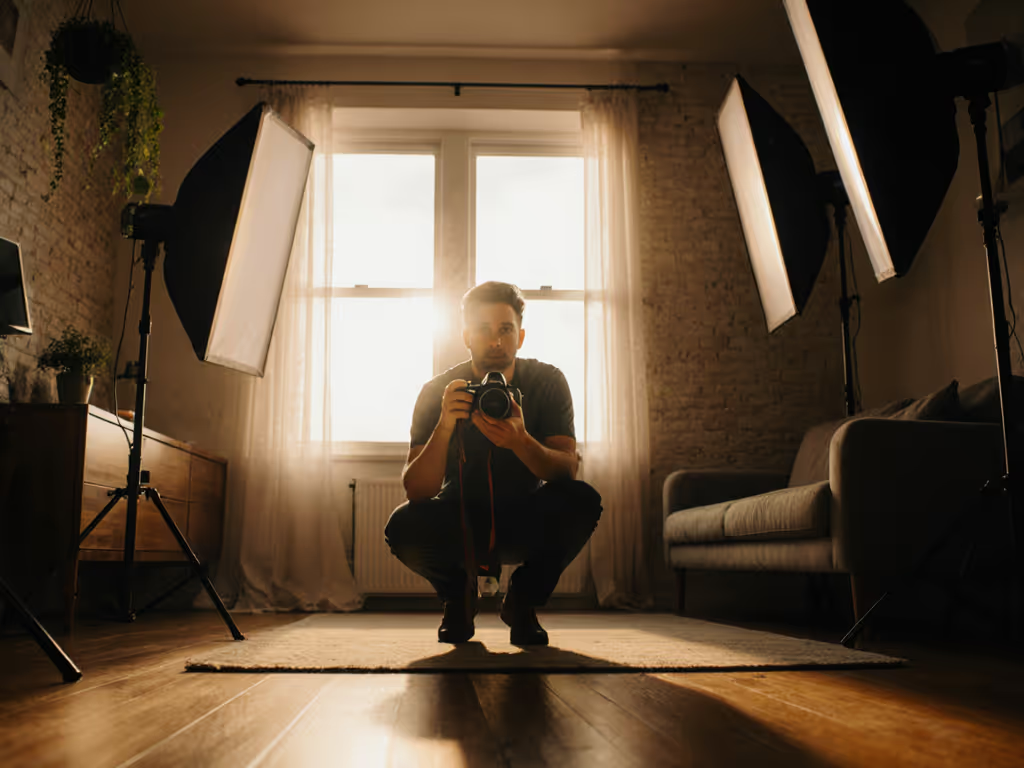
How Do I Configure My Hybrid Kit for IR Photography Lighting?
Your camera and light meter require specific adjustments to handle IR spectrum lighting. Most modern cameras block IR light through internal filters, requiring either external filters or modification. Without modification, expect 2 to 3 stop light loss requiring longer exposures. For mirrorless shooters, this means:
- ISO: 100-200 (higher ISO amplifies IR noise differently than visible light)
- Aperture: f/8-f/11 (avoid f/16+ to prevent hot spots)
- Shutter Speed: Increase 2-3 stops from metered visible light reading
- White Balance: Custom setting using green grass (5200K base)
Critical step: The op must verify focus shift. IR light focuses at different points than visible light, requiring manual adjustment even with autofocus cameras. Perform this check:
- Frame shot with visible light
- Meter scene
- Attach filter
- Adjust focus +15% closer to subject
- Re-meter (exposure will change)
This repeatable process prevents "sickly skin tones" and "product colors that don't match reality," common pain points for creators shooting without process.
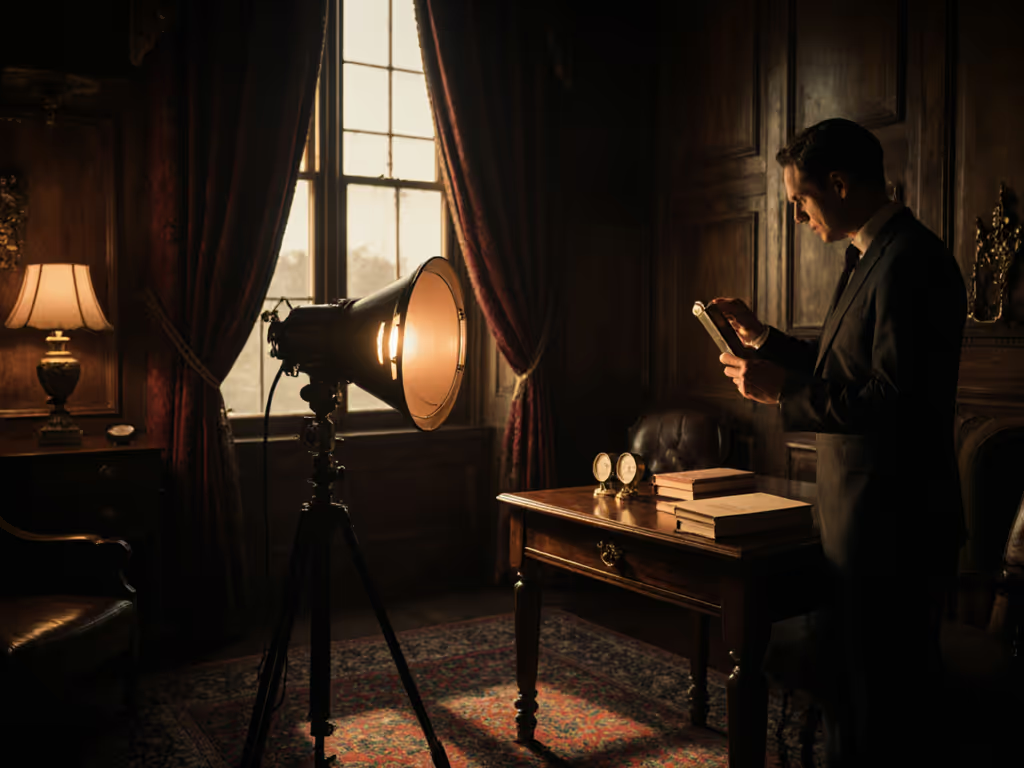
What's the Workflow for Consistent Black and White Infrared Lighting?
Achieving professional black and white infrared lighting requires discipline in capture, not just post-production. For tonal control beyond IR, compare hard vs soft light in B&W. The 720nm filter creates dramatic contrast between IR-reflective and absorptive materials, but only if your lighting remains consistent. Here's my battle-tested flow for matching video and stills:
Phase 1: Pre-lighting (5 minutes)
- Gaffer confirms ambient IR levels with spectrometer
- Op sets camera to monochrome profile with contrast -1
Phase 2: Key Lighting (3 minutes)
- Place continuous light at 45° to subject
- Meter for 1.5 stops above mid-tone in IR spectrum
- Verify no hotspots on reflective surfaces
Phase 3: Consistency Check (2 minutes)
- Shoot gray card in IR lighting
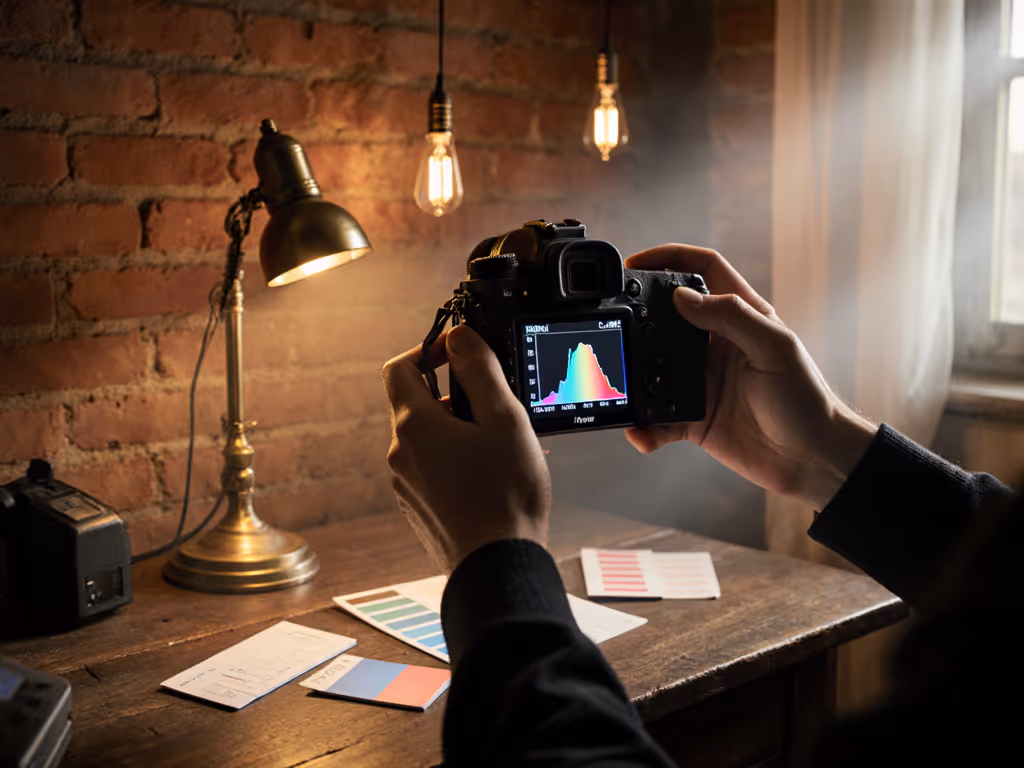
- Verify histogram spreads across full range
- Confirm video and photo cameras match within 0.3 stops
This workflow eliminates "inability to recreate a look when moving locations" by documenting measurable targets instead of subjective "looks." Your talent stays relaxed knowing the lighting is consistent across all cameras.
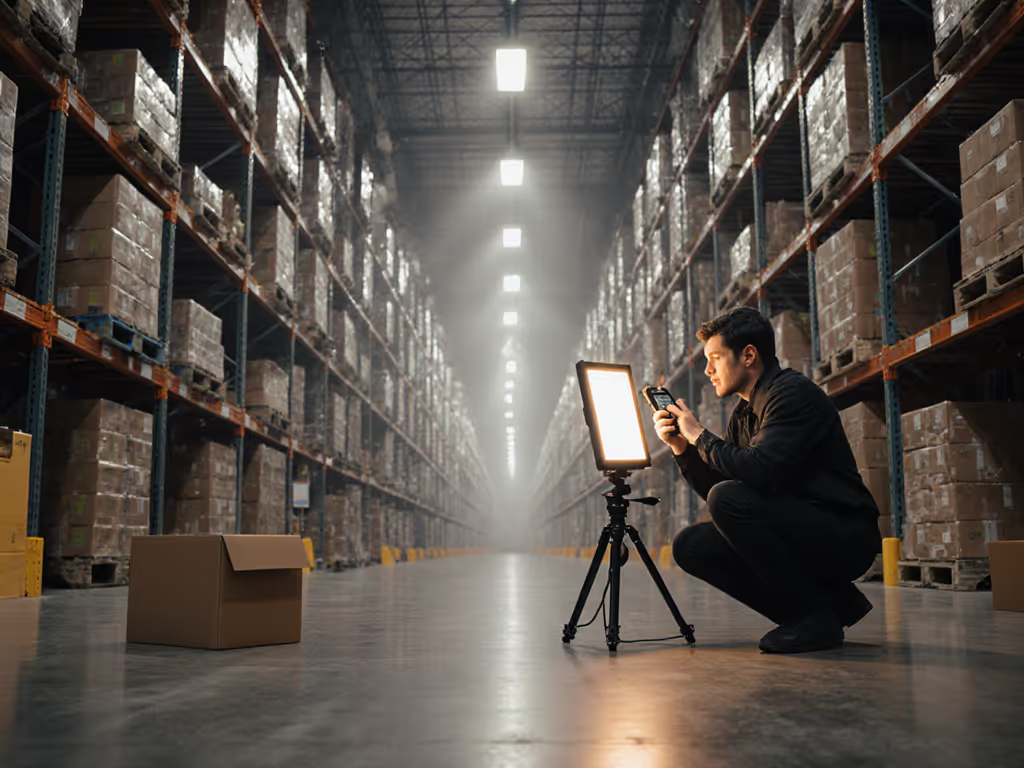
How Do I Handle Mixed Lighting Scenarios in IR Photography?
Many creators assume IR photography solves all mixed lighting problems, but this isn't entirely true. While IR bypasses visible light contamination, different IR sources (sunlight, tungsten, LEDs) still create inconsistent results. Your process must include:
- IR-specific color temperature calibration: Document CCT in Kelvin for each IR source
- Spectral contamination check: Use a spectrometer to identify overlapping wavelengths
- Filter selection protocol: 720nm filter for mixed natural/artificial IR sources
Critical insight: Most LED panels emit minimal IR radiation, making them poor IR key lights despite working well for visible light. Sunlight and halogen lights remain strongest IR sources. When working indoors, your gaffer must verify light source spectral output: don't assume visible brightness equals IR brightness.
Actionable Next Step: Build Your IR Lighting Reference Card
Create an IR lighting reference card specific to your hybrid kit: this becomes your cheat sheet for consistent results anywhere. On a 3x5 card, document:
- Your primary IR filter (720nm recommended)
- Exposure compensation needed (+2.3 stops)
- Focus adjustment requirement (+15%)
- Custom white balance settings (5200K)
- Optimal aperture range (f/5.6-f/11)
Execute this today: During your next outdoor shoot, take 10 minutes to capture test frames at different solar angles with your IR setup. Note the exact lighting conditions and resulting histograms. Store these as reference files labeled "IR_Lighting_YYYYMMDD" in your workflow library. When you need to replicate landscape infrared lighting or product shots, you'll have actual data instead of guesswork.
This simple system solves the core problem of "inability to recreate a look" while building your confidence in invisible light photography. Remember: clarity beats speed; repeatability creates speed. Document your IR lighting process thoroughly, and you'll spend less time fixing problems in post, freeing you to focus on what matters most: creating compelling images that lock color, then compose.
Related Articles