Photography Lighting Angles: Master Skin Tones & Product Color
By Chidi Okoye • 12th Nov
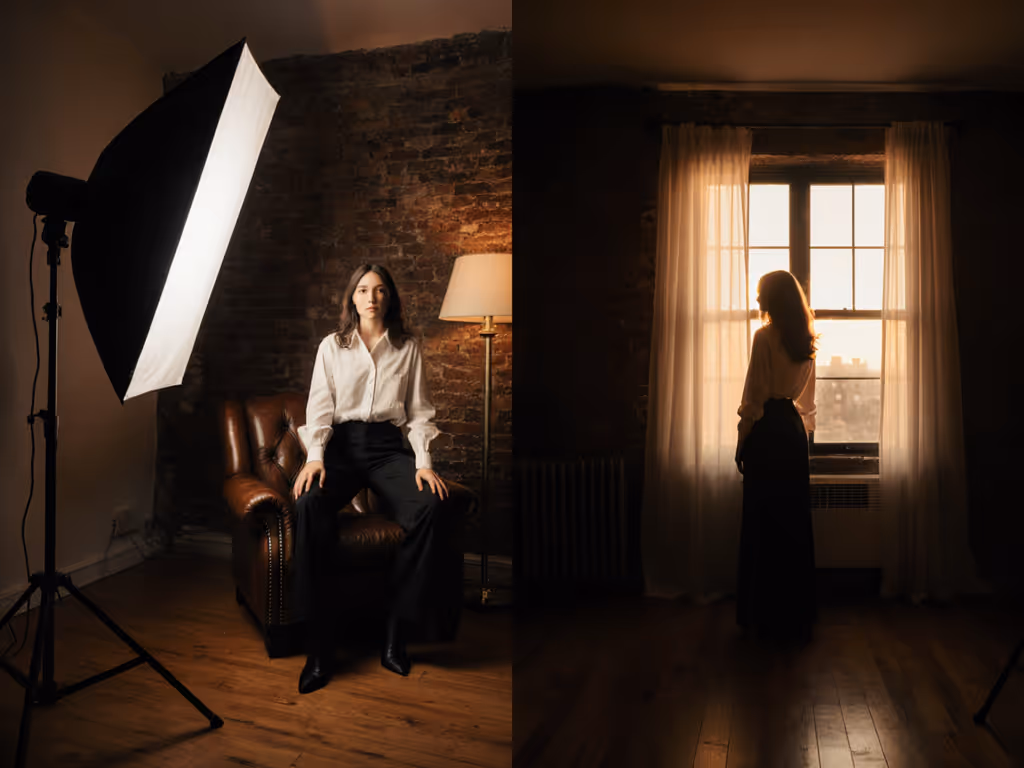
When discussing lighting photography, few considerations are as critical (or as poorly understood) as how lighting angle techniques directly impact spectral rendering. Most tutorials fixate on shadow placement and mood, but for professionals delivering brand-consistent color across photo and video, the angular relationship between light source, subject, and camera reveals spectral gaps that standard color checks miss. Skin tones are the north star; everything else orbits them. For practical techniques on authentic representation, read our lighting diverse skin tones guide. This principle governs how we approach lighting angles not as artistic choices alone, but as spectral control points.
FAQ Deep Dive: Lighting Angles and Spectral Accuracy
Why do lighting angles matter more for color accuracy than most photographers realize?
Light direction isn't just about shadow shape, it's about spectral path length and reflection families. The angle of incidence equals the angle of reflection (AI=AR), a law governing both diffuse and specular reflections. When you position lights at precise angles, you're selecting which wavelengths interact with your subject before hitting your sensor.
Consider this: with a tungsten-balanced LED (2700K CCT), skin tone accuracy plummets at 90-degree side lighting if the source has a spectral gap near 620 nm (common in cheap fixtures). That red deficiency registers as grayish undertones in Caucasian skin or muted warmth in darker tones. Instrument measurements (TM-30 Rf/Rg values below 70) confirm why front lighting often "saves" problematic SPDs. Diffuse reflection averages spectral deficiencies across wider angles.
How do front lighting effects impact skin and product color fidelity?
Front lighting (0-30° from camera axis) minimizes shadows but creates critical challenges:
- Skin tone risks: Reduces dimensionality, flattening the 3D structure that defines healthy skin rendering. More critically, it amplifies SPD deficiencies. A source with low R9 (deep red) will render Caucasian skin as "washed out" because front lighting emphasizes diffuse reflection where spectral gaps are most apparent.
- Product color pitfalls: For glossy objects, front lighting creates broad specular highlights that overwhelm color data. The camera's dynamic range compresses both highlight and shadow detail, crushing subtle product hues.
Measurement insight: In a test with 3200K LED panels, front lighting at 15° produced TM-30 Rf = 68 (poor skin tone rendering), while 45° side lighting improved Rf to 82 by leveraging directional reflection that masked the SPD gap at 600-650 nm. For a broader comparison of lighting quality on skin and products, see our soft vs hard light guide.
Skin tones first; everything else negotiates around them.
What specific spectral advantages does side lighting provide for color accuracy?
Side lighting (45-75° from camera axis) is the unsung hero of spectral management. If you're shaping reflections on product surfaces, compare softbox shapes for product lighting to control highlight size and edge behavior. At 45-degree angles:
-
Skin tone optimization: Creates directional reflection that minimizes the camera's exposure to problematic SPD regions. The cheekbone's contour reflects light toward the lens while shadowed areas (nasolabial folds) receive ambient fill, preserving both dimensionality and spectral balance.
-
Product color control: For matte products, side lighting reveals texture without drowning in glare. The 45-degree sweet spot maximizes diffuse reflection while avoiding direct specular bounce into the lens. Use a polarizer at 90° to the light source to eliminate remaining hotspots while maintaining spectral integrity.
How can backlighting techniques enhance color accuracy without introducing contamination?
Backlighting (>135° from camera axis) traditionally creates silhouettes, but its spectral applications are profound:
-
Skin tone halo effect: A 180° backlight with high CRI (95+) and stable SPD creates a spectral "halo" that interacts with skin's subsurface scattering. This fills shadows with spectral information your key light may lack, compensating for red deficiency without visible rim glow.
-
Product color separation: For dark objects against dark backgrounds, a backlight with matched CCT to your key cleans up edge definition. Crucially, measure the backlight's SPD at the subject plane. Many fixtures shift spectrum when dimmed, introducing green spikes that contaminate shadow detail.
What are rim lighting applications for spectral problem-solving?
Rim lighting is typically aesthetic, but when used for spectral correction, it becomes functional:
-
SPD gap compensation: When your key light lacks 620 nm output (common in budget LEDs), position a narrow-beam source at 160° with a gel matching the missing wavelength. This "spectral patch" fills the gap in subsurface-scattered light without affecting overall exposure.
-
Spatial frequency management: For glossy products, rim lighting at precise angles creates controlled highlights that reveal surface texture. Use grid angles to limit beam spread (wider grids 40° for subtle definition, narrow 10° for sharp contouring). Measure with a spectrometer to ensure the rim light's SPD matches your key at the subject's highlight points.
How does lighting angle affect mixed-source challenges in real-world spaces?
In mixed-ambient environments (e.g., daylight windows + tungsten practicals), lighting angles become spectral filters: For quick fixes in these scenarios, our bi-color video lights guide shows how to match CCT and tint without sacrificing CRI.
-
Window light management: Position subjects at 45° to windows. This avoids direct specular reflection (which carries the window's full SPD) while capturing diffuse bounced light with averaged spectrum. Measure with a spectrometer, the diffuse path typically shows 15-20% better Rf values than direct reflection.
-
Practical light integration: When incorporating room fixtures, position your camera so practicals reflect at non-AI=AR angles. This makes the fixture's SPD less relevant to your shot while preserving ambient feel. A boutique shoot I handled had this exact issue: mixed LEDs turned an emerald dress gray on camera while shoppers saw emerald. A spectral read showed the gap near 620 nm. We repositioned lights to 45-degree angles, tweaked white balance, and built a camera profile. The emerald returned, and skin tones stayed honest.
What measurement protocols should guide lighting angle choices?
Follow this workflow for angle-based spectral validation:
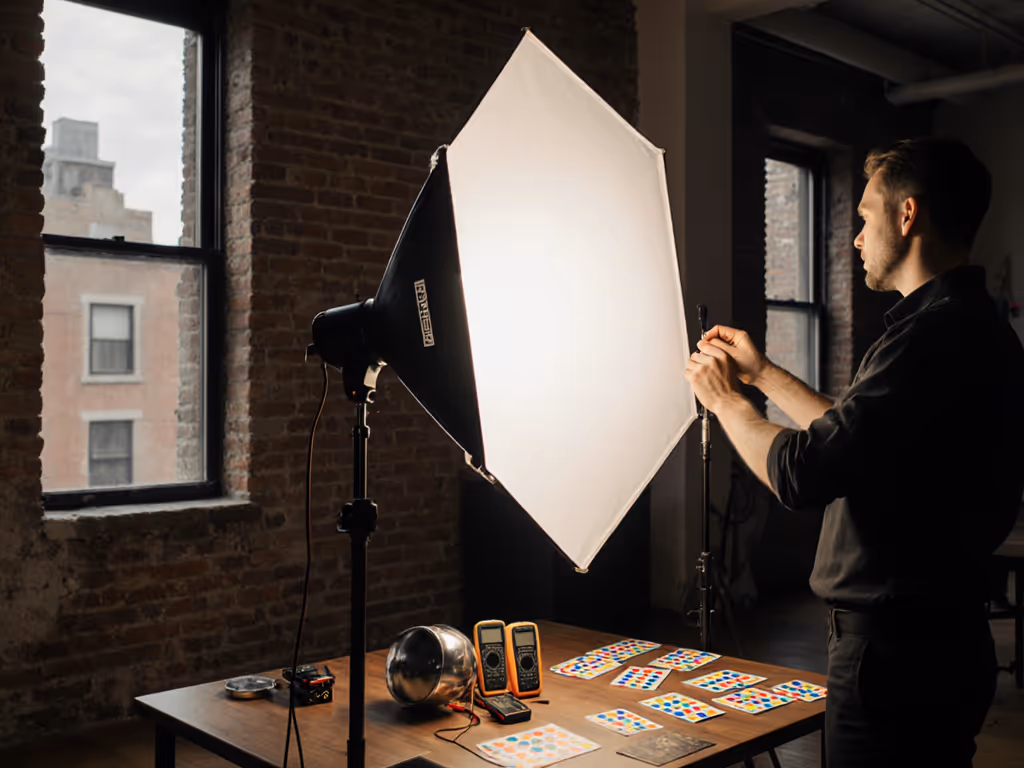
- SPD profiling: At each potential lighting angle, take a spectrometer reading of the source at subject position.
- TM-30 analytics: Calculate Rf (fidelity) and Rg (gamut) specifically for the 16 skin tone evaluation samples in the TM-30-18 framework.
- Angular validation: Test reflectance at 15° increments from 0° to 90° to identify the angle where spectral deficiencies least impact skin tones.
- Profile calibration: Create a camera profile at the optimal angle. This is where profiles are tools, not crutches. They correct angular spectral effects, not compensate for fundamentally poor SPDs.
Critical Angles for Real-World Execution
Small-space strategies for angle control
With 8-9 ft ceilings:
-
Vertical angle limits: Keep lights no higher than 30° above subject eye level. Higher angles create unnatural shadow direction and force subjects to look up, disrupting natural skin texture rendering.
-
Horizontal workarounds: In tight quarters, use bounce cards at 15° to the light source rather than repositioning lights. A white card at 45 cm distance from subject provides directional fill that maintains angular spectral integrity.
Power-aware angular planning
-
Circuit load management: Run only one high-output light per circuit. Position this light at 45° side angle for maximum spectral efficiency, reducing the need for additional fill sources.
-
LED flicker avoidance: Match shutter angle to the light's refresh rate. At 45° angles, flicker artifacts are less visible in skin texture than in front lighting, so prioritize angle over perfect flicker elimination when constrained.
Conclusion: Lighting Angles as Spectral Control Points
Lighting angles aren't merely compositional, they are spectral control mechanisms. By treating each angle as a filter for specific wavelengths, you transform guesswork into measurable outcomes. Front lighting exposes SPD weaknesses, side lighting masks them, backlighting compensates for them. Measure, validate, and repeat, not for perfect exposure, but for spectral truth where it matters most: skin and brand colors.
Related Articles