Stone vs Glass: Architectural Lighting Comparison Guide
By Marta Kowalska • 2nd Dec
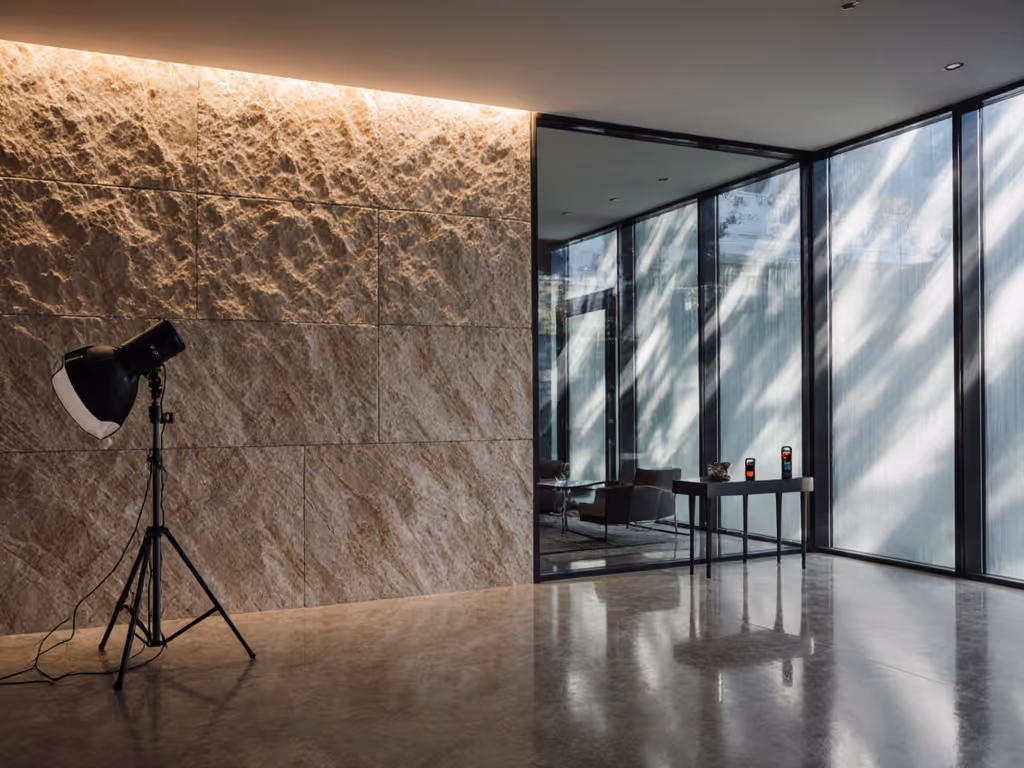
When capturing historical architecture lighting details or executing modern architecture photography, the material under your lights makes all the difference. For a broader overview of interior vs exterior challenges, see our architectural lighting comparison. Whether you're photographing a carved marble facade from the Renaissance or documenting a contemporary glass skyscraper, understanding how stone and glass interact with light determines whether you'll capture authentic texture or struggle with color casts through the entire shoot. As hybrid creators working in tight spaces (where one setup must deliver both stills and video), I've seen crews waste hours guessing exposure when they should be locking color, then composing with confidence.
How Do Light Transmission Properties Differ Between Stone and Glass?
Glass offers near-total light transmission when clear (85-92% for standard float glass), creating predictable, even illumination ideal for consistent color capture. Stone, however, behaves dramatically differently based on type and thickness. Onyx transmits 25-35% of light when cut thin (under 1cm), while granite and marble transmit less than 5% even at minimal thicknesses. This fundamentally changes your lighting approach:
- For glass facades: Meter at ISO 400, f/5.6, 1/100s at 5,600K as your baseline exposure. Position your key light 45 degrees off-axis to avoid reflections that contaminate skin tones.
- For stone surfaces: Start with ISO 800, f/4, 1/60s at 4,300K. You'll need 1.5-2 stops more power than glass to achieve equivalent exposure. For ornate detail lighting, feather your light source to emphasize carving depth without blowing out highlights.
Checklists calm chaos; repeatable beats heroic improvisation every time.
Which Material Creates More Consistent Results Across Photo and Video Formats?
Glass wins for technical consistency but stone demands more creative problem-solving. When filming interviews against glass partitions, maintain a minimum 3:1 light ratio between your subject and background to prevent silhouetting (critical for hybrid shoots where both formats run simultaneously). If you're deciding how to light hybrid shoots, our continuous vs strobe guide clarifies when each approach preserves true color across photo and video. Stone requires more nuanced control:
- For quartz or granite: Use a 10° grid on your key light to isolate illumination on carved details. Measure with a spot meter every 15 minutes as stone absorbs heat, gradually altering its reflectivity.
- For backlit onyx: Set all cameras to 1/48s shutter speed to eliminate banding from LED drivers. Assign your gaffer to monitor kelvin shifts (if the stone glows warmer after 20 minutes of continuous backlighting, your op must adjust white balance before the next take).
During a recent branding shoot across six desks, I taped a mini floor plan showing exact light positions and pre-logged kelvin values for each angle. This prevented the color drift that typically plagues multi-camera setups. One-minute meter checks maintained consistency from frame one (no post-production heroics required).
How Do Mixed Lighting Conditions Affect These Materials Differently?
Both materials react predictably to single light sources but become problematic with mixed lighting (a common pain point in real-world spaces). To simplify matching sources on location, consider these bi-color video lights tested for mixed ambient. Glass magnifies ambient light pollution through refraction, while stone absorbs and re-emits it unevenly.
Your action plan when shooting historic buildings with mixed sources:
- Isolate variables first (5 minutes):
- Turn off all practicals
- Shoot test frames with only natural light
- Record color checker readings at multiple points
- Introduce controlled lighting (8 minutes):
- For glass: Add CTO-gelled lights to match window color temperature
- For stone: Use no warmer than 3,200K to avoid amplifying amber tones
- Verify cross-format consistency (2 minutes):
- Shoot simultaneous frames on stills/video cameras
- Compare in false color monitors before proceeding
This systematic approach prevents the green/magenta shifts that plague mixed lighting scenarios. When matching modern glass facades against tungsten interior lighting, remember: glass reflects the dominant source while stone absorbs and re-emits wavelengths differently (requiring separate white balance targets for each surface).
What Texture Capture Techniques Work Best for Each Material?
Glass facade photography demands precise specular control that most creators overlook in small spaces. For tight quarters:
- Position your light 15-20 degrees above horizontal to create a clean reflection line
- Use polarizing filters on both light source and camera (rotate camera filter until hotspots disappear)
- Assign a dedicated focus puller to monitor reflection movement as talent moves
For stone texture capture, adapt your approach based on mineral composition:
| Stone Type | Best Lighting Angle | Grid Size | Exposure Adjustment |
|---|---|---|---|
| Marble | 30° raking | 20° | +0.3 EV for veining |
| Granite | 45° raking | 10° | -0.7 EV for porosity |
| Onyx (backlit) | N/A | N/A | Meter from behind |
For intricate carvings in historical architecture lighting, use a book light setup: bounce a 5300K LED off foam-core at 2:1 distance ratio (light-to-bounce surface vs bounce surface-to-subject). This creates wraparound illumination that reveals texture without hard shadows (a game-changer for small-space operators who can't use large modifiers).
How Should Power Constraints Shape Your Stone vs Glass Lighting Strategy?
In typical 15A circuits common to urban workspaces, your approach must differ radically between materials. Glass requires less power but more precise control; stone demands significant wattage but forgives minor inconsistencies.
Power-aware checklist for glass shoots:
- Use 300W max per circuit (20% buffer for safety)
- Set dimmers to 70-80% capacity to avoid flicker
- Assign an electrician to verify no PWM (pulse width modulation) at your shutter angle
- Total setup time: 9 minutes
For stone shoots:
- Prioritize 1x 500W and 2x 300W fixtures over multiple small lights
- Use 1/100s shutter speed minimum to avoid flicker at common frame rates
- Implement staggered power-on sequence: main light first, then fill, then backlight
- Total setup time: 12 minutes
When I shot a historic bank lobby with marble columns and glass partitions, we mapped outlets first. The stone areas required 40% more power than glass sections (forcing us to shoot stone elements during off-peak electrical hours). Documenting these power relationships in your location scouts prevents tripped breakers during critical shots.
How Can You Achieve Cross-Format Consistency with Minimal Gear?
The most reliable method demands discipline, not expensive gear. For both stone and glass:
- Standardize your metering (2 minutes):
- Calibrate all cameras to the same gray card under primary light
- Record exposure values at 5 key points per surface
- Lock exposure ratios (3 minutes):
- Maintain 2.5:1 max ratio between brightest stone area and darkest glass section If you're refining light quality while holding ratios, our soft lighting guide shows diffusion options that travel well.
- Use incident meter readings (not camera histograms) for accuracy
- Verify during shoot (1 minute per scene):
- Check color checker SG readings every 15 minutes
- Assign a dedicated monitor to track consistency across camera feeds
This process delivers true-to-material color across all formats without requiring identical camera models. For historical architecture documentation, where precise color reproduction matters more than "cinematic" looks, this scientific approach builds client trust that quick fixes cannot.
Actionable Next Step: Your Stone/Glass Lighting Audit
Before your next shoot, complete this 10-minute audit:
- Test light transmission of your primary material using a 1,000-lumen source at 1m distance (record lux readings front/back)
- Create a kelvin drift chart: measure surface temperature every 5 minutes for 30 minutes under continuous lighting
- Document your power consumption at different dimming levels
- Save these values in a standardized template for future reference
This simple process addresses the core issue I see daily: creators improvising rather than establishing baselines. When you understand your materials' optical properties systematically, clarity beats speed; repeatability creates speed. You'll spend less time fixing color in post and more time delivering the consistent, professional results your clients expect (whether documenting century-old stone carvings or capturing the transparency of modern glass facades).
The next time you're setting up in a cramped space with mixed lighting challenges, remember this: spontaneous solutions create future problems. Document your findings, build your reference library, and watch how quickly your confidence grows when you lock color, then compose.
Related Articles