How Light Angles Control Specular Highlights
By Chidi Okoye • 6th May
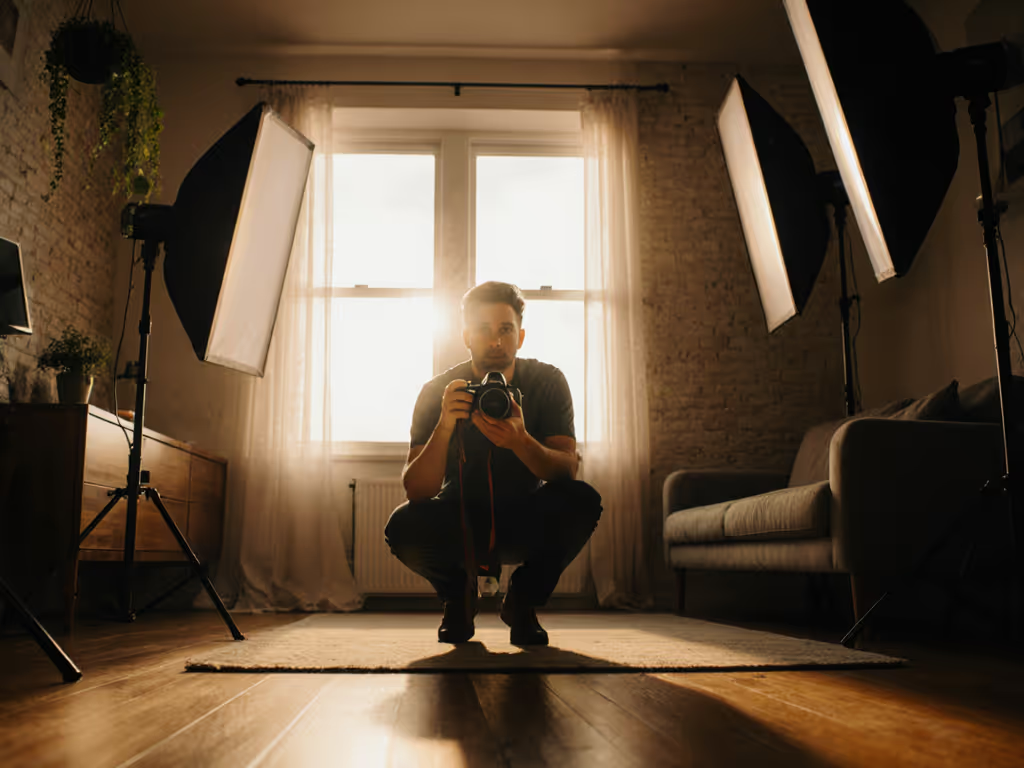
Specular highlight control and light angle reflections are governed by a single, immutable law: angle of incidence equals angle of reflection. Yet most hybrid creators treat specularity as incidental (something to fix in post) rather than as a primary design variable. This FAQ Deep Dive unpacks the physics and translates it into on-set geometry you can repeat across locations, ensuring predictable results and honest skin tones without relying on guesswork. For a step-by-step primer on directional placement, see our Photography Lighting Angles guide.
What Exactly Is a Specular Highlight, and Why Does It Matter?
A specular highlight is a bright, mirror-like reflection that appears when light strikes a smooth, shiny surface and bounces back at a specific angle. Unlike diffuse reflection, which scatters light uniformly across a matte surface, specular reflection is directional and predictable, making it the most controllable aspect of your lighting geometry.
Why does this matter for your work? Because specularity is not separable from how skin and product colors appear on camera. A hard specular on the cheekbone under one light, combined with a softer catch-light from a secondary source at a conflicting angle, creates layered highlights that flatten form and distort skin tonality. Skin tones first; everything else negotiates around them. When speculars are geometrically confused, color grading becomes a rescue operation rather than refinement.
How Does Light Angle Determine Specular Position and Intensity?
The position of a specular highlight is entirely determined by the angle of your light source relative to the subject's surface plane. Move the light 10° closer to the subject's normal (the perpendicular to the surface), and the specular shifts in lockstep. This is not opinion; it is geometry.
Intensity, however, depends on three factors working together:
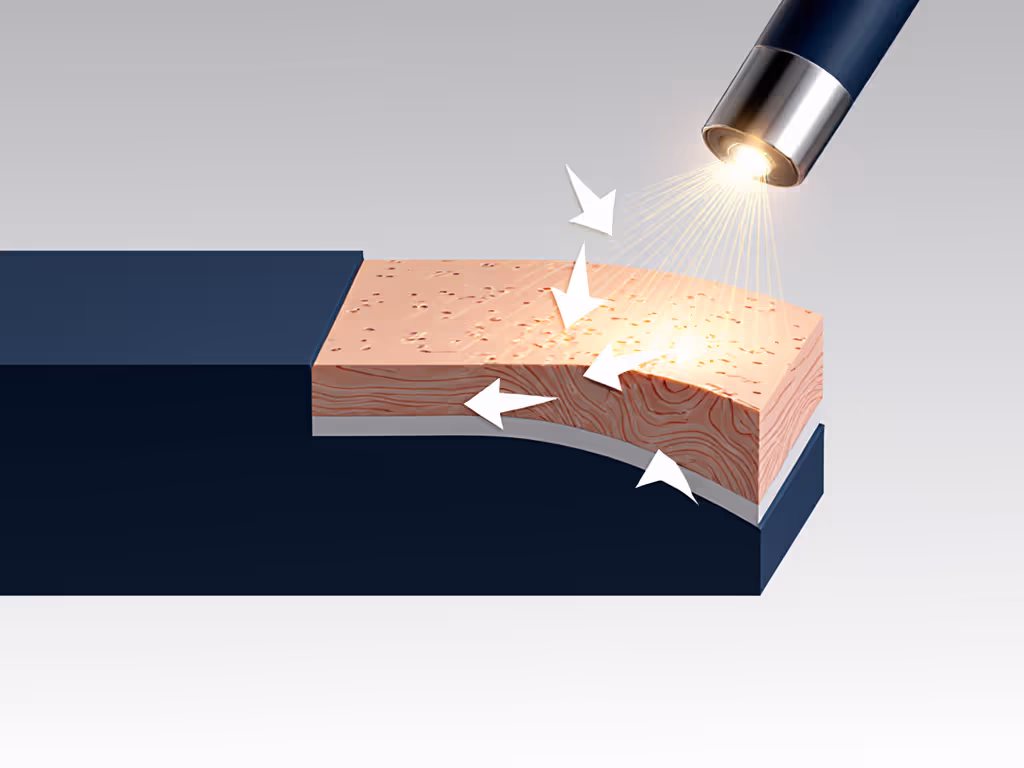
- Angle of incidence: Light hitting a surface at a shallow angle (grazing) produces a dimmer specular than light hitting perpendicular to the surface. This is governed by the Fresnel effect, where the reflectance of a surface increases as the viewing angle moves away from the normal.
- Source size (apparent angular size from the subject's perspective): A small light close to the subject produces a tight, intense specular. A large diffused source at the same distance produces a broader, softer highlight with lower peak intensity.
- Distance: Every doubling of distance reduces the intensity of the specular (following the inverse-square law), but also softens it because the light source now subtends a smaller angle from the subject's viewpoint.
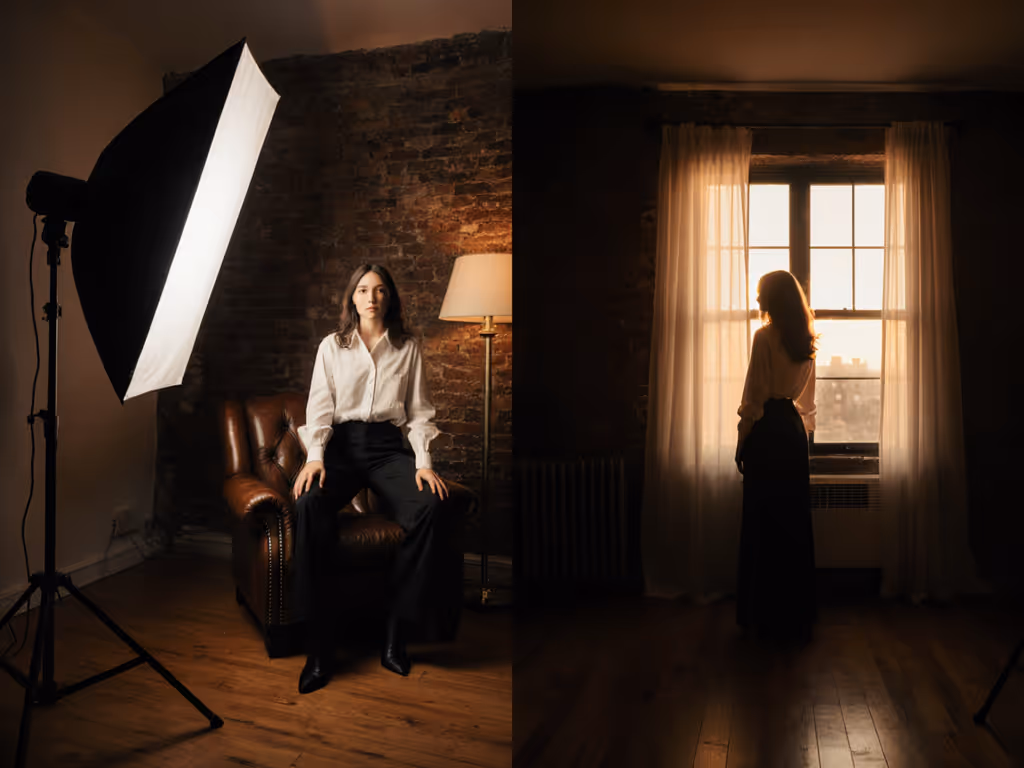
For skin, this trio of variables is non-negotiable. Position your key light at 35° to 50° off-axis from the subject's profile plane, and the cheekbone specular will sit favorably. Change the angle by 15°, and the highlight slides to a less flattering zone (the nose tip, the upper eyelid, or off the face entirely).
Why Do Speculars Go Wrong in Real Rooms?
Most hybrid creators work in spaces with mixed ambient sources: a north window, overhead practicals, LED key lights, and perhaps a reflector fill. Each source casts its own specular at its own angle. When these angles conflict (one light creates a specular on the cheekbone while another creates one on the forehead), the skin reads as confused, plastic, or sickly. The client sees it. The gut reaction is, "Something's wrong," even if you can't name it.
The fix is not to add more lights; it's to unify specularity. Choose one dominant specular-producing source, position it with intention, and use flags, grids, and negative fill to suppress competing speculars from secondary sources. In a boutique with mixed LEDs, I once saw a hero dress shift from emerald to gray on camera while shoppers saw rich color with their eyes. A quick spectral read revealed a gap near 620 nm in one LED's SPD. We swapped to a closer spectrum, adjusted white balance, and built a camera profile. The emerald returned, and skin tones stayed honest. The lesson: match by spectrum, not rumor. Geometry and spectral data compound; one without the other leaves you guessing. For fixtures with verified color rendering, see our best-CRI hybrid panels for skin and product work.
How Do Distance and Beam Angle Influence Specular Control in Small Spaces?
In a typical compact workspace (8 to 9 ft ceiling, small bedroom or apartment), you cannot move lights back 12+ feet to soften via distance alone. Instead, use beam angle and diffusion as primary softening tools.
Beam angle is the angular spread of light exiting a fixture. A bare LED with a tight 15° lens concentrates energy into a small footprint. A diffuser or reflector with a 60° spread distributes that same energy across a wider area. At the same distance, the 60° beam casts a lower-intensity, broader specular than the 15° lens, despite identical power. In tight quarters, this is your main lever. To design truly soft speculars in cramped rooms, start with our soft lighting guide.
Diffusion increases the apparent size of the light source without moving it back. A silk or grid between the light and subject acts as a secondary source: instead of a point light, the subject now sees an area light. The specular grows softer and larger. For skin, this is often preferable to moving the light back, which compresses your working area and forces compromises elsewhere.
Document your choices: note the beam angle, diffusion type, distance, and power level. Replication across locations depends on recording these numbers.
What's the Workflow for Diagnosing Specular Problems on Set?
Use your camera's highlight clipping warning (zebras or overexposure display). When speculars clip:
- Count the hot spots. One bright area suggests a single dominant specular. Multiple bright areas indicate competing sources at conflicting angles.
- Identify the source. Which light is casting the brightest specular? If it's not your key, flag it or adjust its angle.
- Evaluate size and position. Is the specular too large or too hard for your intent? If so, add diffusion or increase distance. Is it in an unflattering location (on the nose tip rather than the cheekbone)? Reposition your key light.
- Check for color shifts. In raw or log mode, speculars from different sources often have subtle color differences due to their SPDs and due to Fresnel-induced hue shifts at grazing angles. If a specular looks off-color, it may indicate a secondary light contaminating the primary specular zone.
How Do You Manage Speculars on Shiny Products in Tight Spaces?
Cosmetics, jewelry, and tech products are inherently glossy. For transparent and glossy objects specifically, learn to control specular highlights in glass. Their speculars must be intentional and placed to define shape and desirability, not flatten them.
- Use a small, focused light source. A book light, focused LED spot, or reflector with a tight beam is far more effective than a large softbox in a confined space. The focused light allows you to position a precise specular accent on one edge or corner of the product, giving it dimension and polish.
- Position the light at a steep angle (60° to 75° off-axis from the product's face) so the specular sits at the edge rather than spreading across the entire surface. This creates visual contrast and reveals the product's form.
- Lower power slightly. A product's specular can be brighter than skin without looking blown if it's small and defined. But peak brightness should still fall just short of clipping to retain detail.
- Use a boom arm or small stand to keep the light from blocking your camera angle or eating precious floor space.
For surface reflection management on multi-surface products (e.g., a makeup compact with a metallic rim and matte powder), use multiple small lights at different angles, each catching one surface in its own specular. This is more tedious than one large light, but in a small space it's often the only geometry that works.
How Does Material Surface Finish Affect Your Strategy?
Not all surfaces are equally reflective. For metal finishes, compare techniques in our metallic lighting showdown to avoid blown hotspots or lost texture. Surface roughness at the microscopic scale determines specularity.
- Polished metal and glass: Very low roughness, very intense, tightly focused speculars. Require precise angle control; even small position shifts are visible.
- Matte plastic, canvas, or chalky cosmetics: High roughness, low or absent specularity. If you need a catch-light to add dimension, use a larger, softer source or a shallower angle to make the highlight visible.
- Skin: Moderate roughness varies by location - oily forehead produces sharper speculars than drier cheeks. During setup, examine your subject under your key light. Oily skin may need tighter beam control; dry skin may need a softer source to produce a visible, flattering highlight.
FAQ: Four Common Scenarios
Scenario 1: Product looks plasticky or flat despite a large softbox.
Root cause: You're using a large diffused source at a shallow angle. This spreads light across the entire surface, blurring the specular into a vague wash. The product loses dimensionality.
Fix: Switch to a smaller, focused light at a steeper angle (60° to 75° off-axis). Create a tight, defined specular accent on one edge. This trades soft, even light for sharp geometric definition (appropriate for luxury or high-detail products). Check white balance afterward; steeper angles can introduce Fresnel color shifts on metallics.
Scenario 2: Skin tones look gray or muddy even after white balancing.
Root cause: A secondary light is casting a competing specular or contaminating the fill light's color. The two speculars or tones are averaging on the skin, resulting in a desaturated, confused appearance.
Fix: Use your camera's histogram or clipping display to isolate the brightest areas. If a specular is not from your key light, flag it or adjust its angle. If skin is gray and speculars are unified, your LED may have weak output in the red region (around 600 to 700 nm) or an excessive green spike, issues solved by a gel, color temperature shift, or LED swap. This is where match by spectrum, not rumor applies: measure the SPD if possible, or test with a white balance card and a known reference.
Scenario 3: Moving between three shoot locations; speculars look different each time.
Root cause: Distance, angle, or modifier are changing without being recorded. Specularity is physics, not mood. Same input yields same output. If outputs vary, inputs are varying.
Fix: Before you strike your first location, measure and document everything: light distance (in feet or meters), angle off-axis (use a protractor app or physical protractor), modifier (bare, diffuser type, reflector style), beam angle if available, and power level. Create a shot list with this data. At the next location, replicate the numbers exactly. Specularity will match. Over time, you build a portable recipe library that works anywhere.
Scenario 4: I need soft skin speculars but also sharp product speculars in the same frame.
Root cause: Skin and product have different optimal specular geometries. You need two different light paths.
Fix: Use two focused lights: one dedicated to skin (soft, flattering angle), one to product (sharper accent angle). Vary their power or intensity ratio so the product specular is slightly brighter than skin. This requires more kit and more positioning, but in a professional multi-element shot, it's the standard approach. Alternatively, if space is extremely tight, compromise: choose an angle that flatters skin (slightly off-axis, medium intensity specular), accept a softer product specular, and compensate with careful positioning or a secondary reflector catch-light on the product.
Practical Checklist for Specular Control
Before you shoot:
- Establish key light angle first. Position your main source at 35° to 50° off-axis from subject (adjust for face shape and product geometry).
- Choose diffusion or distance to soften. In small spaces, prioritize diffusion; distance is your secondary control.
- Flag or reposition secondary sources. Ensure only your key light casts the dominant specular on skin or primary product surface.
- Measure and record. Log distance, angle, modifier, beam angle, power, and color temperature. This is your repeatable recipe.
- Check with histogram or clipping display. Confirm speculars are not blown and are positioned favorably.
- Test white balance and color. Use a card or skin reference to verify tone accuracy. If gray or off-color, suspect a secondary light or LED SPD issue.
- Document the setup. Photograph the lighting rig and subject. On future jobs, reference the photo.
Further Exploration
The next step is to internalize light geometry as a primary design variable, not an afterthought. Every time you position a light, ask: Where will this specular land, and does it serve my skin-tone and product-color goals? Once you answer that question, modifier choice, distance, and power follow logically.
For your next shoot, test three distinct key light angles (say, 30°, 45°, and 60° off-axis from your subject), photograph the full face or product under each, and build a personal reference library. Over time, you'll develop intuition for which angle suits different faces, skin types, products, and spaces. That intuition is not magic; it is accumulated geometry, now internalized. From there, consistent, repeatable, skin-true results follow naturally across any location.
Related Articles