Theatrical Lighting for Photography: Dramatic Effects
By Chidi Okoye • 23rd Feb
Theatrical lighting techniques and lighting photography share more common ground than most creators realize. The stage and the studio operate by the same optical physics, yet photographers often approach dramatic effects through trial-and-error rather than the systematic frameworks that theaters have refined over decades. Understanding how theatrical rigs create mood, control spill, and preserve subject visibility translates directly to portable setups in real rooms (apartments, offices, hotel spaces) where your audience increasingly expects consistent, professional color and skin tone reproduction.
What Defines Theatrical Lighting, and How Does It Serve Photography?
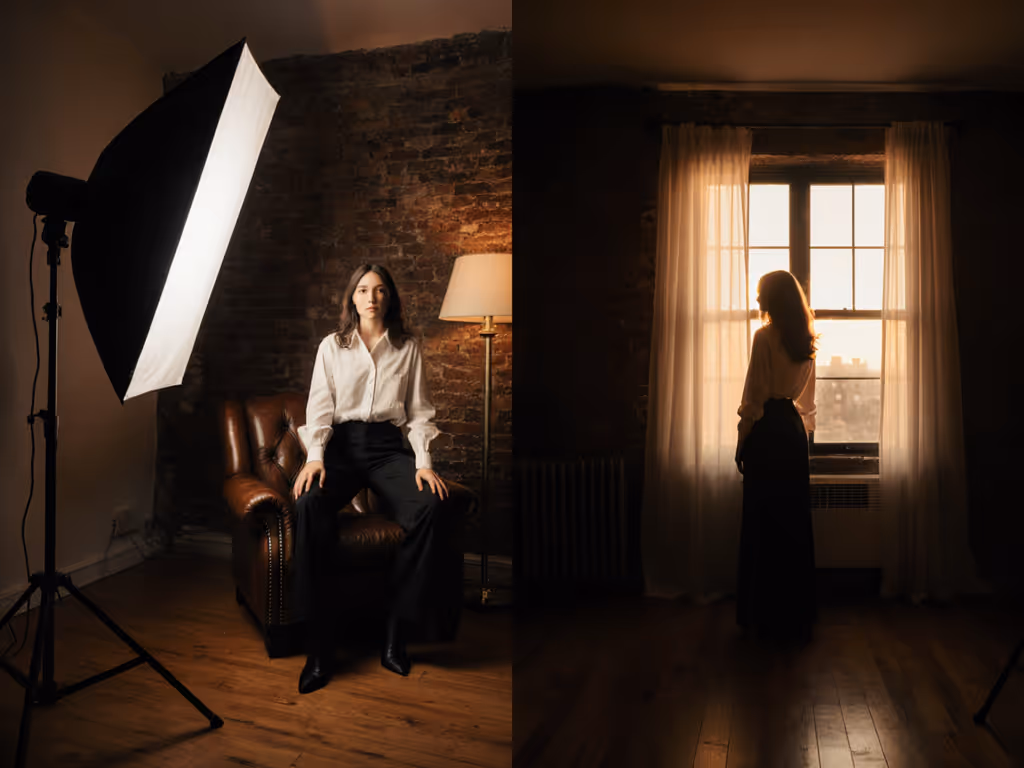
Theatrical lighting is fundamentally about directionality, color intention, and narrative. Unlike ambient room light or flat key-and-fill setups, theatrical systems use layered components: key lights from acute angles, backlights to separate subject from background, sidelights to add dimensionality, and color gels to shape mood. The drama emerges not from raw output but from the contrast between lit and unlit zones and the intentional color shifts applied downstream.
For photography, the principle translates: skin tones are your north star, and everything else negotiates around them. When you borrow theatrical vocabulary (backlights at 1500 watts, colored gels on sidelights, barn doors to sculpt beam edges), you inherit a language of purposeful shadow rather than accident. This matters most when working in small, contaminated spaces where spill and mixed color temperatures are the norm. A theatrical rig forces you to specify where light goes, not just how bright it is.
How Do Theatrical Modifiers Differ from Standard Photography Gear?
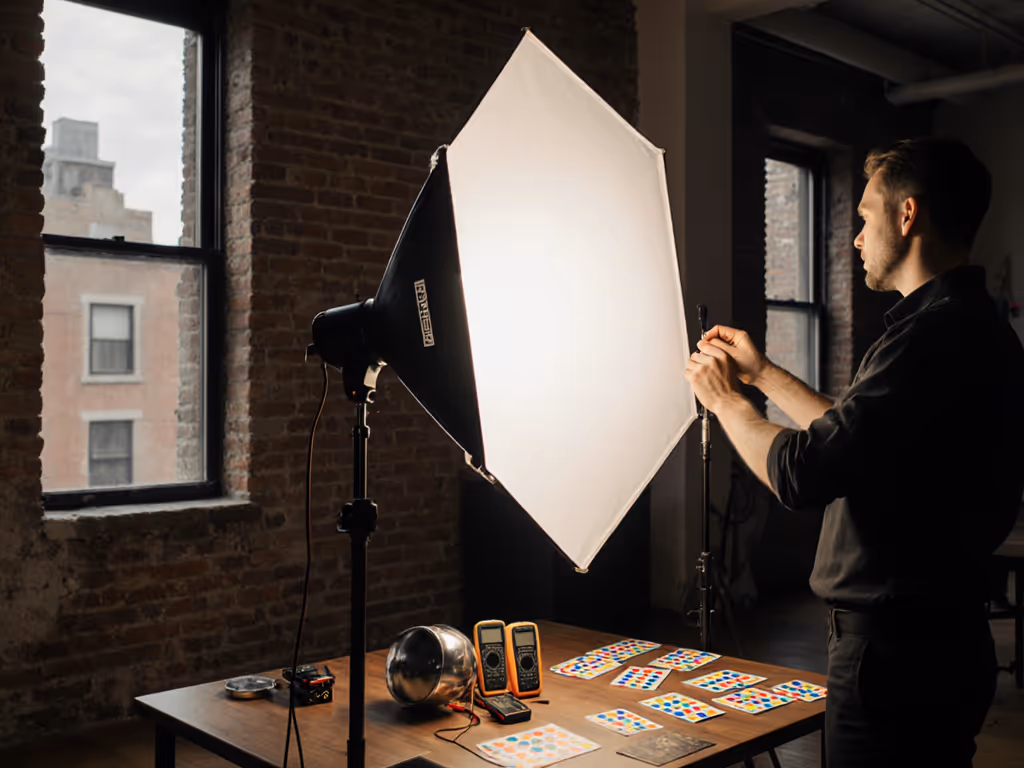
Theatrical fixtures employ strip banks, beam shapers (barn doors), grids, and gels in ways that prioritize throw distance and controlled spread over diffusion softness. For a practical overview of must-have light modifiers, see our essential guide. A theatrical 5-foot octabank paired with a high-powered flash operates at different assumptions than a photography softbox: theaters often position modifiers 8-15 feet back to allow fog separation, depth, and controlled falloff. In contrast, studio photography typically places modifiers 3-6 feet away for softer wrapping light.
The key distinction is spectral intent. Theatrical gels (like Lee or Rosco filters) are engineered to shift color temperature while maintaining readable skin and scenery under tungsten, discharge, and LED sources. They're not arbitrary color overlays; they're designed to work with known SPDs (spectral power distributions) to produce predictable shifts in hue and saturation. When you read a theatrical gel spec, it includes CCT (color temperature) input, output, and typical transmission loss (quantified data, not guesswork).
Photography gear often lacks this transparency. Many LED panels label themselves "daylight" without specifying whether the SPD is broadband (full spectrum) or spike-heavy (narrow emission peaks that cause metamerism, where skin and fabric look different colors depending on the camera sensor's response). If you're choosing continuous sources, compare LED vs fluorescent studio lighting for true color performance. This is where the theatrical approach becomes essential: you choose lights and gels based on their combined SPD, not their name.
What Role Does Color Temperature Play in Theatrical Lighting for Photographs?
Theatrical productions layer tungsten (2700-3200K), blue gels (boosting toward 5000-6000K or higher), and sometimes colored sidelights (green, magenta, amber) to create visual hierarchy and emotional tone. For photography, this layering becomes a structured white balance and color grading strategy.
Here's the operational insight: when you mix two different color temperatures on set (say, a 5600K daylight window and a 3200K tungsten practical, a floor lamp or wall sconce), your camera's white balance target affects how skin tones respond. If you set white balance to 5600K to hold the window, tungsten spills render orange; if you set it to 3200K to balance the practical, daylight zones wash blue. Neither choice honors skin tone fidelity across the frame.
Theatrical color control solves this by deliberately adding a known gel (a Lee 216, full CTB, shifting tungsten toward 5500K, or Lee 204, 1/4 CTB, shifting to ~4100K). Instead of fighting mixed sources, you bring them into alliance through measured spectral adjustment. You then set a custom white balance using a gray card or ExpoDisc under the primary light, locking skin as the reference. Secondary lights (sidelights, backlights) can then carry color (amber, blue sidelights) without pulling the face.
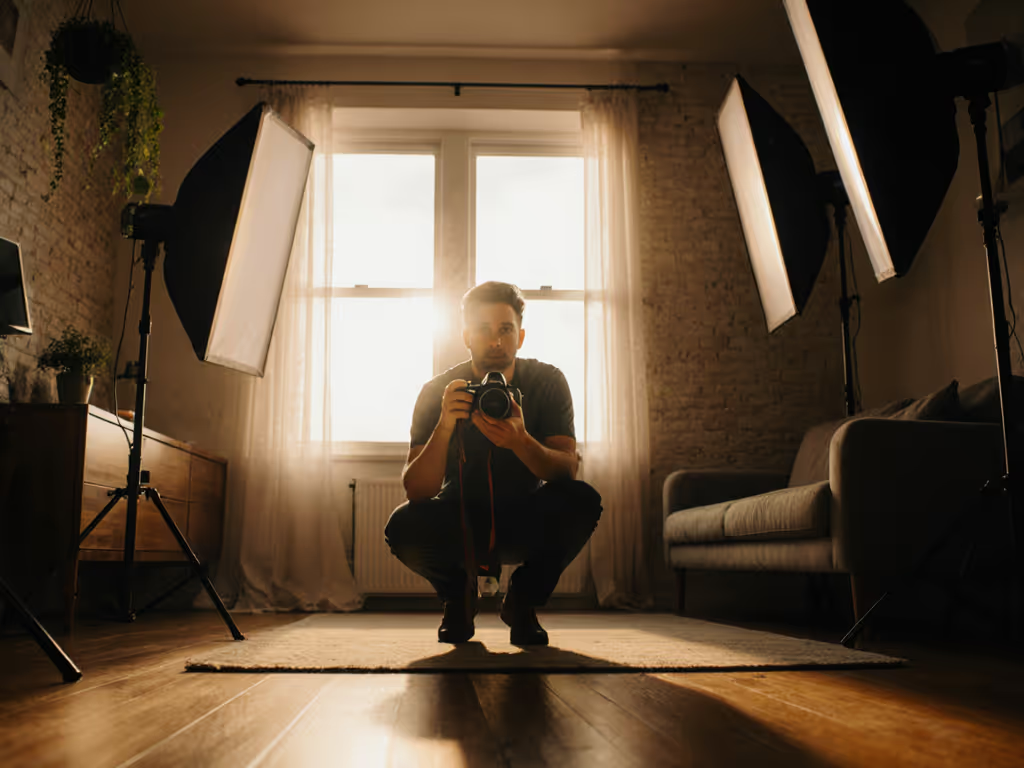
How Can You Adapt Theatrical Setups to Small Spaces and Low Ceilings?
Apartments, offices, and travel shoots often have 8-9-foot ceilings and 10-12-foot working distances. Standard theatrical setups assume 15+ feet of throw and clear sightlines. Here's where compact modifiers and spill control become critical.
- Strip banks (Westcott or comparable) positioned low on the floor or to the side to key the lower face and shoulders while leaving the top of the head to ambient or a secondary fill
- Umbrellas (45-60 inches) positioned 6-8 feet back and high, rather than overhead, to avoid ceiling bounce and keep light off walls
- Barn doors and grids on backlights to narrow the beam to only the subject or hair region, preventing wash-out of the background and reducing ambient contamination
- Negative fill (black V-flats, flags) on opposite sides to sculpt shadows and prevent cross-contamination from spill
The geometry is deliberate: if your ceiling is 9 feet and your subject is 5 feet 6 inches, a toplight backlight has only 3.5 feet of clearance. A theatrical rig instead uses a sidelight at 45 degrees, placed 5-6 feet away at eye level or slightly above, to achieve separation without hitting the ceiling. The trade is precision: you must know your angle, distance, and beam angle (narrow grids help) to avoid accidental spill.
Power also matters. A 15-amp circuit in North America supplies ~1800 watts shared across outlets. Review our studio electrical safety guide to calculate loads and prevent heat-related failures. A single 1200-watt fixture at full output leaves little headroom. Theatrical lighting in compact setups often uses lower wattages (600-800W) on sidelights and backlights, relying on controlled beam spread (grids, barn doors) and meter-based distance to achieve visual separation rather than sheer output. This is where profiles are tools, not crutches: a proper light meter reading at subject distance tells you whether 600W at 8 feet will outpower a 1200W key at 4 feet, even if the numbers suggest otherwise.
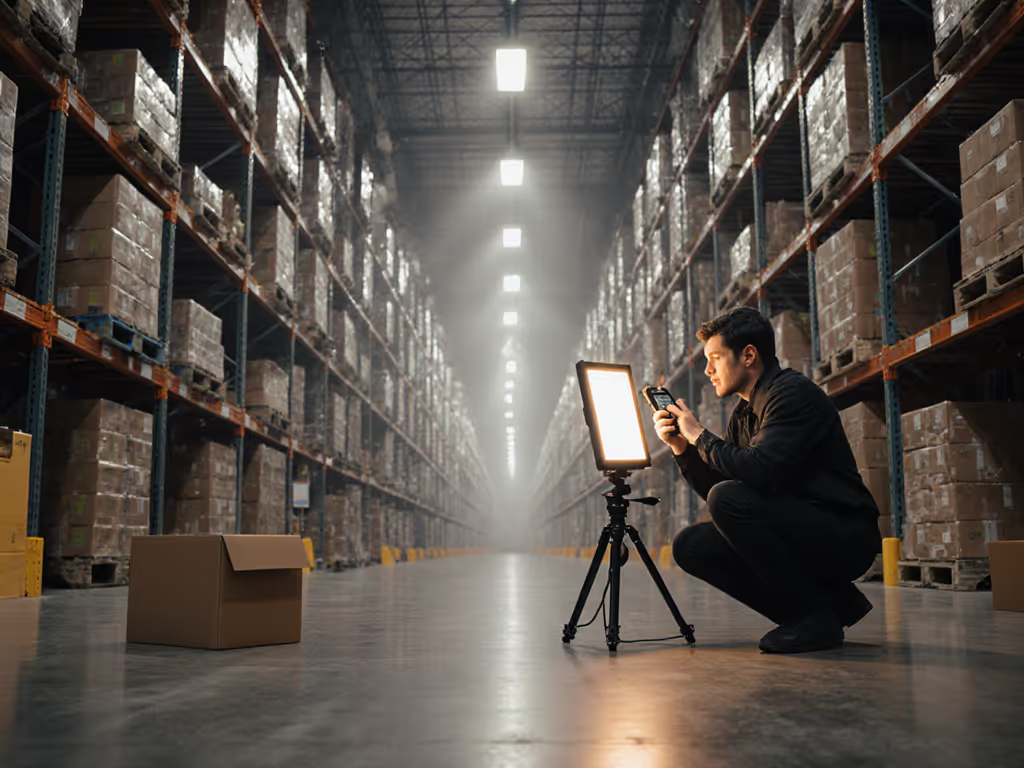
How Does Theatrical Color Ensure Consistent Skin Tone Reproduction?
Theatrical lighting depends on color fidelity metrics like CRI (Color Rendering Index) and now TM-30 delta (which measures shifts in specific hue families). A fixture with a CRI of 90+ and balanced TM-30 deltas (ideally +/- 3 or better across all hue sectors) will render skin, fabric, and product colors consistently across multiple cameras and sensors.
I encountered this directly in a boutique with mixed LED sources: the hero emerald dress appeared gray on camera while shoppers saw the true color. A spectral read revealed a sharp dip near 620 nanometers (a gap in the red-orange region where both camera sensors and human vision are sensitive). We swapped to a light source with a flatter SPD in that range, adjusted white balance accordingly, and built a camera profile specific to that mixture of key and fill. The emerald returned, and skin tones remained honest.
For your work, this means:
- Prioritize lights with published SPDs (not just CCT claims) so you understand which wavelengths are present
- Use a spectrophotometer or your camera's raw histograms in R, G, B channels to diagnose color casts; green or magenta spikes indicate SPD imbalances
- Measure white balance targets using a gray card under your primary light; avoid auto-WB, which can shift between shots
- Test skin tone patches (a makeup swatch or even your own hand) in raw and processed files before committing to a full shoot
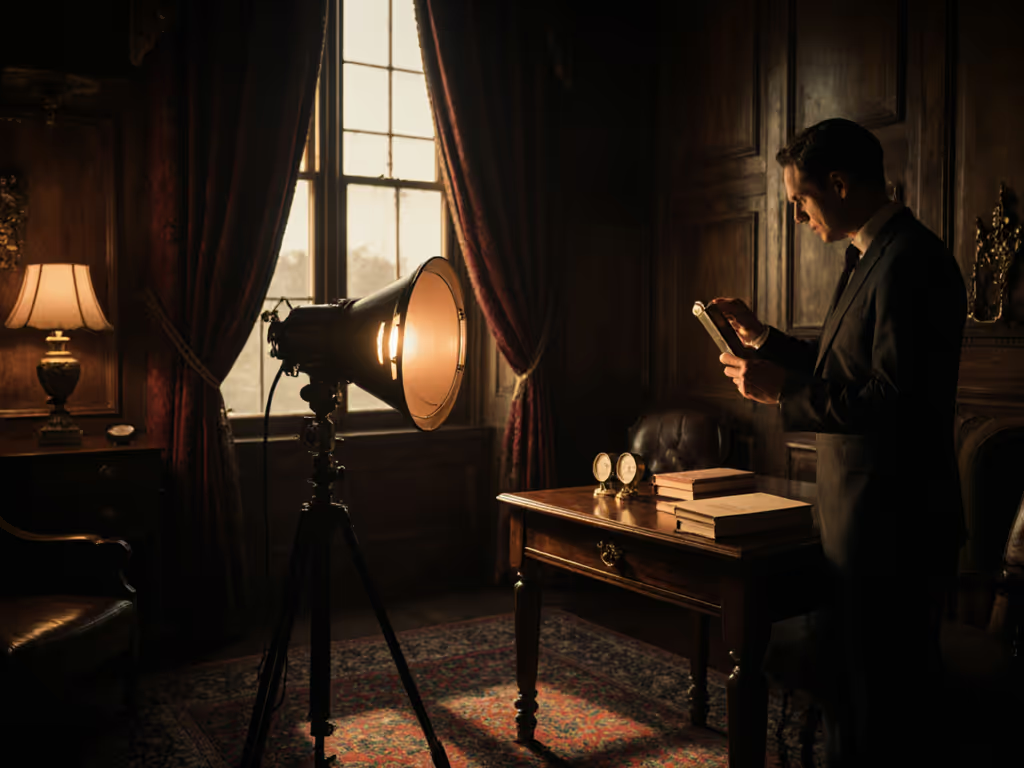
When Should You Embrace vs. Neutralize Theatrical Colorization?
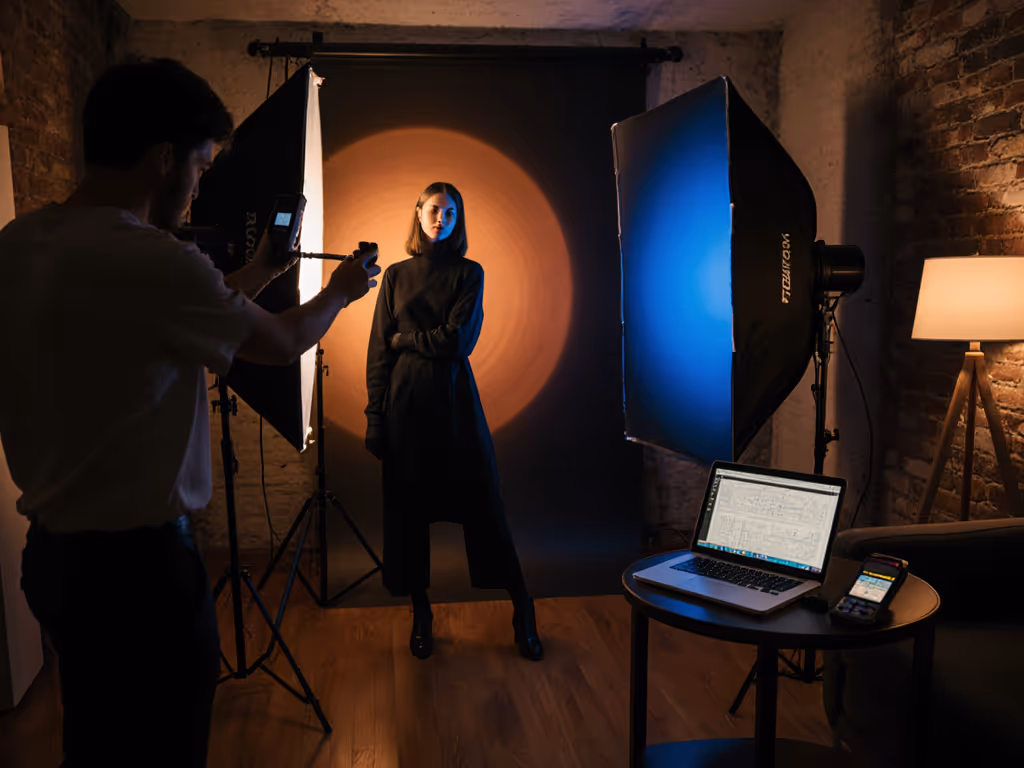
Theatrical productions use colored light as narrative. A blue sidelight suggests drama or coldness; amber backlighting suggests warmth or nostalgia. For how color choices influence perception and purchasing, see our lighting color psychology guide. For photography, the question is whether your brief supports colorization or demands neutrality.
If color is part of the story (a brand photoshoot with moody, elevated positioning, or a portrait series meant to convey emotion), layer gels intentionally: blue or cool tones on one side, warmer tones on the key, and lock white balance on the face. The colored sidelights then become compositional choices, not contamination.
If color must be neutral (e.g., product photography, corporate headshots), use theatrical methodology but eliminate chromatic layers. Instead of a blue sidelight, use a neutral sidelight with a grid to control spill. Instead of tungsten practicals, replace them with gelled tungsten (full CTB) or use daylight-balanced LEDs throughout. The theatrical framework (directionality, spill control, modulation) remains; the color palette becomes your studio's white balance standard.
Key Takeaways for Reproducible Theatrical Lighting on Location
- Define your color temperature and SPD before shoot day. Know your key, fill, backlight, and sidelight sources; measure them or consult published spectral data.
- Set a custom white balance using a gray reference under your primary light; lock it across the shoot.
- Measure distances, angles, and power levels during setup. Record them so you can replicate the look at the next location.
- Use grids, barn doors, and negative fill to control spill and protect skin tone from cross-contamination.
- Prioritize skin reproduction as your quality anchor; secondary lights and color can flex around it.
- Account for power and space constraints upfront; small rooms and shared circuits demand precision over wattage.
By adopting theatrical principles (layered, directional, color-intentional lighting), you move away from guesswork and toward reproducible, professional results that travel with you and scale across clients and locations.
Related Articles