Daguerreotype to Tintype: Modern Lighting Setups
By Marta Kowalska • 2nd Jan
For hybrid photo-video creators working with historical processes, mastering photographic lighting is the difference between authentic reproduction and modern anachronism. The reflective surfaces of daguerreotypes, the glass-backed ambrotypes, and the black-enameled metal of tintypes each demand specific illumination approaches that most modern LED kits rarely deliver. This isn't just about nostalgia. It is about solving the exact pain points you face daily: mixed lighting contamination, uncontrollable reflections, and color shifts that undermine client trust. By understanding the physics of these historical processes, you can build repeatable lighting choreographies that solve modern problems while honoring photographic history. For historical context on how early photographers solved lighting with limited tools, see our classic lighting techniques.
Why Historical Lighting Matters Today
When you're shooting across six different locations before lunch, like the branding client I supported last month who needed identical product shots on every desk in their office, you quickly realize that improvisation fails. That's why I taped out a mini floor plan, labeled stand positions, and printed Kelvin and output values for each angle. With a gray card and one-minute meter checks, our colors matched from frame one, and the team relaxed. Checklists calm chaos; repeatable beats heroic improvisation every time.
The same principle applies when recreating historical photographic processes. While modern mirrorless cameras offer tremendous flexibility, they can't compensate for poor lighting fundamentals that originate in the physical properties of these antique formats:
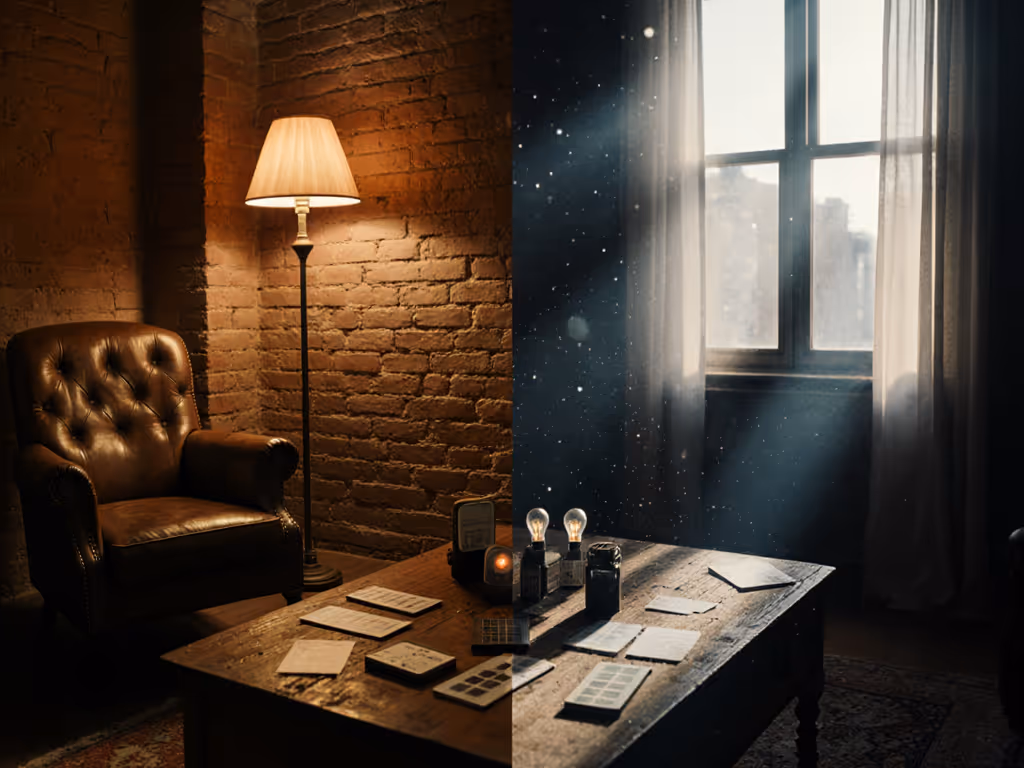
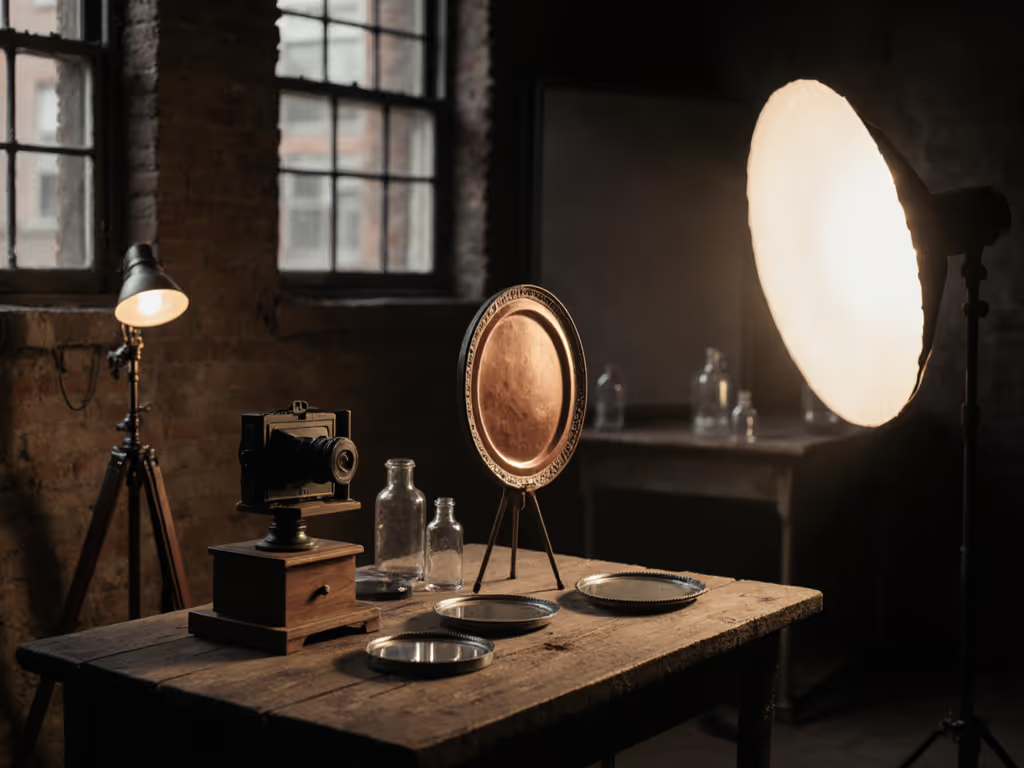
- Daguerreotypes (1840-1855): Silver-coated copper plates with mirror-like reflective surfaces where the image appears as positive against dark backgrounds and negative against light ones
- Ambrotypes (1850s): Collodion negatives on glass backed with black material, fragile but less labor-intensive than daguerreotypes
- Tintypes (1855 onward): Ferrotype process using black-enameled iron plates (not tin), sturdy and economical
The Core Challenge: Reflections and Surface Properties
Historical lighting techniques worked with the limitations of daylight and simple artificial sources. Today's challenge is replicating that look while solving your modern constraints (low ceilings, mixed lighting, and limited power). The key is understanding how light interacts with these surfaces, not just mimicking old setups with modern gear.
Daguerreotype Lighting Techniques: Taming the Mirror
Daguerreotypes present the most challenging lighting scenario with their highly reflective surfaces. The UC Davis study on scanning daguerreotypes confirms what practitioners know: their mirror-like quality makes lighting extremely difficult. The same principles apply to modern recreations:
The daguerreotype's reflective surface requires lighting that avoids hotspots while revealing subtle image details, exactly the specular control challenge you face with modern glossy products.
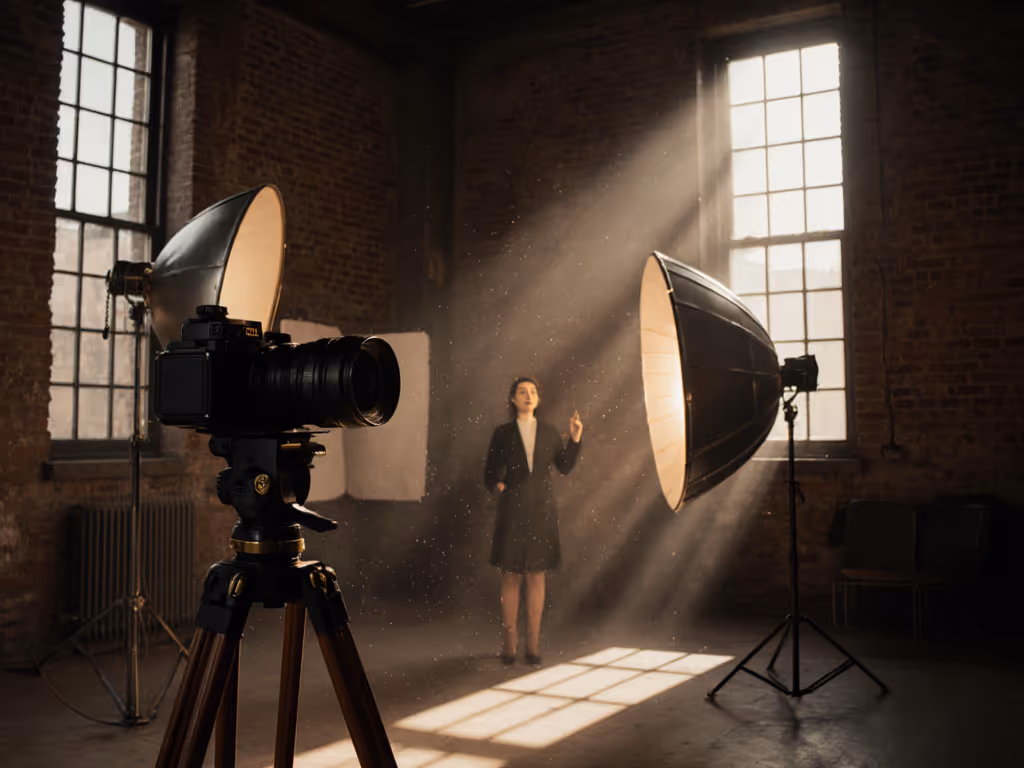
Step-by-Step Setup for Daguerreotype Reproduction
- Position your main light source at 30-45 degrees off-axis from the plate (15 minutes to test angles with a gray card)
- Use a 48"×72" diffusion panel between light and subject to create soft, even illumination (essential for eliminating hotspots)
- Set your meter to 18% gray and aim for f/8 at ISO 100, shutter speed 1/125s (daguerreotypes required long exposures, but modern sensors need precise exposure control)
- Add negative fill with black foam core opposite your light source (position 24" from plate edge)
- With your gaffer, establish a strict 90-second meter check rhythm: meter subject, meter background, compare
This approach directly addresses the "specular control on small glossy products" pain point while honoring historical reality. Remember that daguerreotypes were often viewed at specific angles to see the image properly (build this viewing position into your lighting plan).
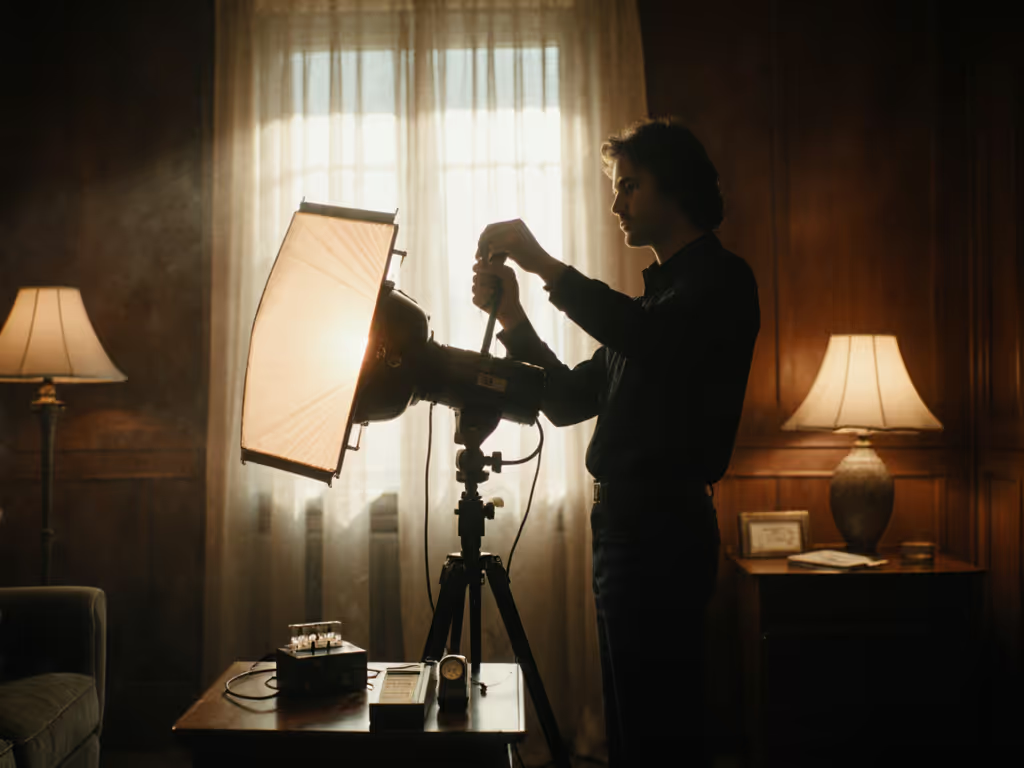
Tintype Illumination Methods: Working with Matte Black Surfaces
Tintypes present the opposite challenge: their black-enameled iron plates absorb light rather than reflecting it. Modern recreations often use materials with ISO 1 equivalent sensitivity (not a typo), requiring substantial illumination. The Large Format Photography Forum notes that "the more different silver salts which are used, the more complete or even the sensitivity range." Translation: you need broad-spectrum light.
Step-by-Step Setup for Tintype Reproduction
- Position two continuous LED sources at 45-degree angles to the plate (allow 10 minutes to balance intensities)
- Set color temperature to 3200K for tungsten-style historical accuracy or 5600K for daylight recreation (document your choice in your checklist)
- Aim for f/5.6 at ISO 400, shutter speed 1/60s (tintypes were more light-sensitive than daguerreotypes)
- Add a 30-degree grid to your fill light to prevent light spill onto the black background
- Instruct your operator to check meter readings every 5 minutes as some LEDs shift color when warmed up
This setup solves your "power constraints" and "flicker" issues while delivering the authentic look. For a measured look at color stability and output differences, see our LED vs fluorescent studio comparison. The tungsten setting also helps you "mix with ambient" when working in venues with existing warm lighting.
Unified Workflow for Cross-Format Consistency
When you're shooting multiple historical formats in one session (as I did with that six-desk branding project), you need a system that ensures color consistency. Modern hybrid creators working across photo and video formats face identical challenges. If you're deciding between continuous and strobe for cross-media work, read our continuous vs strobe guide. Your skin tones shouldn't look sickly or plastic in different lighting conditions.
one setup, many angles
This signature phrase isn't just a slogan. It is your operational framework. When lighting historical reproductions:
- Start with your primary light positioned at camera-right, 45 degrees above, at 48" from subject (standard starting point)
- Meter your key light: 5600K for daylight recreation, 3200K for indoor historical accuracy
- Document in your checklist: exact distance, wattage, and filter used (no vague "medium soft")
- For each angle (photo, video, close-up), only adjust secondary lights while maintaining primary axis
- Assign your talent handler to verify subject position relative to your marked floor plan
When I coached the crew for the six-desk branding shoot, this approach meant we could move between locations without resetting our entire lighting philosophy. Each desk maintained identical lighting ratios because we'd documented exact distances and angles (not just "looks").
Historical Light Setups for Modern Constraints
Recreating vintage processes in tight spaces requires understanding both historical techniques and modern limitations. Your "low ceilings" and "limited space" pain points actually mirror historical challenges. Early studios were often cramped with limited natural light.
Practical Adaptations for Small Spaces
- Daguerreotype-style work: Use a book light configuration with two reflectors behind diffusion (creates even illumination without hotspots in 8-foot ceilings) To refine diffusion choices and shadow edge control, explore master soft lighting.
- Ambrotype recreation: Employ a single source at 30 degrees with a 30-degree grid to prevent light from wrapping around the glass plate
- Tintype process: Position your main light closer (24-36 inches) to compensate for the black surface's light absorption
For your "power constraints," here's a critical insight from historical practices: early photographers worked with consistent light sources (daylight or gas lamps). Mimic this stability by:
- Using AC-powered LEDs rather than batteries for consistent color
- Setting all lights to 50-70% capacity to prevent thermal shift
- Implementing a 15-minute pre-heat protocol before metering
This addresses your "color consistency across camera brands" pain point while honoring historical light setups. Remember that historical photographers couldn't "fix it in post." They got it right in camera through process discipline.
From Historical Processes to Modern Workflows
The wisdom of historical photographic processes offers direct solutions to your modern pain points. When you're struggling with "green/magenta shifts" from mixed lighting, remember that daguerreotype photographers had to work with consistent light sources or face complete failure. Their solution? Rigorous planning and documentation, not improvisation.
Today's "vintage process recreation" isn't just about historical accuracy. It is a framework for solving your consistency problems. When you document your lighting with the same precision as historical photographers documented their chemical processes, you eliminate the "inability to recreate a look when moving locations."
Your Actionable Next Step
Tonight, before you sleep, do this:
- Pull out your notes from your last multi-location shoot (photo and video)
- Identify one lighting variable you didn't document (distance? wattage? filter?)
- Create a checklist field for it
- Tomorrow, test it with a gray card and document results
This 10-minute ritual addresses your "inability to recreate a look" while building the documentation discipline that makes historical lighting successful. You don't need special gear, just precision and repeatability.
Remember my core belief: Clarity beats speed; repeatability creates speed. When you face deadline pressure, reach for your checklist, not your panic button. The client who needed six desk setups before lunch taught me that when you standardize your lighting choreography, you free your team to create rather than troubleshoot. That's the true power of modern photographic lighting. It is not about recreating history, but about using historical wisdom to solve modern problems.
Related Articles