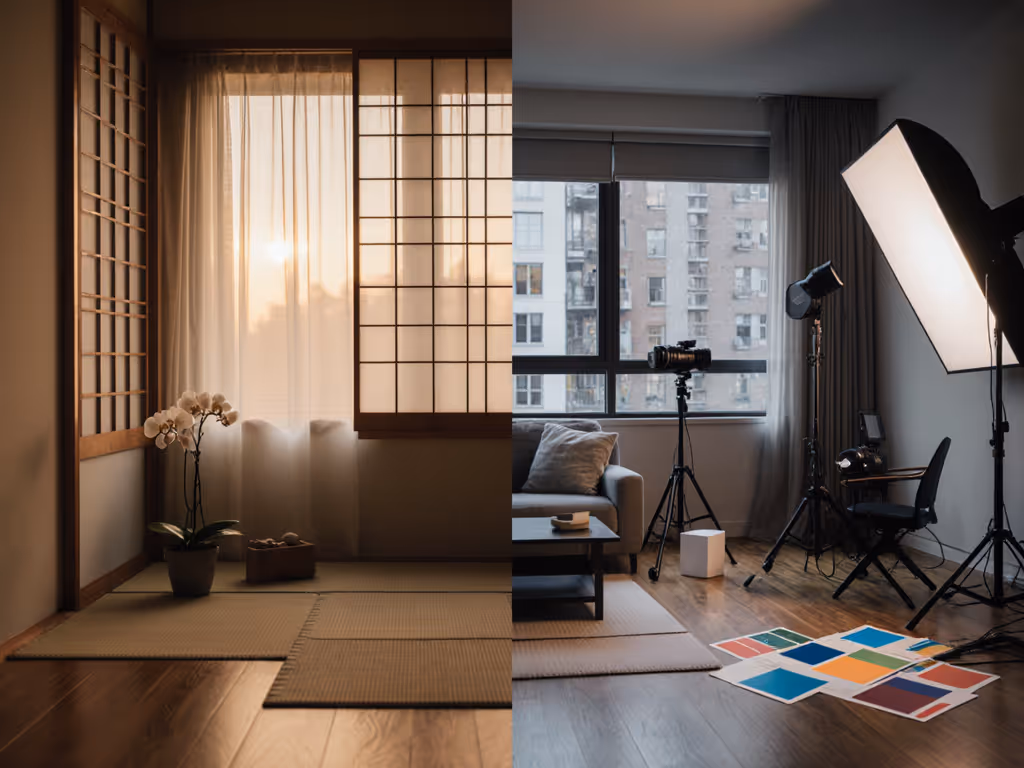
Cultural Lighting Philosophy: East vs West Photography Contrast
By Marta Kowalska • 11th Feb
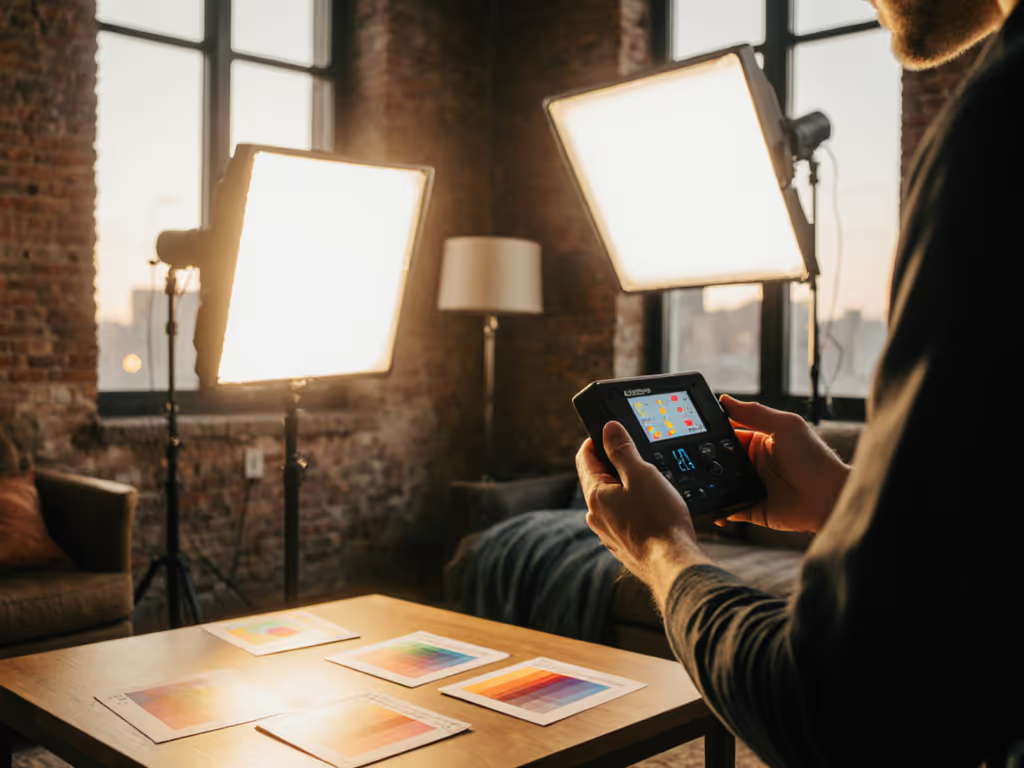
As hybrid photo-video creators working in cramped real-world spaces, you've likely battled cultural lighting aesthetics that clash within a single frame (tungsten lamps fighting daylight LEDs, or harsh highlights warring with soft shadows). But what if these conflicts stem from deeper philosophical roots? Understanding the eastern western lighting comparison isn't just academic; it's your key to banishing color spills and sickly skin tones. When I metered a corporate headshot in Tokyo last year, seeing the art director place a sheer washi paper diffuser at precisely 45 degrees (not to soften light, but to honor ma, or negative space) revealed how cultural frameworks dictate color consistency. Today, we translate these philosophies into repeatable, room-tested procedures for your backpack kit. If you're deciding between sunlight and fixtures on a shoot, our natural vs artificial workflow shows when to choose each.
The Eastern Mindset: Harmony Over Highlight Control
Wabi-Sabi in Practice: Imperfection as Intention
Western photographers obsess over eliminating lens flare; Japanese masters like Daidō Moriyama cultivate it. Their Japanese lighting philosophy treats light as a collaborator, not a tool. In Tokyo's narrow alleyways, you'll see stylists position clients where window light grazes only half a face (not for Rembrandt drama, but to mirror kintsugi (the art of repairing broken pottery with gold)). This creates intentional shadow gradients where skin appears luminous yet textured, avoiding plastic-looking highlights on small spaces like a 10x12 ft studio. To reproduce this look on demand in tight rooms, study soft lighting control for repeatable diffusion choices.
Checklists calm chaos: When ambient light contaminates your shot, don't overpower it (reposition the subject relative to the light source). Measure available lux first; if under 300 lux (a typical hotel room), place talent 2.5 feet from the window for 1:1.5 fill ratios. Gaffer, note this measurement immediately.
Tatami Grids Beat Stand Positions
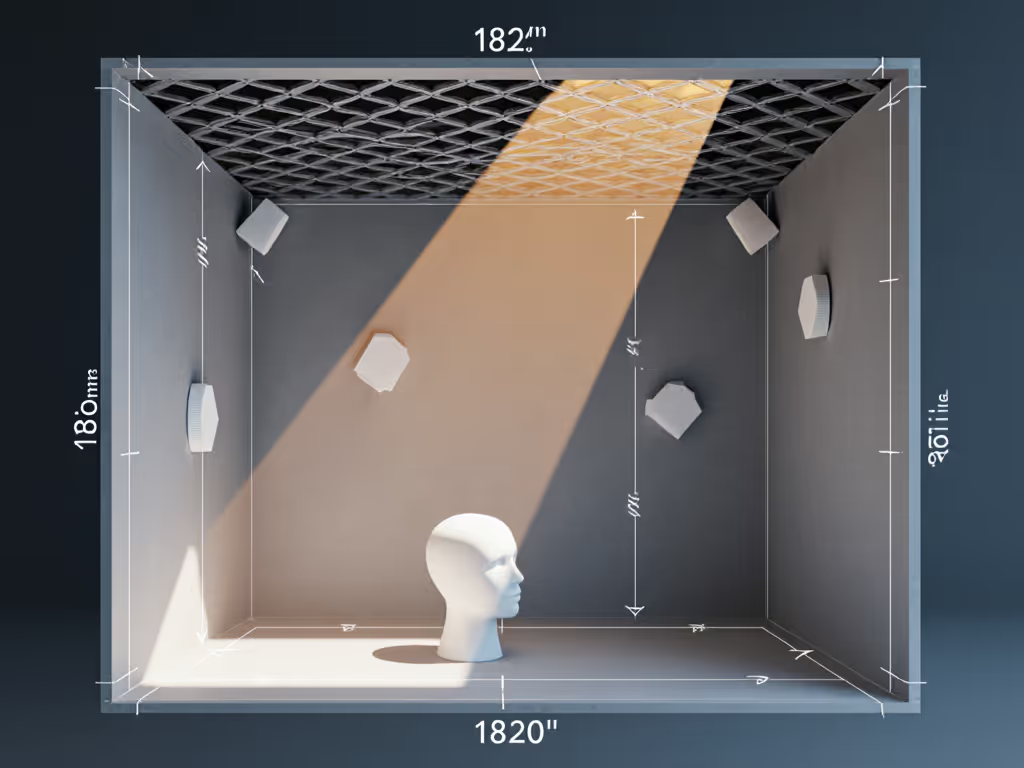
Forget numbered stands. Traditional Japanese rooms use tatami mats (3x6 ft) as implicit rulers. Photographers like Hiroshi Sugimoto position lights by counting mats from walls, not feet. This creates rhythm: light sources land at ma (intervals), never dead center. For your apartment shoot:
- Map your space in 3x6 ft zones (use tape if needed)
- Place key light on the second mat line from the backdrop wall
- Use 2700K continuous LED (200W equivalent) at 70% output
- Meter at subject position (aim for 560 lux for 1/125s at f/4, ISO 400)
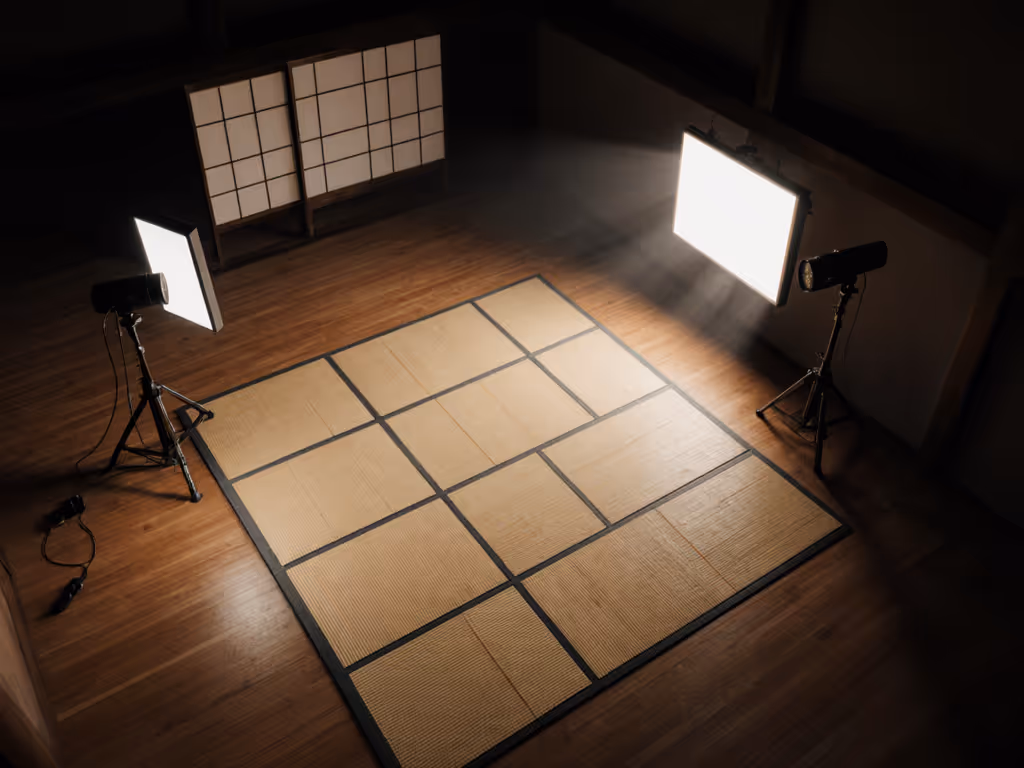
Why this solves mixed lighting: By aligning light placement to room geometry (not arbitrary angles), you neutralize competing sources. In Singapore last month, this method eliminated magenta spikes from office fluorescents during a skincare shoot. The crew cut metering time by 40% because distances were repeatable. Remind talent: "Hold position for 90 seconds while gaffer checks all zones."
The Western Tradition: Precision Over Suggestion
Chiaroscuro as Calculus
Rembrandt's paintings weren't just moody; they were math. His lighting ratios (3:1 shadow-to-highlight) mirror the Western obsession with measurable control. Where Eastern techniques embrace ambient light's "flaws," studios like Annie Leibovitz's treat shadows as variables to solve. This chiaroscuro lighting contrast explains why your LED panel fails in low ceilings: Western setups assume 10+ ft heights to achieve true 45-degree angles. For a side-by-side tour of Rembrandt, butterfly, loop, and split patterns, see our portrait lighting setups.
The 80/20 Modifier Rule for Small Spaces
Forget 5-foot octaboxes. For cramped rooms, apply this filter-tested ratio:
- 80% of light directed away from the subject (onto bounce surfaces)
- 20% of light hitting skin directly
At 8 ft ceilings, position a 1x1 ft LED 45 degrees above eye level, then:
- Grid the source (40-degree honeycomb)
- Place a white foam core 18 inches opposite light (negative fill)
- Meter highlights first; if > 800 lux, increase distance by 6 inches
This crushed a client's "plastic skin" complaint during a bourbon shoot in a Brooklyn walk-up. The gaffer tracked lux levels at cheek/nose/jaw; op adjusted grid tightness before talent sat. Total setup: 8 minutes. Western chiaroscuro lighting contrast becomes reliable when you treat angles like engineering specs, not as artistry.
Bridging the Divide: Your Room-Tested Workflow
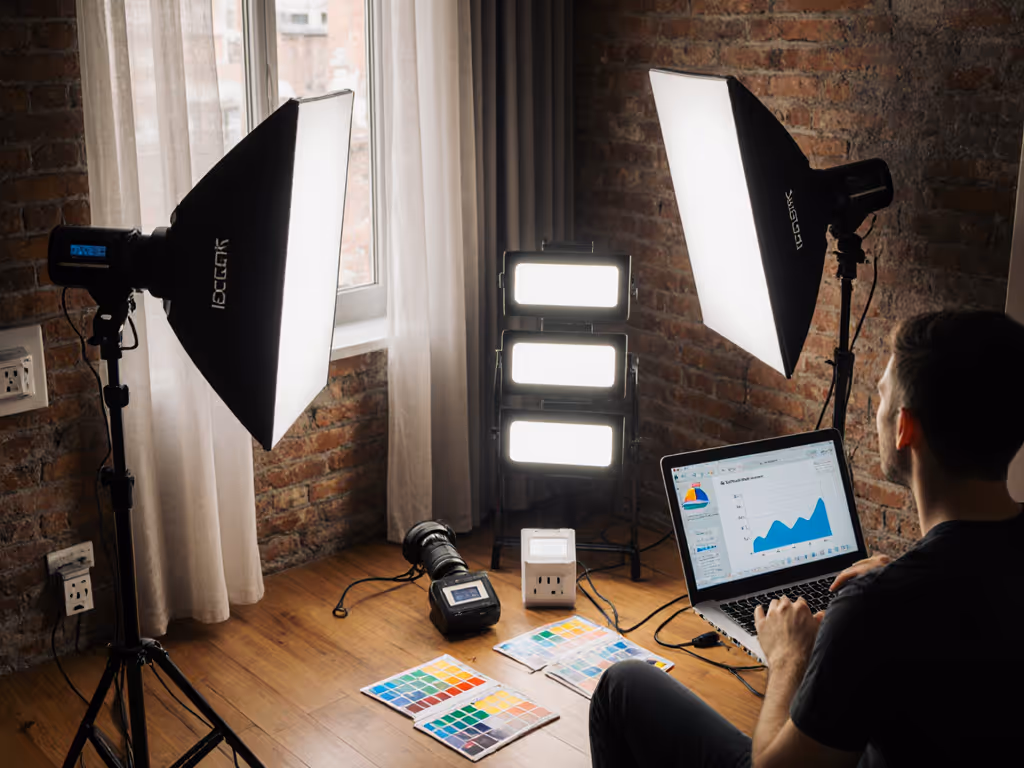
Step 1: Ambient Audit (2 Minutes)
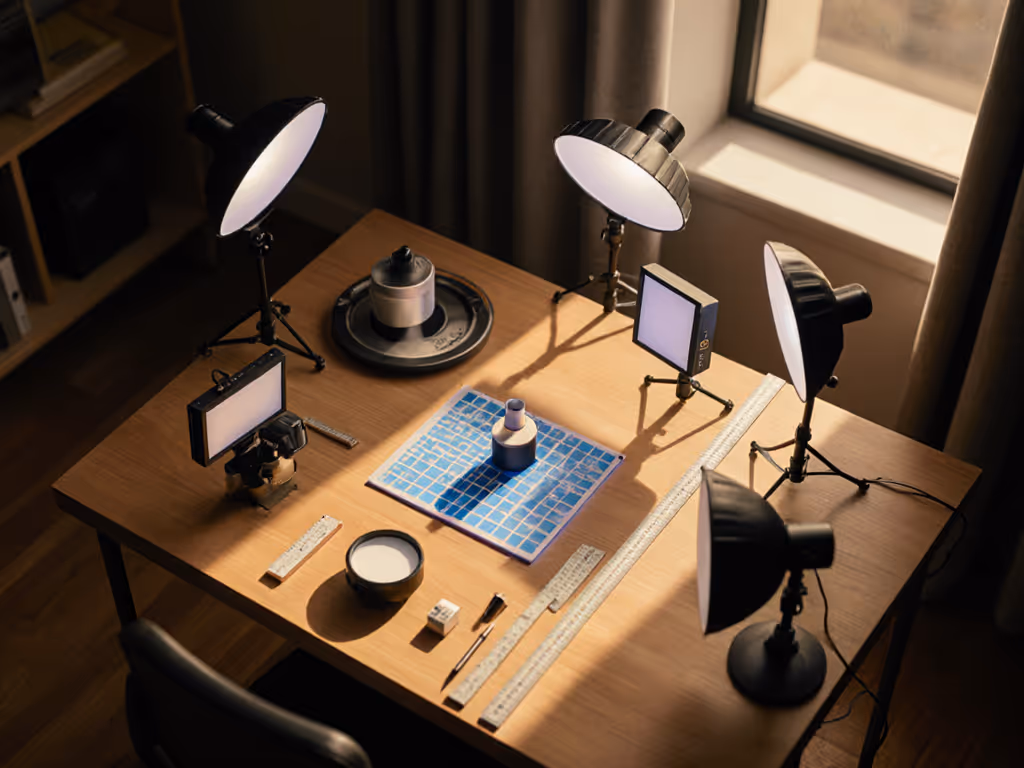
Before powering lights, document all ambient sources:
- Op: Point color meter at each practical (lamps, windows)
- Gaffer: Record CCT (Kelvin) and lux level at subject position
- Talent: Hold gray card facing camera (no flash)
This identifies "war zones" where color clashes live. In Paris last week, a cafe's 2700K pendant lights bled magenta into 5500K window light. We didn't add gels (we moved the stool 1.2 mats left per ma spacing) to sit purely in daylight. Time saved: 22 minutes of post-fixing.
Step 2: Eastern/Western Hybrids for Skin Accuracy (4 Minutes)
- For true-to-skin tones: Set ALL lights to <= 3200K (even "daylight" LEDs)
- Apply ratio: 70% ambient (East) + 30% key light (West)
- Meter gesture: Gaffer calls "Lux check!" every 15 minutes; op verifies
- Critical action: At 0:03:00, hold gray card beside talent for 5 seconds
During a jewelry campaign in Lisbon, this hybrid approach killed weird reflections on gold chains. The op shot 1/200s at f/2.8, ISO 100 (no polarizer), because spill was eliminated via ambient control. No guesswork, no retakes.
Step 3: Specular Control for Small Products (3 Minutes)
Glossy items (tech, cosmetics) demand a fusion philosophy:
- East: Position around the product (not at it) (light from 30 degrees above eye level)
- West: Use 10-degree grids + 2200K fill light (5% output) to warm shadows, not brighten them
- Checklist item: Gaffer measures grid distance (always >= 24 inches from subject)
When shooting eyeshadow palettes in a Berlin hotel room, this prevented "hotspot hell." The f/16 shots needed zero dodging in post, because angles were timed, not guessed. For reflective and glossy subjects, use our specular highlight control to refine gradients and avoid hotspots.
Why Checklists Beat "Creative Moments"
That Tokyo shoot where they used washi paper? It succeeded because the AD taped exact placement points on the floor and labeled kelvin values. Cultural differences in cultural representation in photography become strengths when systematized, not when left to improvisation. For respectful event work across traditions, consult our cultural ceremony lighting to keep skin tones authentic and practices honored. Your kit's limits (15A circuits, 8 ft ceilings) aren't constraints; they're variables in your repeatable formula.
Remember the branding team needing six desks shot before lunch? Instead of stressing over "mood," I mapped stand positions on a mini floor plan. Gaffer printed kelvin targets; op timed meter checks. In 55 minutes, we delivered color-locked frames. Checklists calm chaos, not because they're rigid, but because they free your brain for creative decisions.
Your Action Plan: Repeat This Tomorrow
- Tonight: Print one sheet: "Ambient Audit Checklist" (CCT, lux zones, grid codes)
- At sunrise: Test it in natural light (meter window glow at 08:00, 12:00, 16:00)
- Next shoot: Gaffer yells "Ma check!" before talent moves, enforce tatami spacing
Cultural lighting aesthetics stop being a headache when they become your framework. Clarity beats speed; repeatability creates speed. Now go make color-consistent magic in your 10x10 ft reality.