Historical Reenactment Lighting: Portable Color Recipes
By Aisha López • 19th Mar
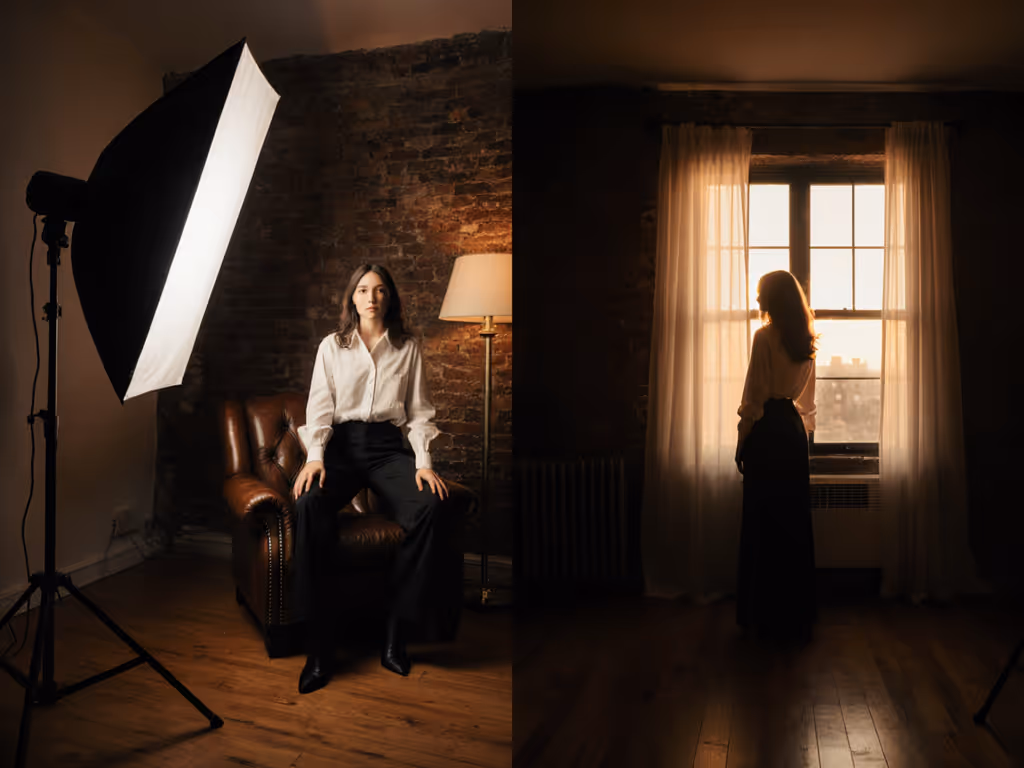
Capturing historical reenactment lighting for stills and video means solving a puzzle with real constraints: tight rooms, mixed ambient sources, fragile color integrity, and the need to stay fast and power-aware. The challenge is not just replicating period light sources; it is doing so portably and repeatably, anywhere you shoot.
Historical interiors combine multiple competing light temperatures and qualities. Candlelight hovers around 1800K, soft and diffuse. Gaslight sits closer to 2700K with harder shadows. Oil lamps vary wildly depending on fuel and wick. Real rooms add daylight leaks, overhead practicals, and reflective surfaces that poison white balance. Add camera-to-camera color science differences and you're managing a web of variables that feels impossible without a system.
The solution is not more lights; it is smarter constraints. Small kit, big control; every watt has a job.
1. Establish Your Historical Color Target and Meter It
Before you light, define your era and source. Are you shooting candlelit 1700s, gaslit 1880s, or oil-lamp medieval? For historical context on how early photographers worked with limited sources, see our classic lighting techniques guide.
Step 1A: Set your target white balance
- Candlelight: 1800-2000K (warm amber, soft)
- Oil lamp interiors: 2200-2400K (variable wick burn)
- Gaslight recreation: 2600-2800K (harder edge than candle)
Step 1B: Meter on set Use a color-corrected light meter or phone app to measure the incident illumination from your key light at face distance. Note the angle and distance. Write it down.
Step 1C: Dial in your camera's white balance Set your camera to a custom white balance using a gray card under your intended key light. This locks color before you add fill or practicals.
Every shoot lives or dies in white balance. Get it right in-camera and post becomes triage, not reconstruction.
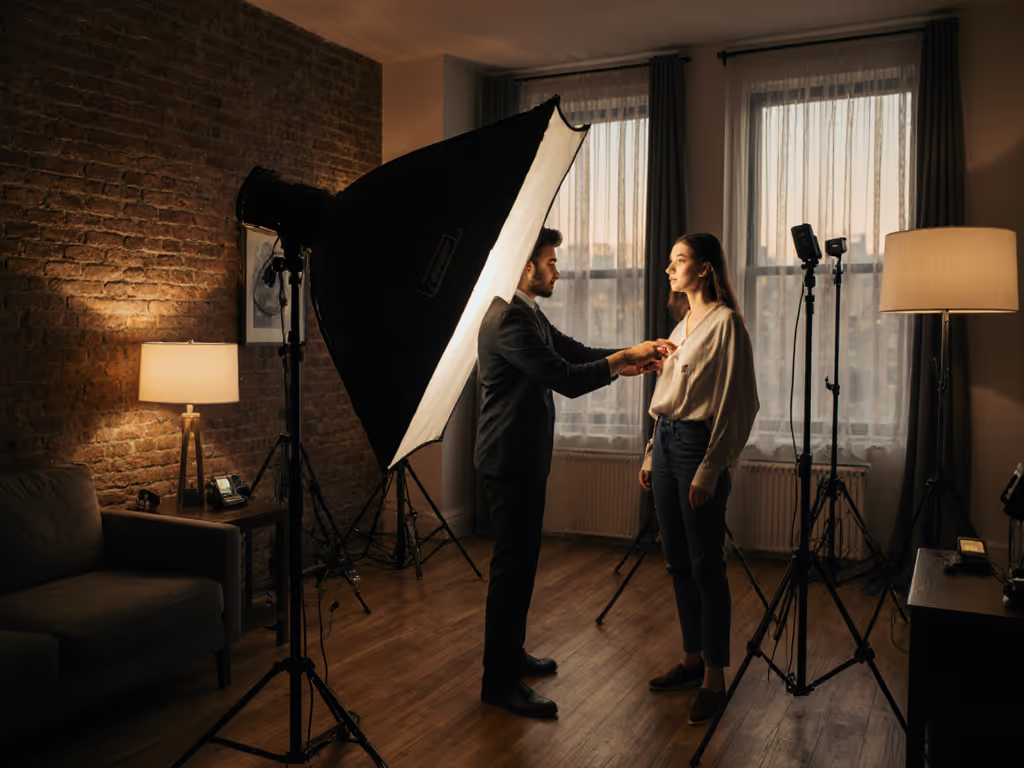
2. Master the Three-Light Candlelight Recipe
A portable candlelight setup uses one warm key, one cool/neutral fill, and one back/accent. This mimics the behavior of flickering candles while giving you clean, controllable exposure.
The Setup
- Key light: 2000K LED, 3-5 ft from subject, diffused through silk or bounce, side-angle at 45°
- Fill light: 3200K or 4100K LED at 1/2-1/3 the key intensity, placed opposite, soften with grid or bounce
- Back light: Uncolored (daylight-corrected) small LED or book light, 2-3 ft behind subject, gelled or bounced to avoid lens flare
Specs (example 60W equivalent warm LED key)
- Output: ~800-1000 lux at 3 ft, on-axis
- Power draw: ~12-15W
- Modifiers: pop-up diffusion dome, no stand needed
- Noise: <25 dB (fan off or minimal)
Placement in tight spaces (9 ft ceilings)
- Mount key on low grip arm or mini stand, angle down 15°
- Place fill on furniture or bounce board leaning against wall
- Clamp back light to a small C-stand or furniture edge
This trio delivers warm, directional light without harsh shadows, consumes ~30W total, and fits in a shoebox. For a deeper refresher on shaping softness and controlling diffusion, read our soft lighting primer.
3. Build the Gaslight Recreation Setup
Gaslight is brighter and harder than candle. If you're recreating 19th-century processes, see our daguerreotype-to-tintype lighting setups for authentic contrast handling. It casts sharper shadows and reads cooler (2700-2800K). The recipe adds edge and contrast.
The Setup
- Key light: 2700K LED panel, 4-6 ft away, unbounced or lightly diffused (harder edge than candlelight)
- Side fill: 4100K small LED, placed at 90° to key, grid to control spill
- Practical accent: Real oil lamp or LED-replica lamp in frame, 2700K gelled if LED, placed on furniture or shelf
Specs (60W panel key + grid)
- Key output: 1200-1500 lux at 4 ft
- Fill + practical: ~15-20W combined
- Total power: ~70-80W system
- Noise: 22-28 dB depending on fan
Color control in gaslight setups Gaslight rooms were often lit by single-source lamps. Embrace that: let one 2700K light dominate, use fill only for safety/detail. Avoid mixing warm key with cool-white fill (it reads muddy). Stick to 2700K key + 4100K fill, or all-2700K with reflectors.
4. Control Spill and Reflections in Small Rooms
Tight spaces amplify every light bounce. A wall 4 ft away becomes your worst fill light.
Anti-Spill Framework
- Grid or snoot your LED: Restricts beam angle to 45° or tighter; costs $5-15, saves flare and color bleed.
- Use negative fill: Black foam core or fabric flags opposite your key catch stray light before it bounces.
- Bounce strategically: Place a white bounce only where you want fill, not floating in space.
- Tape down practicals: Real candles or oil lamps in frame stay put; LED replicas with gels stay color-locked.
Specular control on small reflective products (jewelry, cosmetics, period metalware) For finish-specific strategies, compare approaches in our metallic surfaces lighting guide for brushed, polished, and anodized metals.
- Use a polarizer or circular diffuser in front of your key LED
- Back the LED further (6+ ft) and increase power slightly; larger source = softer highlights
- Flag the sides of the product with cards so only your front light reflects
5. Mix Practicals and Ambient Without Color Shift
Real rooms leak daylight, overhead practicals, and street light. Ignoring them ruins white balance.
Playbook for mixed-source rooms
If daylight leaks in:
- Gel daylight sources with CTO (color-temperature orange, 1/2 or full) to warm them toward 2700K
- Alternatively, exclude daylight entirely: blackout windows or shoot in corners away from glass
- Meter both your key light and the ambient daylight at the same point; if ambient is stronger, kill it or match its temperature
If overhead fluorescents or LEDs are on:
- Measure their CCT (phone app or meter)
- If they're 4000K+, leave them off if possible; they'll poison candlelight mood
- If you must use them, gel them to match your key or treat them as a bonus cool accent light
If a practical candle or lamp is in frame:
- Gel an LED replica to 2000-2200K; real flames are variable, use replicas for color consistency
- Position the practical 6+ ft from your subject to avoid it being the only light source
- Balance it with your key light so the subject reads lit, not back-lit
Mixed light is not your enemy if you measure it and make one source the anchor.
6. Stay Within Power and Portability Constraints
Most North American rooms run on 15A/120V circuits; European rooms on 10A/230V. One tripped breaker ends your day. Plan loads and avoid hazards with our studio electrical safety checklist.
Power budget example: Candlelight shoot
- Warm key LED: 15W
- Cool fill LED: 10W
- Back light: 5W
- Total: 30W (0.25A at 120V - safe, zero risk)
Power budget example: Gaslight + practical
- Warm key LED panel: 60W
- Fill grid LED: 15W
- Replica lamp LED + gel: 8W
- Total: 83W (0.69A at 120V, safe, leaves overhead)
Portable kit checklist
- Two warm LED panels (2000K and 2700K, 60W each, collapsible)
- One cool-white fill LED (4100K, 15-20W)
- One book light or small battery-powered accent light
- Grids, diffusion domes, and gels (flat in a pouch)
- Three lightweight mini stands or grip arms
- One 5-ft white bounce board (folds to 12 x 18 in.)
- Extension cords with ground-fault protection
- Gaffer tape
Total weight: ~8-10 lbs, backpack-able. Setup time: 8-10 minutes.
7. Troubleshoot Common Historical Lighting Failures
Green spike in shadows → Your fill light is too cool. Swap it for 3200K or add a 1/4 CTO gel. Measure the CCT of your fill separately.
Skin looks waxy or plastic → Cheap LED CRI (<90) or PWM flicker. Use 90+ CRI, full-range dimmers. Budget brands often flicker at 24fps or 50Hz (avoid them in video).
Subject looks lit but room feels dark → You're underexposing ambient. Open your aperture or shutter speed slightly, or add a low-level bounce fill. Candlelight mood is warm, not dark.
Practical light (real candle) feels too dim next to key → Either move the practical closer to the subject (3-4 ft), swap it for an LED replica with slightly higher output, or increase your key intensity. Never rely on a real candle as your only light (too variable).
Banding in video, especially faces → PWM flicker from budget LEDs or camera shutter speed mismatch. Use 1/50th, 1/100th, or 1/120th shutter (depends on your AC frequency). Test with a slow-motion playback.
Color flicker when dimming → Non-flicker dimmers are essential. Standard rheostat dimmers cause color shift. Upgrade to PWM or 0-10V dimmers ($20-40 more).
Final Verdict: Portable Color Recipes Over Guesswork
Historical reenactment lighting succeeds when you treat it as a system, not a mood. Define your era, lock your white balance in-camera, use a three-light framework that respects physics and power limits, and meter everything. Small spaces don't need big kits; they need smart constraints. A 30-80W portable setup outperforms a 500W cart when every watt is purposeful and every setup is repeatable.
Your competitors guess. You arrive with data: distances, angles, power draws, and exposure targets written down. You set up in 10 minutes and deliver clean, consistent color whether you're in a Manhattan apartment, a London townhouse, or a rural location scout two cities over. That reliability is your brand.
The goal isn't to own every light. It's to own a portable, cross-compatible recipe library that solves 80% of historical interiors with 20% of the kit weight. Test your setups once, document them fully, and trust the framework on your next shoot.
Related Articles