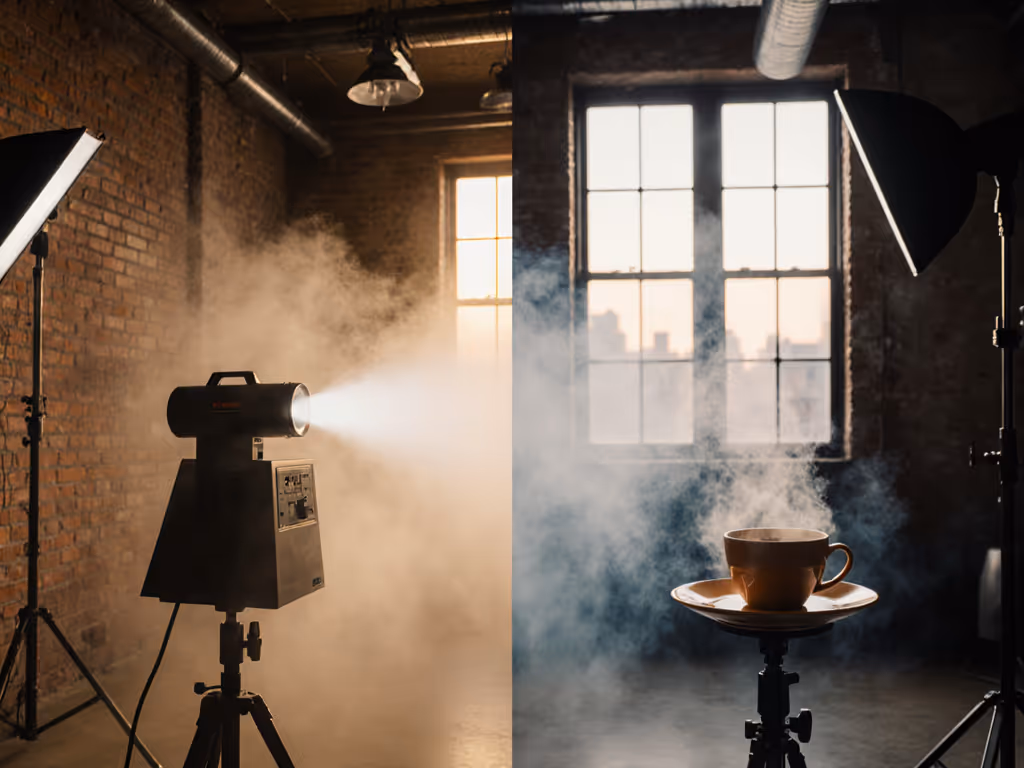
Good Portrait Lighting: Window Light vs Studio for Mood
By Aisha López • 10th May
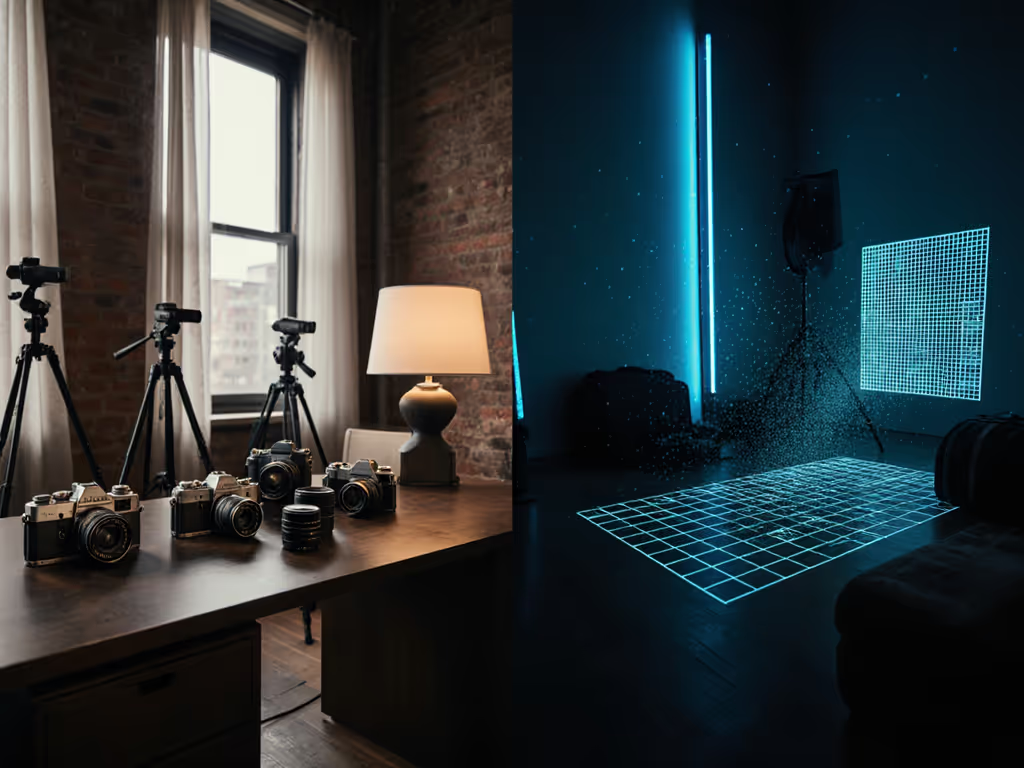
You're juggling client shoots across three locations this month. One's a sunlit co-working room. Another has no windows, humming fluorescents, and a low ceiling. The third is a windowless hotel suite. The problem: good portrait lighting relies on understanding how creative lighting comparison shapes not just exposure, but skin tone accuracy, mood, and your setup speed.
Neither pure window light nor off-the-shelf studio kits work everywhere. The real answer lives in knowing what each approach actually does (and when to blend them).
The Problem: Lighting Variability Ruins Consistency
You want predictable, beautiful skin tones and a recognizable visual signature across locations. For inclusive techniques that keep tones accurate across complexions, see lighting for diverse skin tones. What you get instead:
- Window light changes every 30 minutes. Directional at 9 AM, diffused and cool at noon, golden-warm at 4 PM. Same room, three different moods, and three different color casts. Cloud cover drops effective lux by 50%. Your meter reads the same, but the image reads completely different.
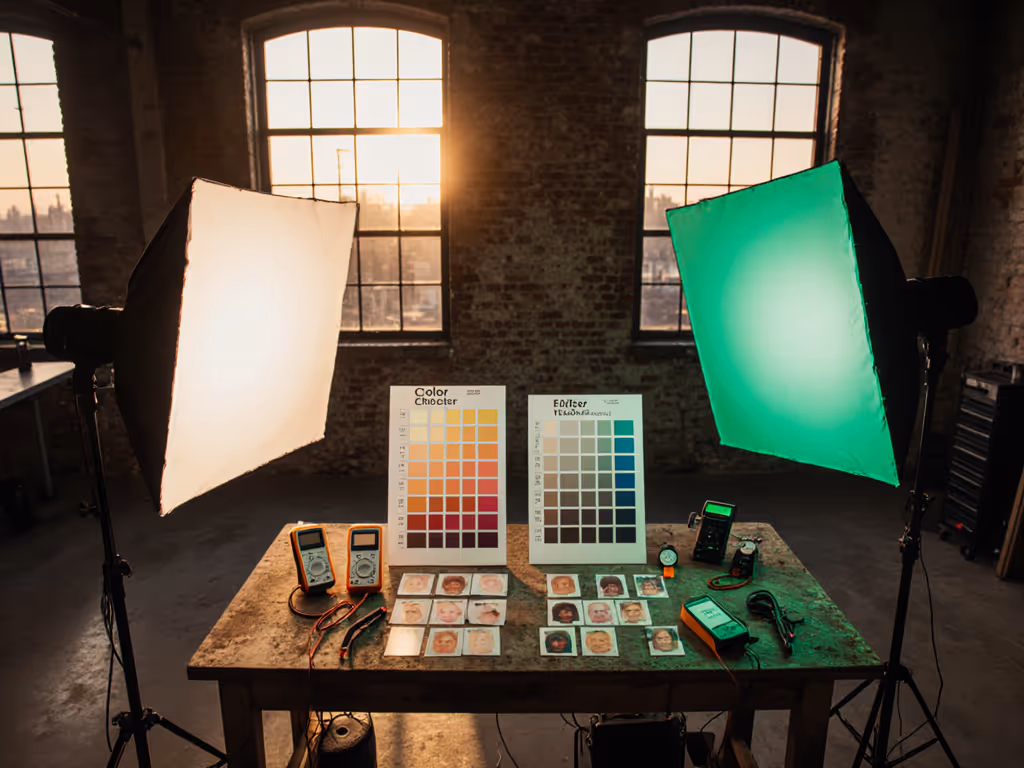
- Tungsten-tinted overhead practicals (office lamps, ceiling fixtures) introduce a green-magenta-yellow contamination layer that no single white balance card conquers.
- Budget LEDs (under $150) often ship at 85-90 CRI (Color Rendering Index). Skin looks waxy. Lips desaturate. Products shift hue. Clients notice. Trust erodes.
- Space constraints turn standard 3-light setups into a fantasy. You're shooting in a 9-foot-ceiling bedroom, not a studio. A 5-foot softbox eats half the room.
- Power reality hits hard. Most shared outlets pull from 15A circuits. Two 500W tungsten lights and a camera charger = tripped breaker.
That consistency you want? It depends on controlling both quality (hard/soft light) and color temperature (CCT) across any room.
The Agitation: Why One Method Alone Falls Short
Window Light Alone
Window light is seductive. It's free, soft (if bounced or diffused), and photographers romanticize it endlessly. But:
- Variability is the killer. A 6500K morning window becomes 3200K by evening. Your white balance workflow breaks. Video editors pull their hair out matching shots 2 hours apart.
- You can't isolate it. The room behind the talent throws ambient fill (unpredictable color and intensity). Skin shadows go muddy or too cool depending on wall color.
- Size and distance matter enormously. A small north-facing window 10 feet away is a tiny light source (hard shadows, unflattering modeling). You'd need diffusion, bounce, and careful positioning. In a small room, that's physically impossible.
- It's unreliable. Overcast day? Effective lux drops 70%. You're shooting at ISO 3200, 1/125s, f/2. Margin for error evaporates.
Studio Lighting Alone
Dedicated studio lights (even modest ones) give control. But:
- They demand space and power. A 300W LED panel needs a stand, 5 feet of clearance, and a dedicated outlet. Add a reflector and flag, now you're eating half your small room. A 750W tungsten has a noisy cooling fan and dumps heat into a windowless space.
- The mood gets flat. Unmotivated studio light feels clinical, especially in intimate spaces. Skin looks evenly lit but soulless. You lose the direction, warmth, and dimensionality that good portraiture feels like.
- Cost-per-location scales badly. Portable studio lights are compact, but you still haul multiple fixtures, stands, modifiers, and batteries. A 2-city sprint earlier this year forced me to rethink this: I ditched the heavy ring and key setup and rebuilt into three LED panels, two battery packs, and one collapsible 5-in-1 reflector set (cross-brand, under budget, one outlet to spare). Every watt has a job. That constraint taught me to stop over-lighting.
The Framework: Comparing Window vs Studio for Your Real Shoots
Decision Tree: Which Light Source, and Why?
Start here. Answer these three questions:
- Do you have a large, unobstructed window with controllable direction and distance?
- Yes → Window light can be your key. (Proceed to the Window Light Recipe.)
- No → Move to studio light. (Proceed to the Studio Light Recipe.)
- Is CCT consistency (white balance across shots/locations) your top priority, or is mood flexibility more important?
- Consistency → Studio + gels tuned to your target CCT (e.g., 4300K, 5600K). Measure with a colorimeter. Lock it in.
- Flexibility → Blend. Use the window as the motivator, studio for control. Adjust on location.
- What's your power budget? How many outlets, and what amp rating?
- Under 15A/120V, shared circuits → Max 1200-1500W total. Studio light only, no tungsten. LED, battery-backed if possible.
- Dedicated circuit, 20A → You have room to mix. A 500W tungsten key + LED fill works. But heat and fan noise still matter.
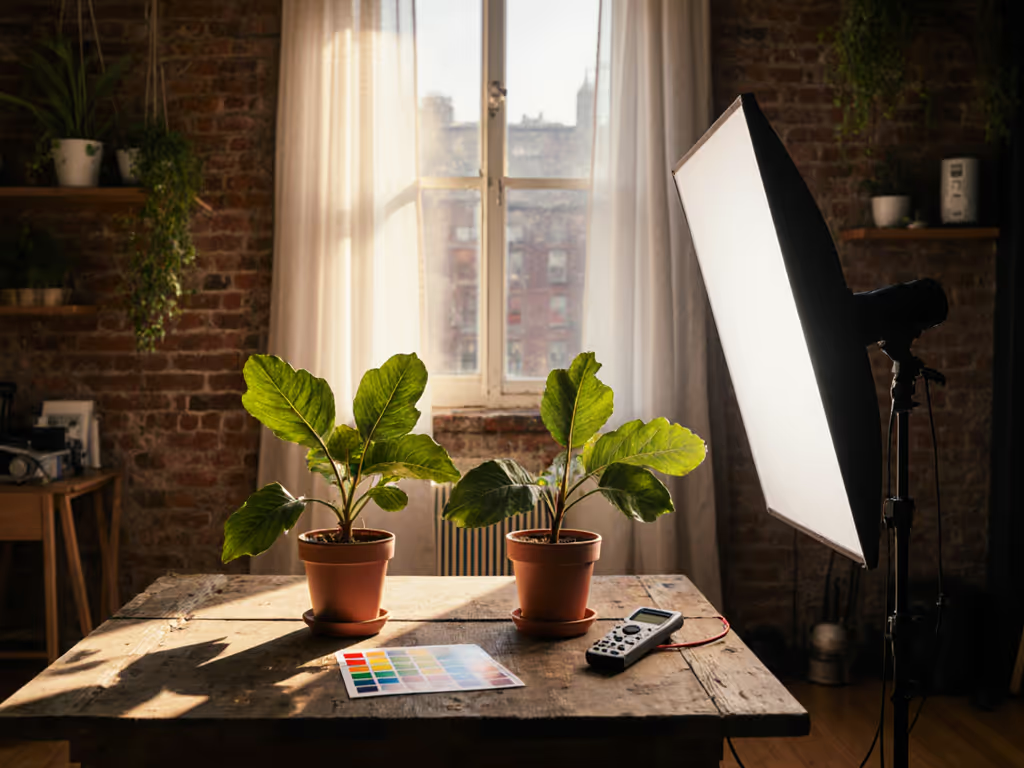
Window Light Recipe: Technical Setup
When to Use:
- Daytime shoots, large window, overcast or diffused sun.
- Subject can be positioned 5–12 feet from window.
- Ambient fill sources are warm, neutral, or manageable.
- You're shooting stills (less white balance drift tolerance) or video (expect to grade for consistency).
The Setup:
- Measure the light. Use a light meter (incident mode). Window at midday, clear sky ≈ 5000-6500 lux on talent's face. Overcast ≈ 2500-4000 lux. This tells you whether you need ISO 400 or 3200. For step-by-step ways to shape and time daylight, see our natural light window guide.
- Diffuse if harsh. If sun is direct and creates hard shadows, hang a diffusion (1-stop, e.g., muslin) 3-4 feet from the window. New effective CCT: still 5200–6000K, but softer. Lux drops ~50%.
- Bounce or flag the ambient. Position a 5-in-1 reflector (white side) opposite the window to soften shadows. If that's too flat, use the gold side to warm shadows, but watch for magenta-shift in dark skin tones (gold reflects warm, but it can shift undertone). A gray or silver side is safer for mixed skin undertones.
- Control spill. If the background is too bright or a wall throws unwanted color, use a black flag (foam board) to negative-fill. This isn't your light source; it's what you're removing. Small adjustments matter.
- White balance target. Set custom white balance on your camera at your actual shooting spot, in the actual light, on a neutral gray card. Shoot RAW. In post, use the card as reference. Even with perfect white balance in-camera, this gives you a safety net.
Expected Results:
- Natural, soft directional light. Skin texture visible but not harsh.
- Shadow detail depends on bounce/fill. No bounce = deep shadows (moody). White bounce = lifted shadows (commercial).
- CCT drifts with time, weather, and wall reflections. Expect 300-500K variance per hour. Plan for color correction in post.
Studio Light Recipe: Technical Setup
When to Use:
- No usable window, or mixed practicals (office lights, neon, daylight from multiple angles).
- You need CCT consistency or mood that doesn't depend on outdoor conditions.
- Tight spaces where window placement is impossible.
- Video shoots where flicker and fan noise can't be tolerated.
The Setup:
- Choose LED over tungsten for small rooms. A 150W-300W LED panel (5600K matched) consumes less power, runs cool, and is silent. Typical specs:
- 150W LED @ 5600K, 1 meter distance ≈ 3000-4000 lux on face. (Bright enough for f/5.6 at ISO 100 in video.)
- Noise: under 30 dB (fan). (For reference, quiet office ≈ 40 dB.)
- Flicker: <1% at 24/30p and fast shutter angles. (Check the spec sheet; cheap LEDs flicker at 50%+ and ruin slow-mo video.)
-
Rig the key light. Place the panel 4-6 feet from your subject, slightly off-axis (45° or so). For side-by-side examples, review our classic portrait lighting setups. This creates directional modeling (cheekbones, texture) without the harshness of a small source. Soften it with a 1-stop diffusion frame or grid, depending on mood (grid = harder/more dramatic; diffusion = softer/more flattering).
-
Add fill, don't force it. A 100W cool-white LED panel opposite the key, 1-2 stops dimmer, lifts shadows. Or bounce a 2x3-foot white foam board (passive fill, free, silent). Adjust distance and angle to taste. In a 9-foot-ceiling room, bounce is often better than a second light, it's less intrusive and scales better.
-
Dial in CCT. Most modern LEDs are tunable or come in fixed 5600K or 3200K. Match your intended white balance. Measure with a colorimeter or use a gray card under your actual light. Lock the color in-camera (custom white balance), then verify in RAW.
-
Power awareness. A 300W LED + a 100W fill + camera charger + wireless mic receiver = ~500W. Safe on a 15A/120V circuit (max ~1800W before breaker). Keep headroom. For load planning and fire prevention best practices, read our studio electrical safety guide. Test at the location if unsure.
Expected Results:
- Consistent, controlled light. CCT locked unless you change the panel.
- Mood depends on key angle and softness. 45° key = commercial (flattering, sculpted). 90° side light = editorial (dramatic). Directly front = flat (web/social).
- No ambient color contamination. Tungsten desks, fluorescent ceiling, daylight outside: irrelevant. Your panel is your truth.
Blending Window and Studio: The Hybrid Approach
Most real shoots benefit from both. Use this when:
- You have daylight but practicals ruin it (green-tinted office lights + window).
- You want directional window feel with color consistency.
- Space is tight and you can't afford two studio lights.
The Recipe:
- Let window define the direction. Position your talent near the window (3–8 feet away). Window is your key light source.
- Gel your LED to match window CCT. If window is 5600K and ambient is 3200K (tungsten desk lamp), use a 5600K LED panel as fill on the shadow side. Your fill is now motivated (it matches the key, so it feels natural, not artificial).
- Flag or diffuse the ambient. If the tungsten desk lamp throws a color cast, either turn it off, flag it with black tape, or gently bounce your fill panel to depower its influence.
- Meter the blend. Window key + LED fill should sit in a 1.5-2:1 ratio for pleasing shadow depth. Use your meter: if key is 4000 lux, fill is 2000–2500 lux.
Why This Works:
- You get the directional authenticity of window light with the color predictability and control of studio light.
- If clouds roll in or sun moves, your fill is there to compensate. Subtle but not obvious.
- Your power draw stays low (one LED panel, passive or minimal bounce).
- Setup time is fast: position subject, place one panel, adjust angle. Under 10 minutes.
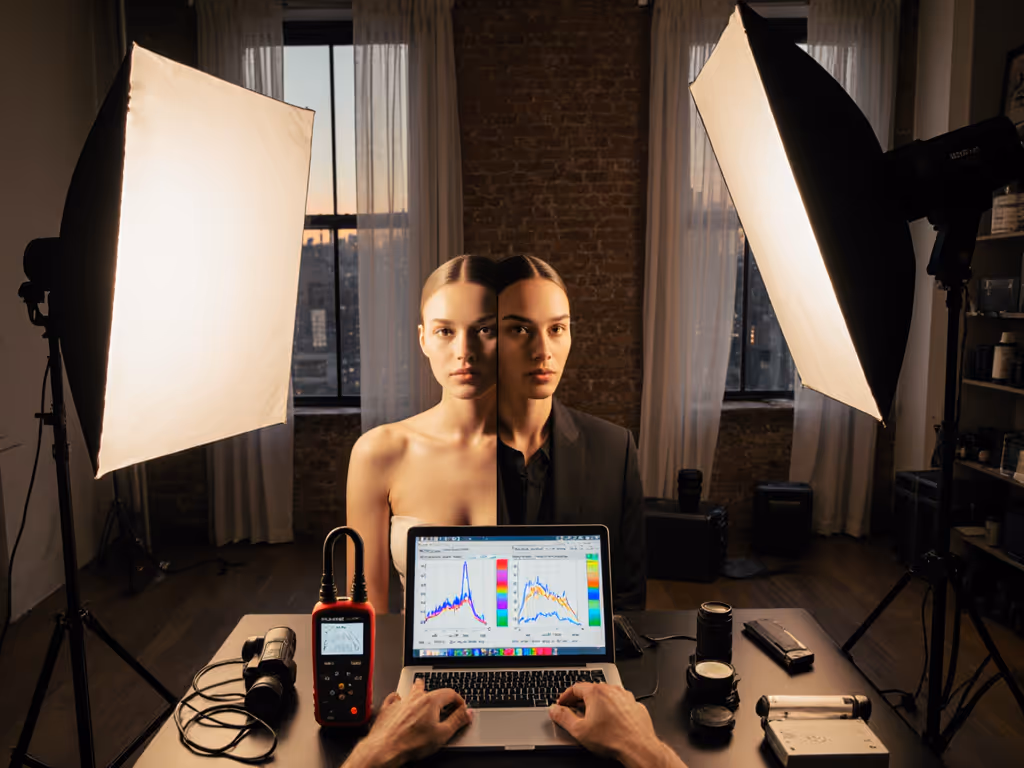
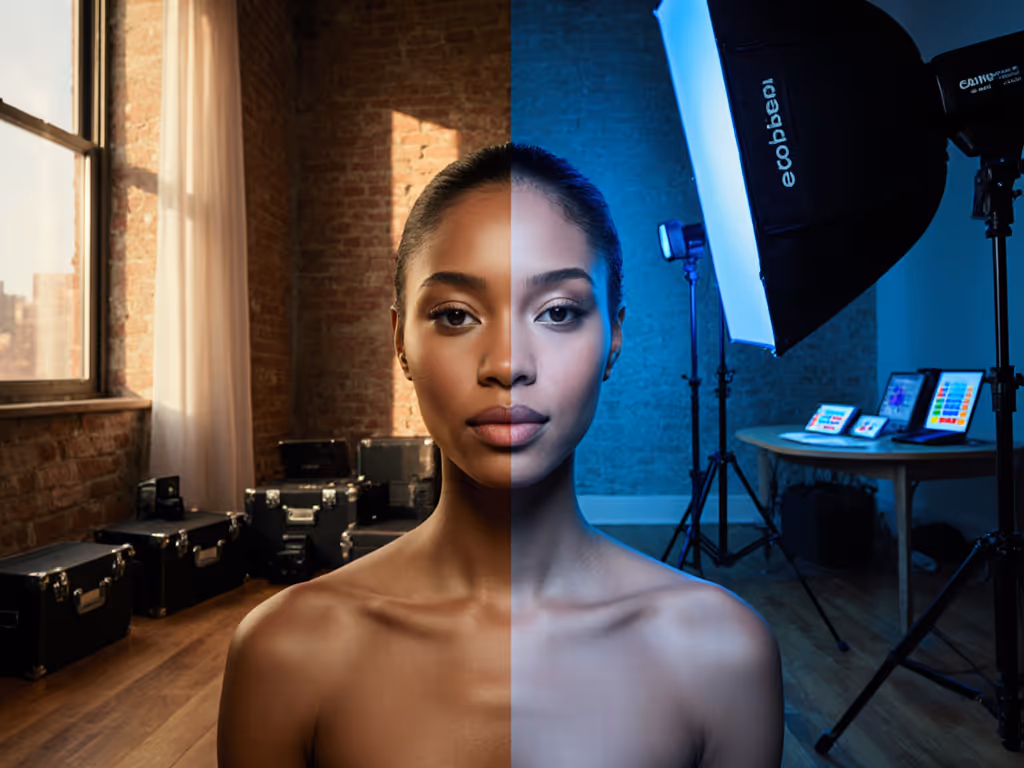
Mood and Skin Tone: What Changes Between the Two?
Every watt has a job, and the job changes with your light source.
Window Light Mood:
- Soft, forgiving, directional (if diffused or at distance).
- Warm golden hour renders; cool overcast reads moody, editorial.
- Shadow tones feel natural because they're filled with ambient room color.
- Skin catches specular highlights that feel lifelike.
- CRI is infinite (it's the sun), true-to-life color, but CCT is your variable.
Studio Light Mood:
- Controlled, directional, reproducible, clinical-to-flattering depending on key position.
- Warm (3200K) feels intimate, retro, commercial; cool (5600K) feels clear, editorial, tech. To design light that supports specific emotions, study portrait lighting psychology.
- Shadow tones depend entirely on your fill source and distance. No ambient contamination.
- Specular highlights are smaller and punchier (smaller source = harder light), can read plastic unless diffused.
- CRI matters. A 95-CRI panel vs. 80-CRI panel shifts skin tone saturation and warmth visibly. Invest in good CRI for this reason.
In Practice: For commercial beauty/product work, studio light with >90 CRI wins. Skin and product color must be true and repeatable. For editorial portraits, window light (with studio fill as safety) feels more emotive and forgiving. For consistency across locations (travel, multi-day campaigns) studio light with fixed CCT and modular modifiers is the answer.
Practical Troubleshooting Checklist
- Skin looks greenish or magenta under window light. Ambient fill source is off-color. Check that tungsten desk lamp or greenish wall bounce. Flag it. Use a warm-tinted reflector instead.
- Studio light looks plastic or harsh. Your source is too small or too close. Move it back 1-2 feet or add diffusion. If already diffused, add a secondary bounce fill.
- Can't get consistent white balance across a 2-hour shoot in window light. Plan breaks around cloud cover and sun angle. Or switch to studio light for critical shots. Mix and match on location.
- LED panel flickers in video, especially at 1/50s or 1/100s shutter. This is PWM (pulse-width modulation) flicker. Check the panel's flicker spec. If >1%, avoid that shutter angle or use tungsten instead (no PWM).
- Breaker trips when both LED panels and camera charger run. You're over 15A. Unplug the charger during shooting. Charge between setups. Or negotiate a dedicated outlet with the location.
Final Verdict: Your Decision Framework
The best portrait lighting isn't a single answer; it's the right tool for the constraints you face.
Choose window light when:
- Large diffused or soft window is available, subject can be positioned near it, and CCT consistency is less critical than mood and speed.
- You want authentic, emotive light with minimal kit (a reflector and a diffusion frame fit in a backpack).
- Budget is tight and you're shooting stills or graded video.
Choose studio light when:
- You need repeatable, color-accurate setups across locations, or no window is reliable.
- Power, space, and fan noise are acceptable trade-offs for control.
- Product or skin tone accuracy is non-negotiable.
- You're shooting video and flicker-free, silent operation matters.
Blend both when:
- You have a window but ambient practicals (tungsten, fluorescent) contaminate it.
- You want directional authenticity with safety fallback.
- Space and power allow a single LED fill panel.
Your Kit Checklist:
Regardless of choice, carry this modular set:
- 1× 5-in-1 reflector (white, gold, silver, black, diffusion). Weighs 1 lb. Solves 60% of small-space problems.
- 1× Black foam board or fabric flag (2×3 ft, folds flat). Negative fill and spill control.
- 1× Portable light meter (incident mode). $30-80. Non-negotiable for predictable exposure and CCT checks.
- 1× Gray balance card. Shoot it first, use as reference in post.
- 1× 150-300W LED panel, tunable or 5600K fixed. ~$150-400, fanless if possible or under 30 dB. One battery pack, one AC charger. This covers gaps when window light fails.
- 1× Small diffusion frame or grid (optional, depends on panel). Softens or hardens mood.
Time to Setup:
- Window light only: 5-10 minutes (reflector + flag, white balance).
- Studio light only: 10-15 minutes (stand, panel, diffusion, fill, meter check).
- Hybrid: 12-18 minutes (position subject, window check, LED gel + placement, meter the blend).
Constraint breeds creativity. A tight room, limited power, and no assistants force you to be intentional. That discipline (measuring, flagging, dialing in CCT) is what separates consistent work from lucky accidents. Every watt has a job, and every location teaches you something about how to do more with less.
Start with whichever light source dominates your location. Layer studio light or passive fill to solve what it can't. Measure, record your setup (distances, power levels, white balance), and repeat on the next shoot. In three jobs, you'll have a recipe library. In six, you'll have an instinct that rivals any studio-bound photographer. Predictability at scale beats flexibility at guesswork every time.
Related Articles